  |
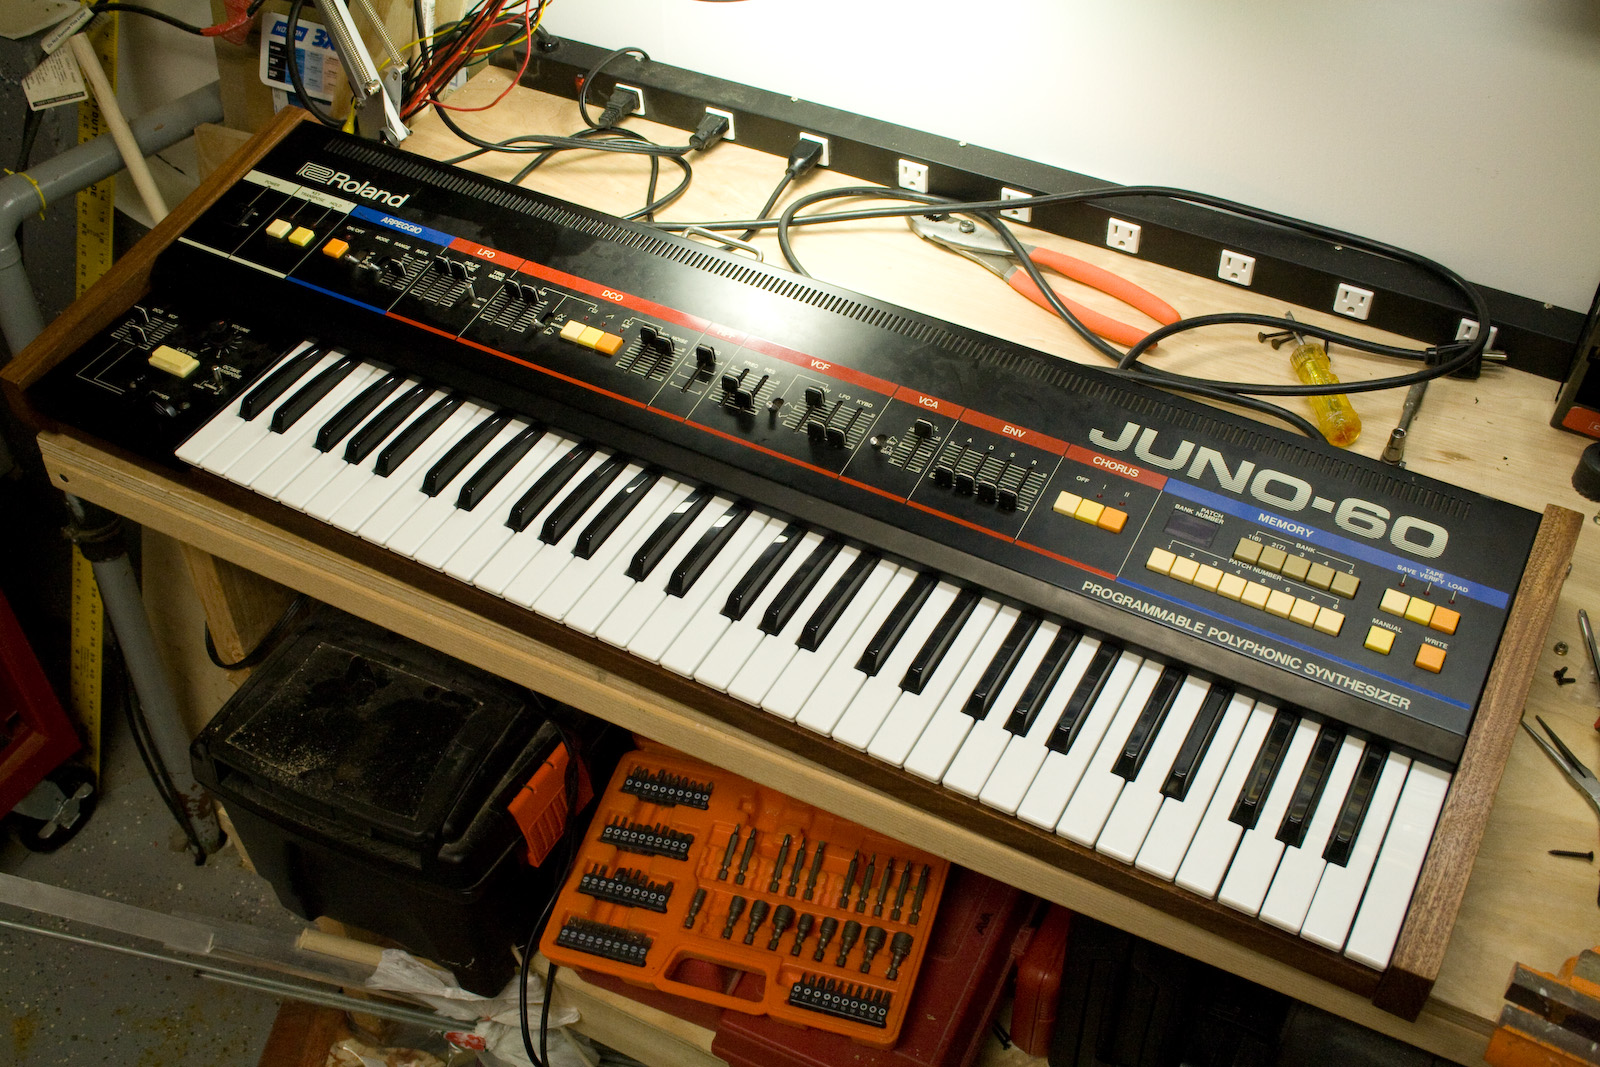
I recently replaced the particle wood on my Roland Juno-60 with mahogany... I found synthwood, a place that makes nice wood cases and end cheeks for classic synths.
why?? I do like quality synths, however, the real instigator to do all this was that I have another juno60 in pieces, and missing the wood case part... So buying a nice case for my main Juno60 means that I now have a particle wood case for the future juno60-in-pieces project. yay. |
One thing to note, as I understand it, this was synthwood's first Juno60 case. as such, I caught a few errors in hole placement (see below discussion), but all in all, great work, and I'd expect future Juno60 cases to have these issues worked out.
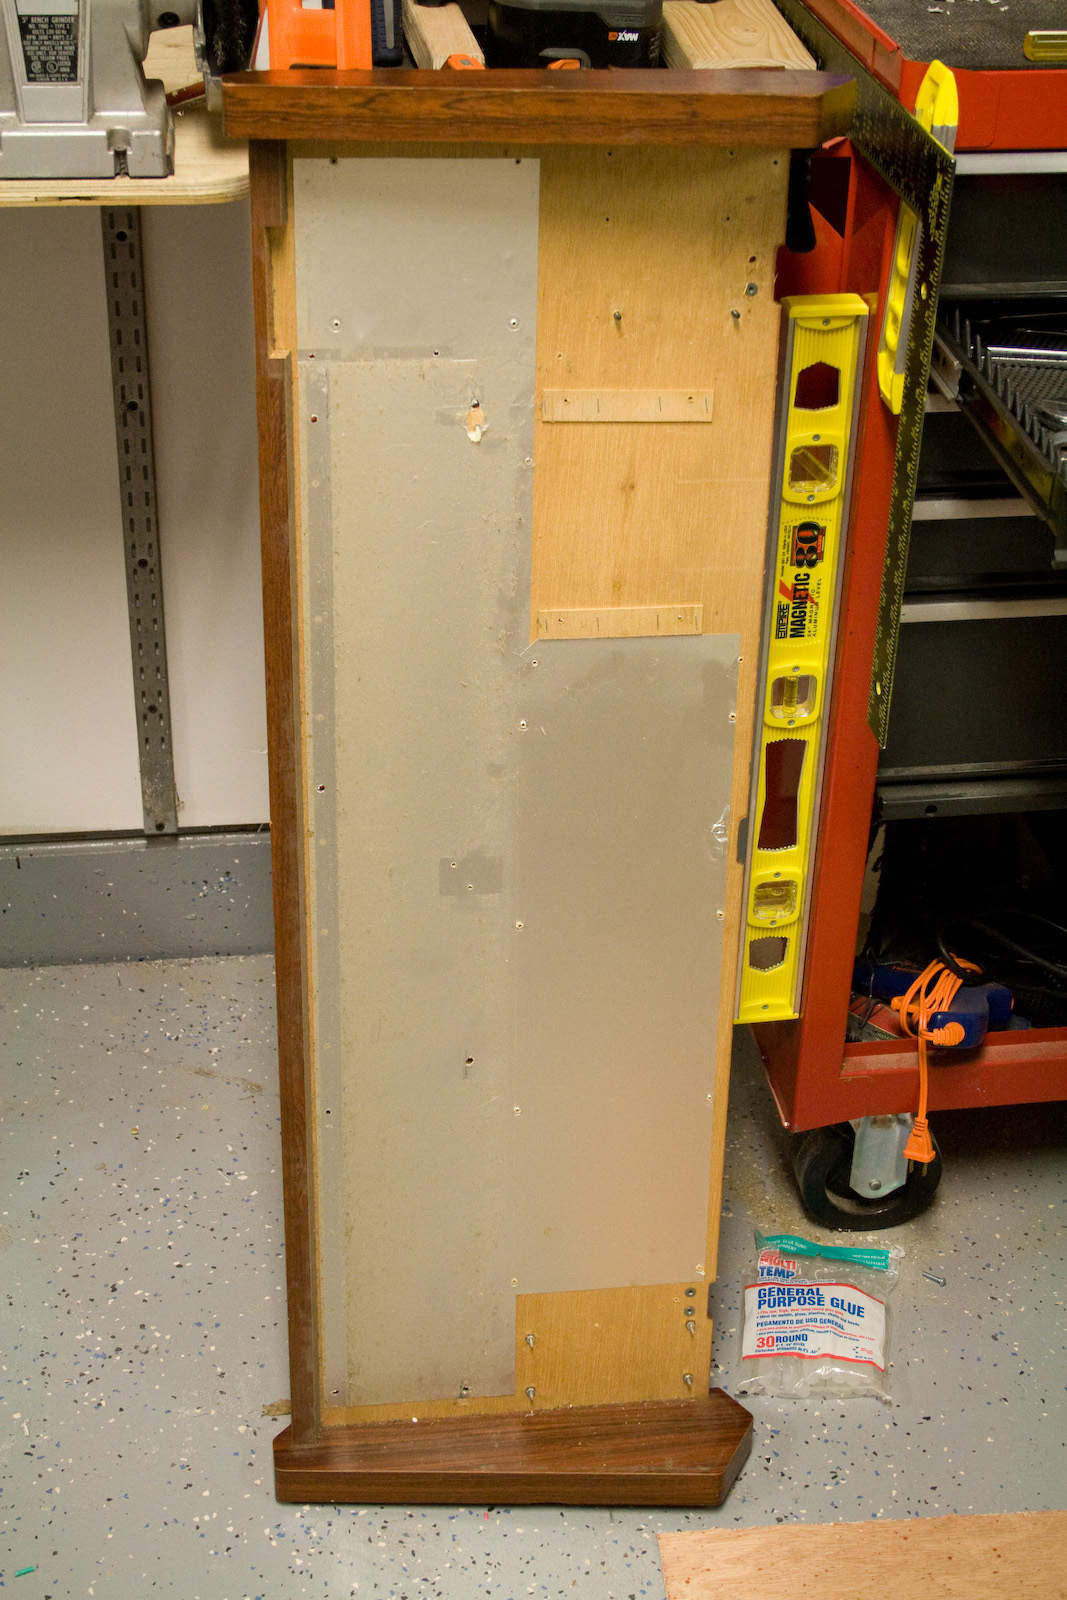
The old Juno60 case (measurements)
|
|
|
|
|


new case arrived!
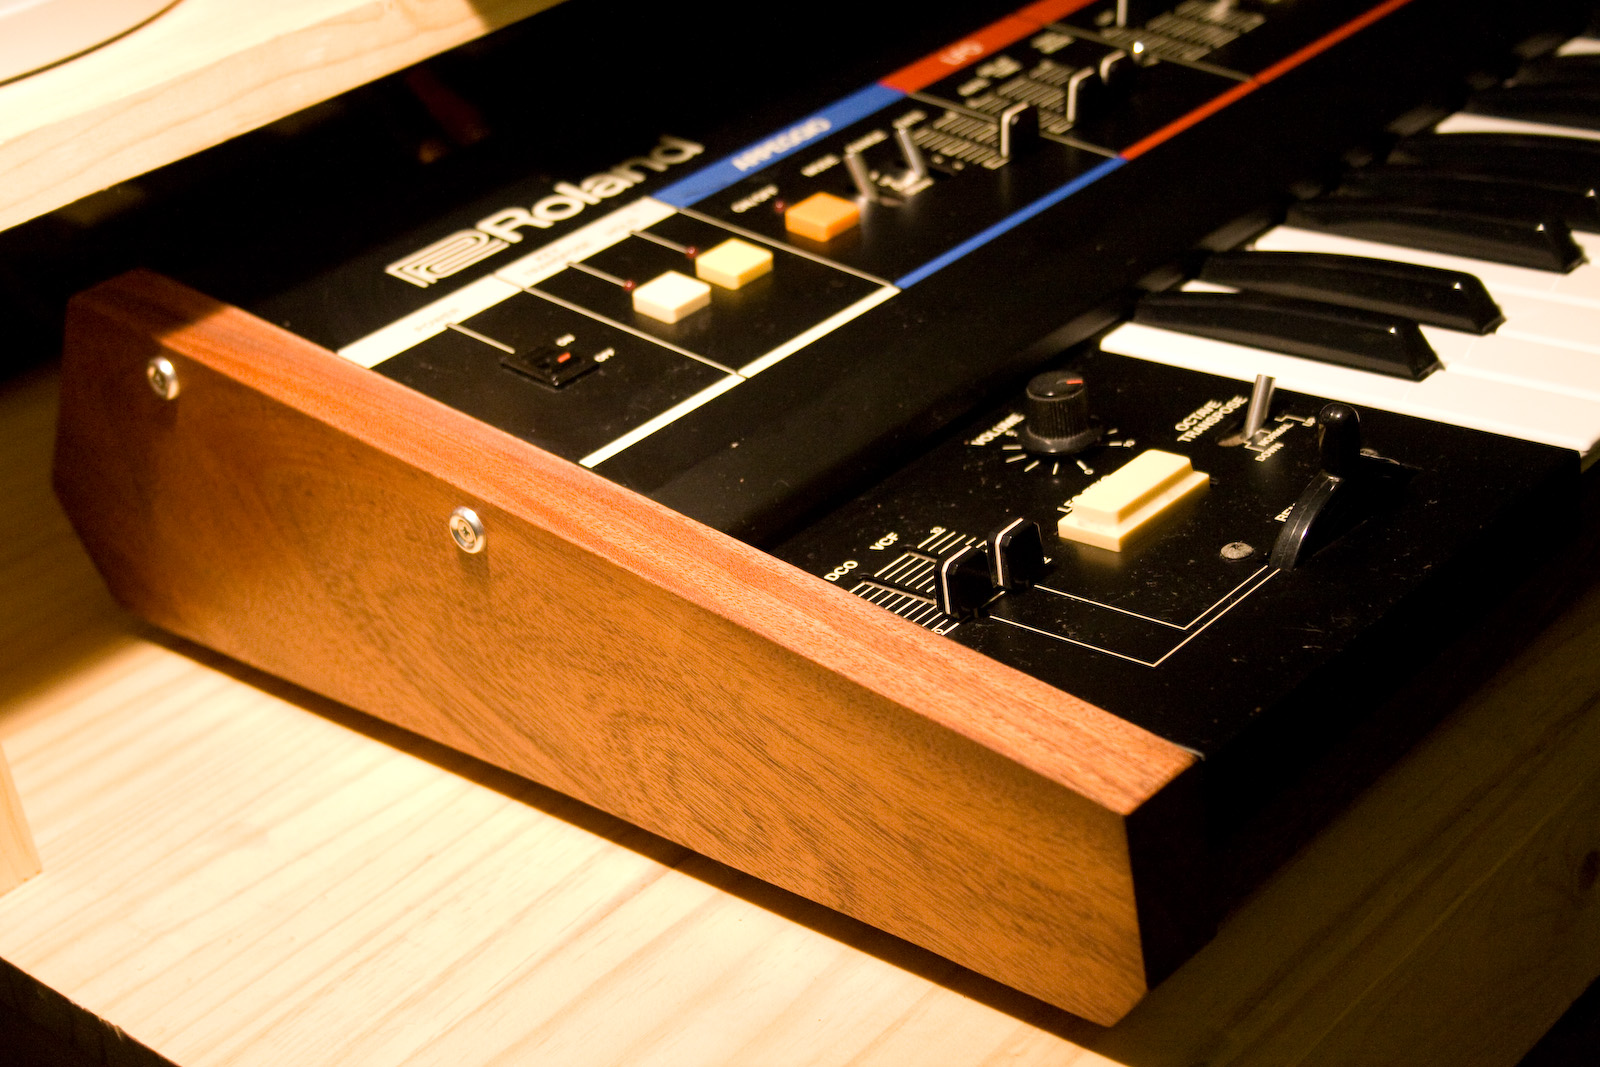
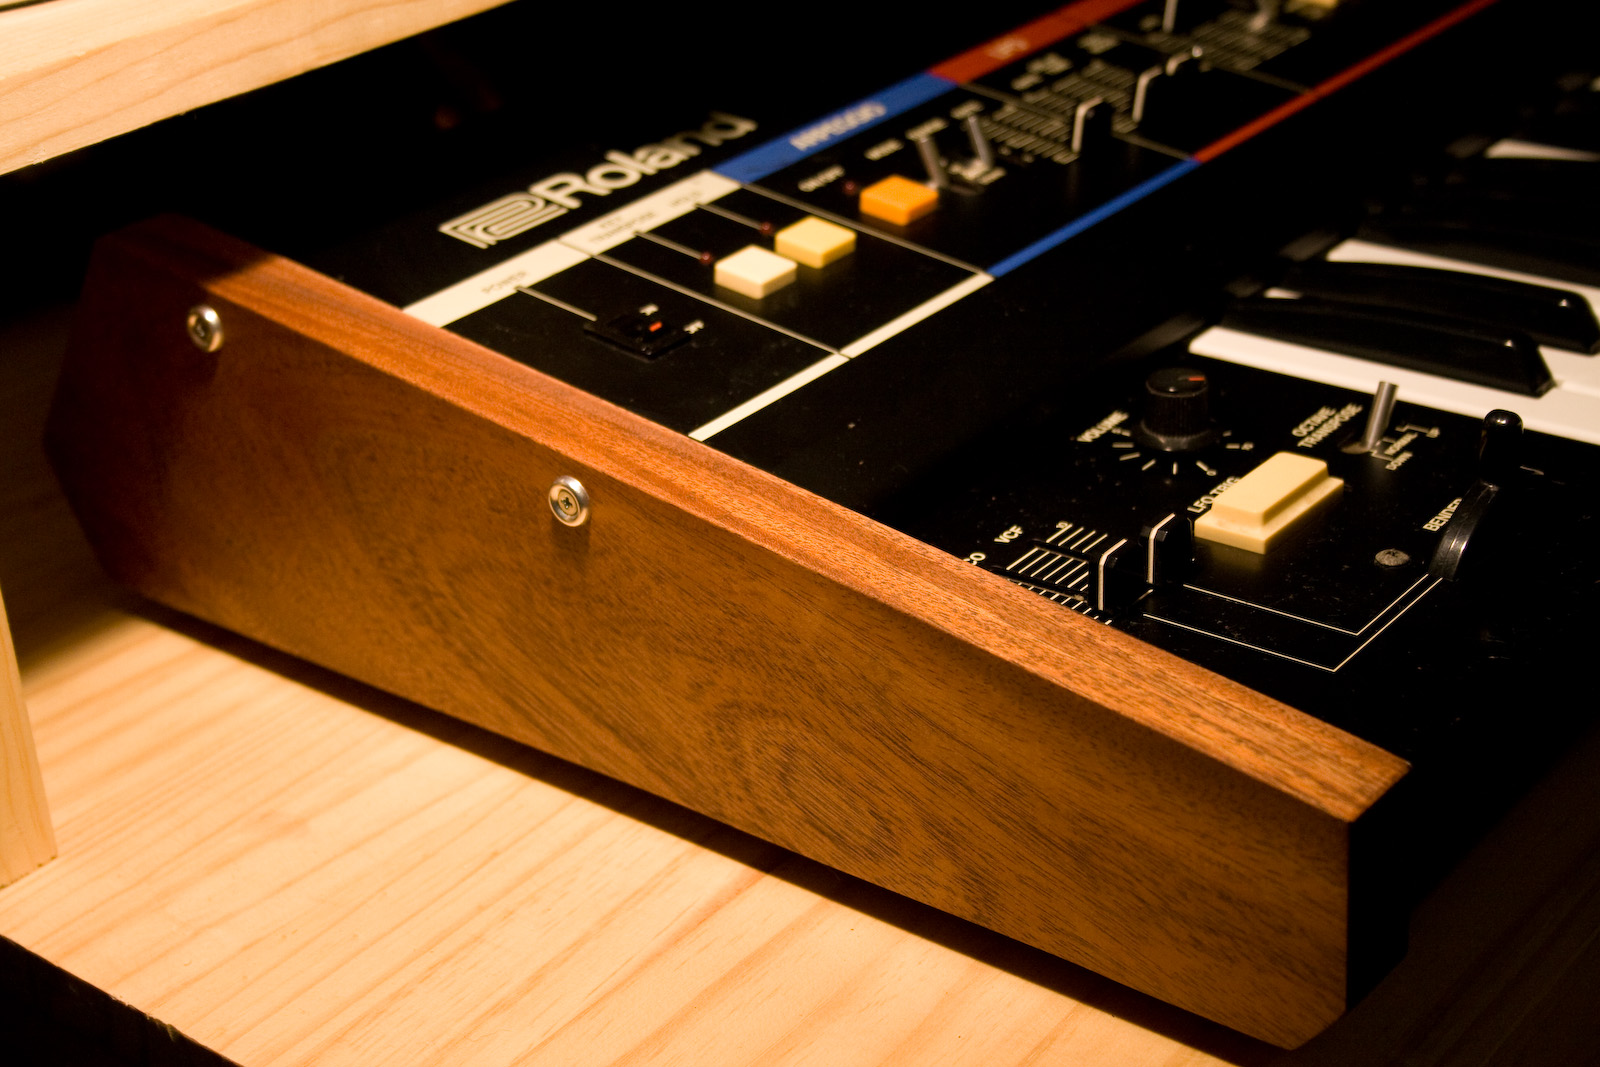
compare against the mahogany ends of the 106 (also from synthwood):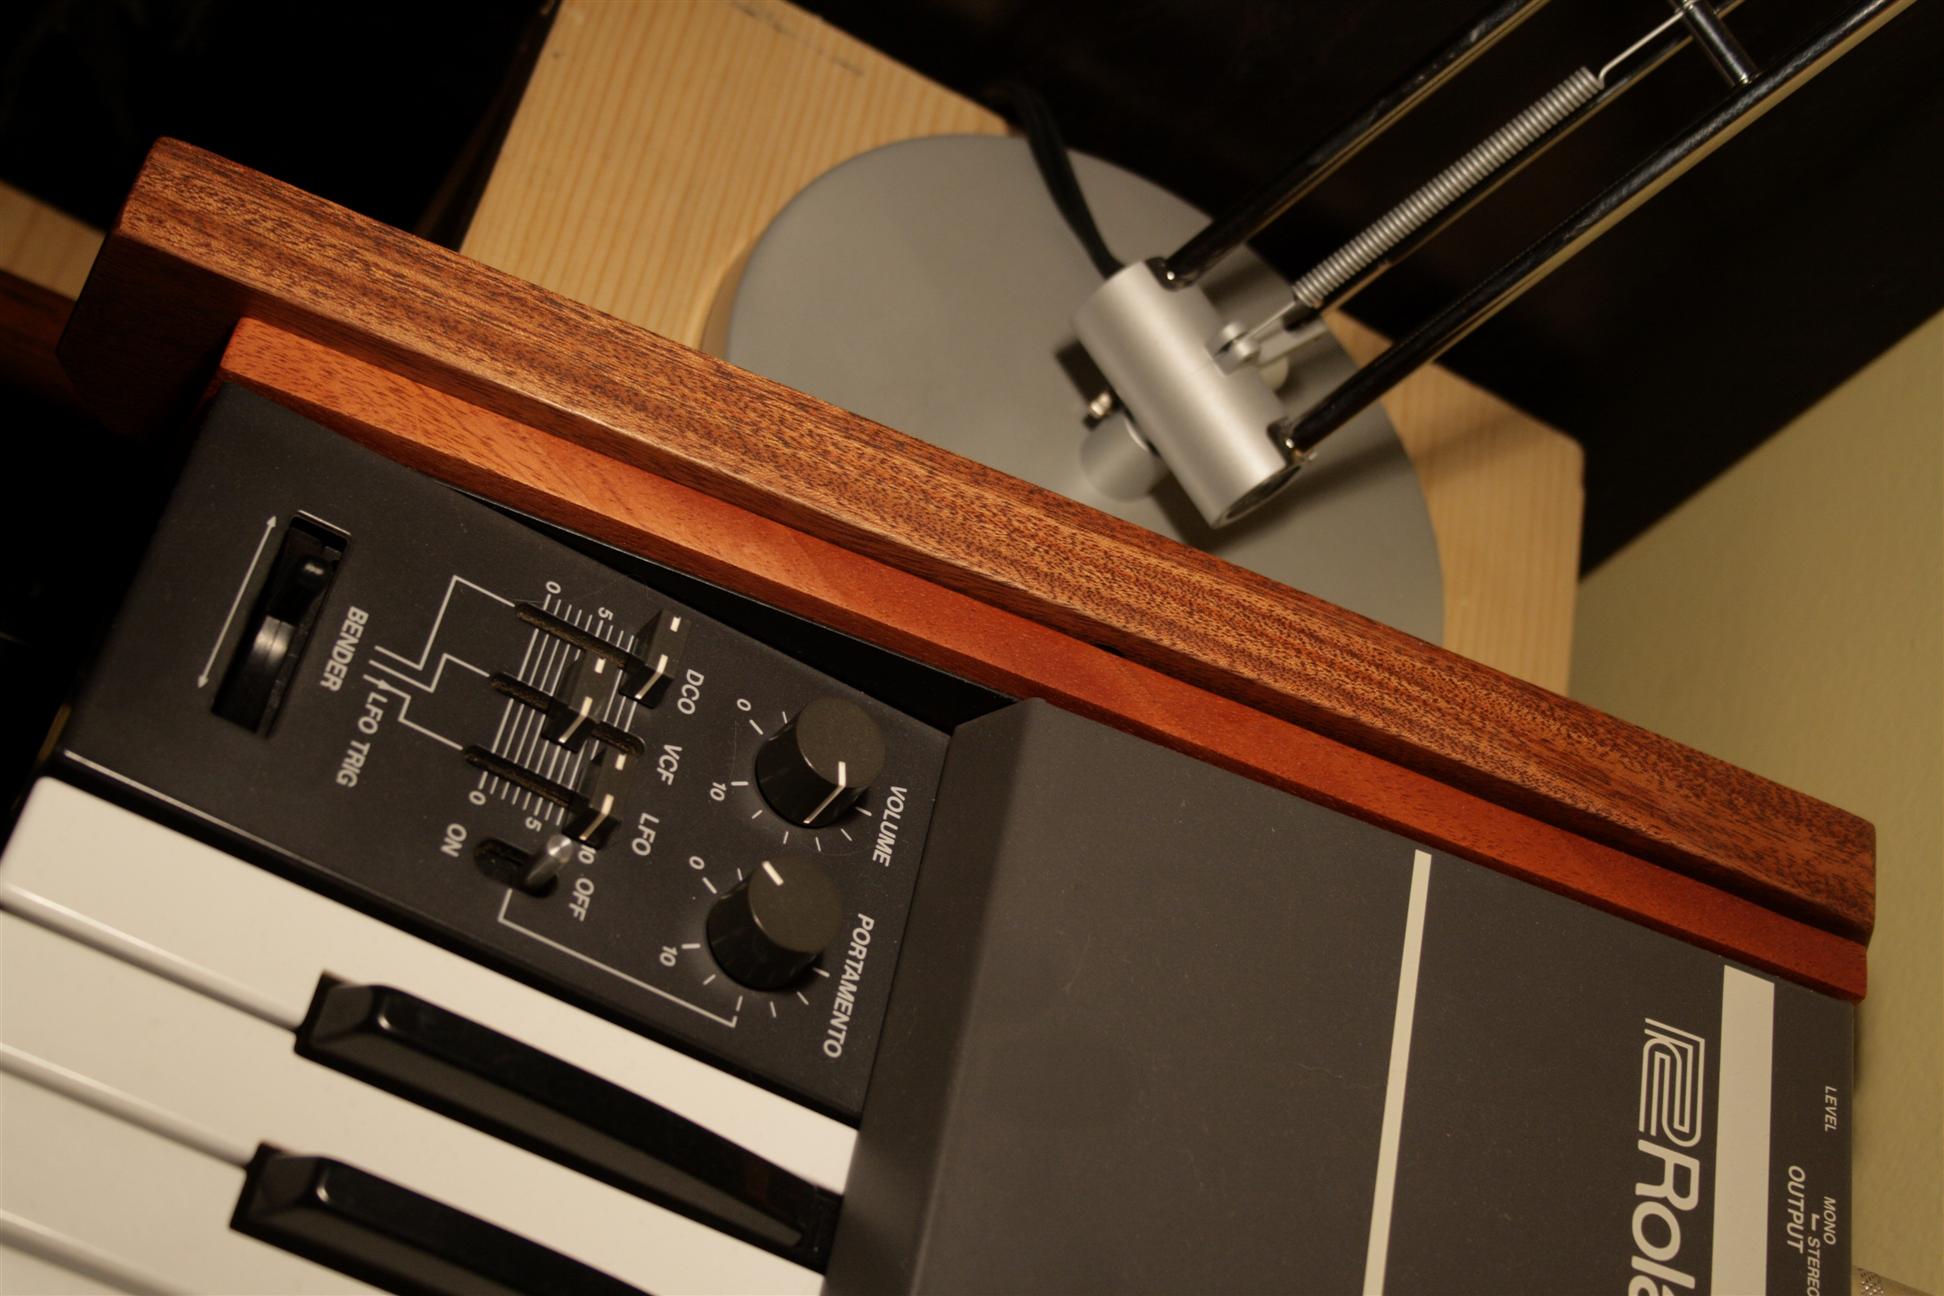
larger grains, more brown (though still redish)...
synthwood says:
Both wood is mahogany even though there seems to be different
characteristics.  We find that a tree's environment does a lot for
its character.  For instance, the walnut that grows out in the
Washington state rain forest tends to have darker color with purple
streaks.

Care for the wood - Just use a soft towel to rub out scratches.  The
finish is linseed oil and wax .. it makes a good finish that is also
easy to maintain.
Transferring the Juno60 to its new case
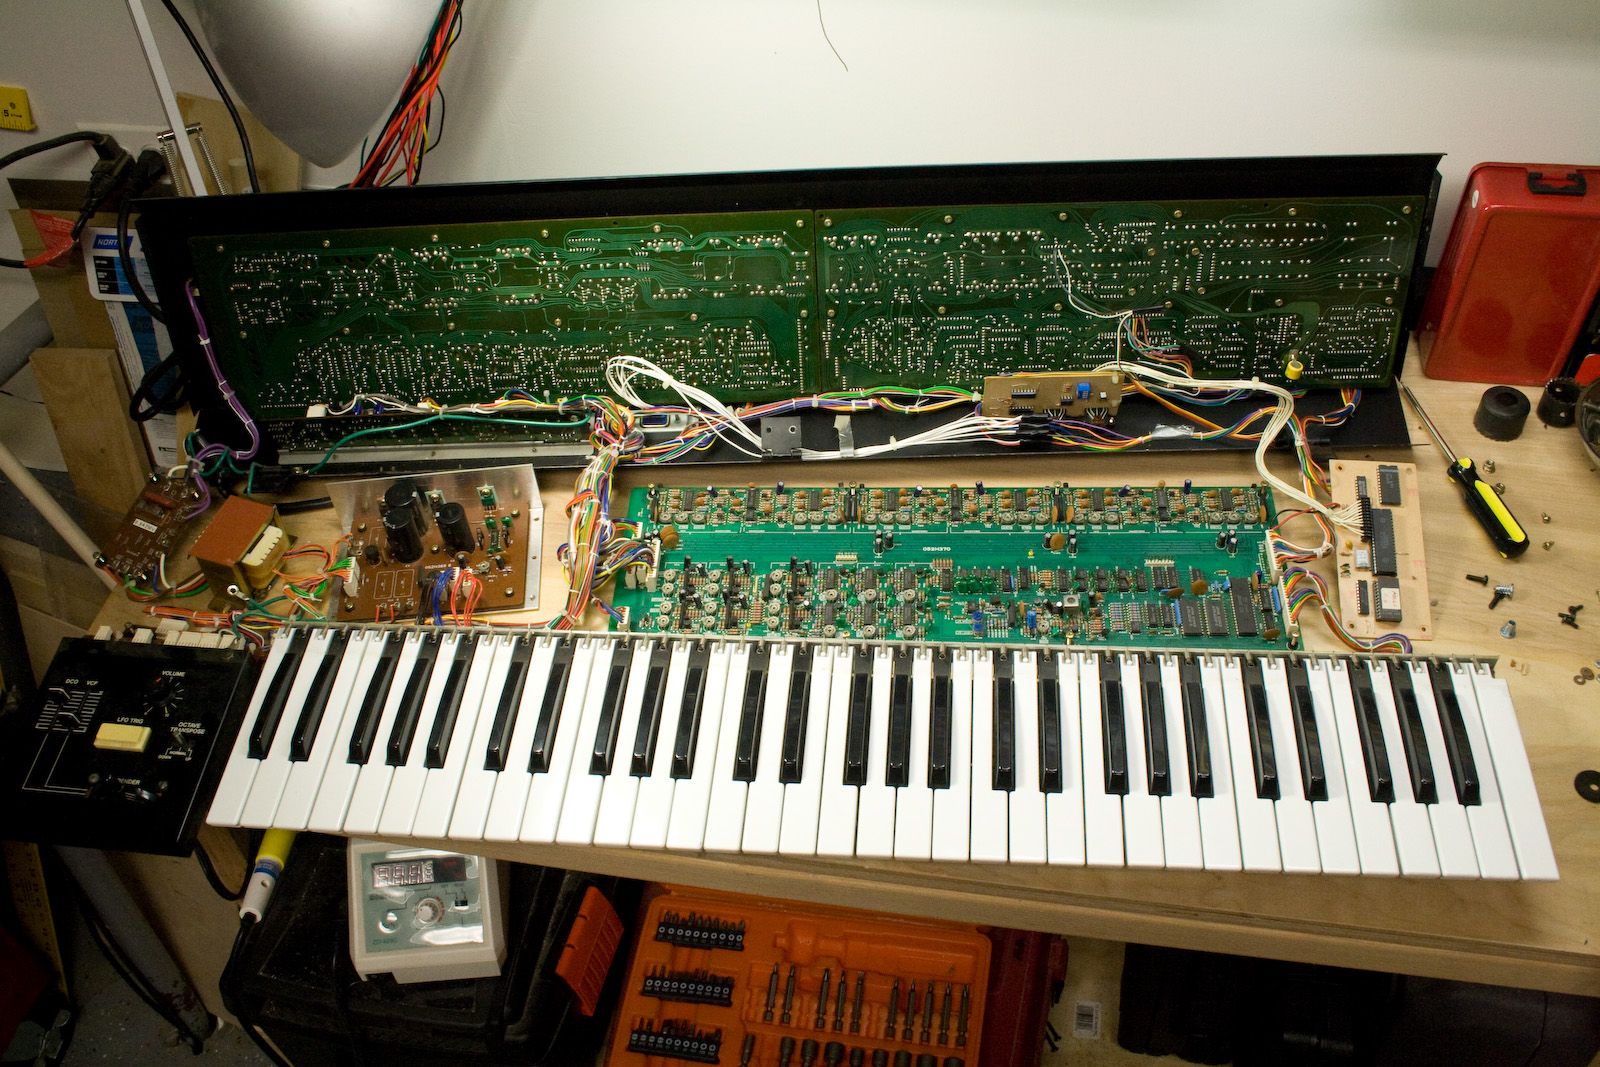
apart!
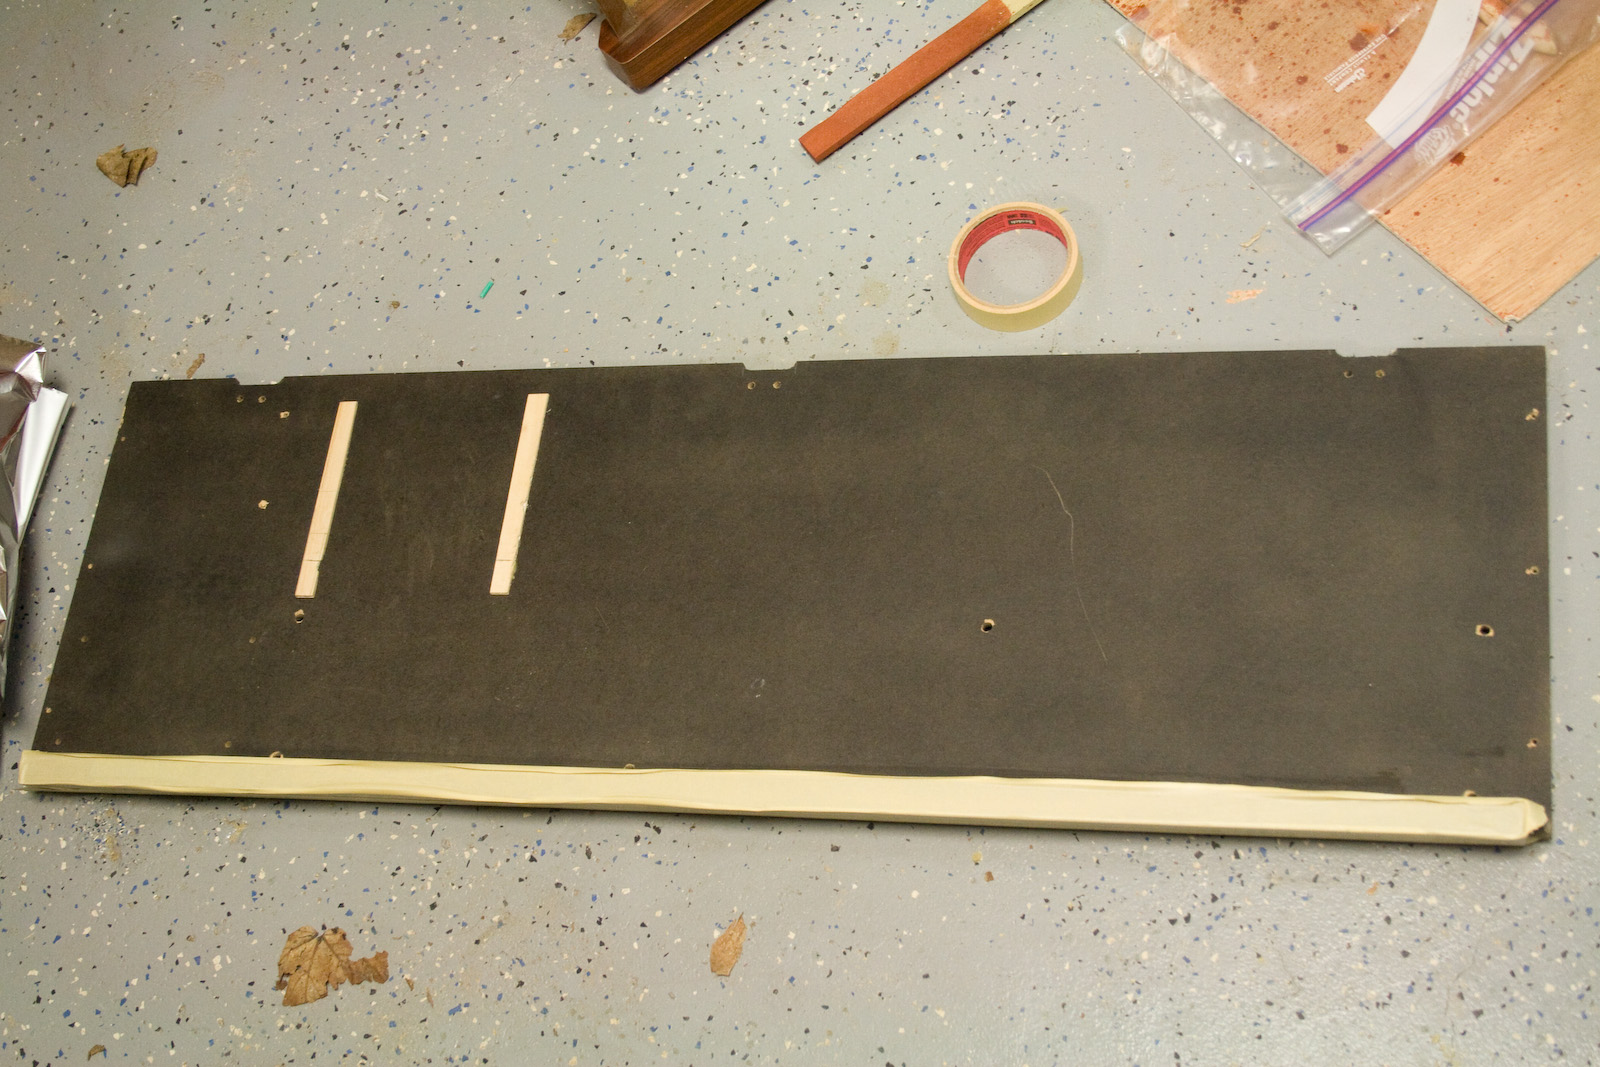
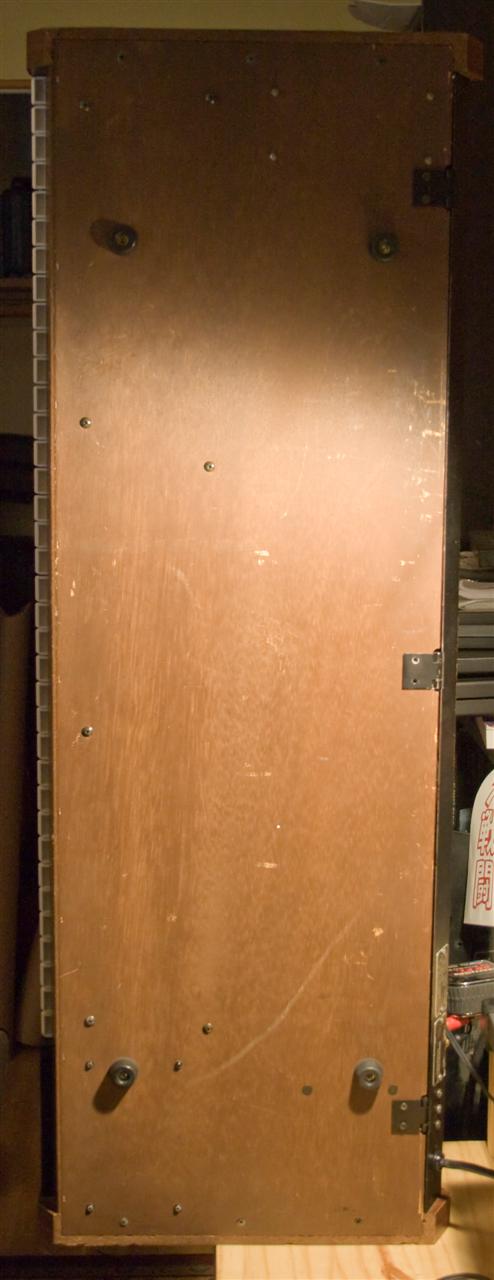
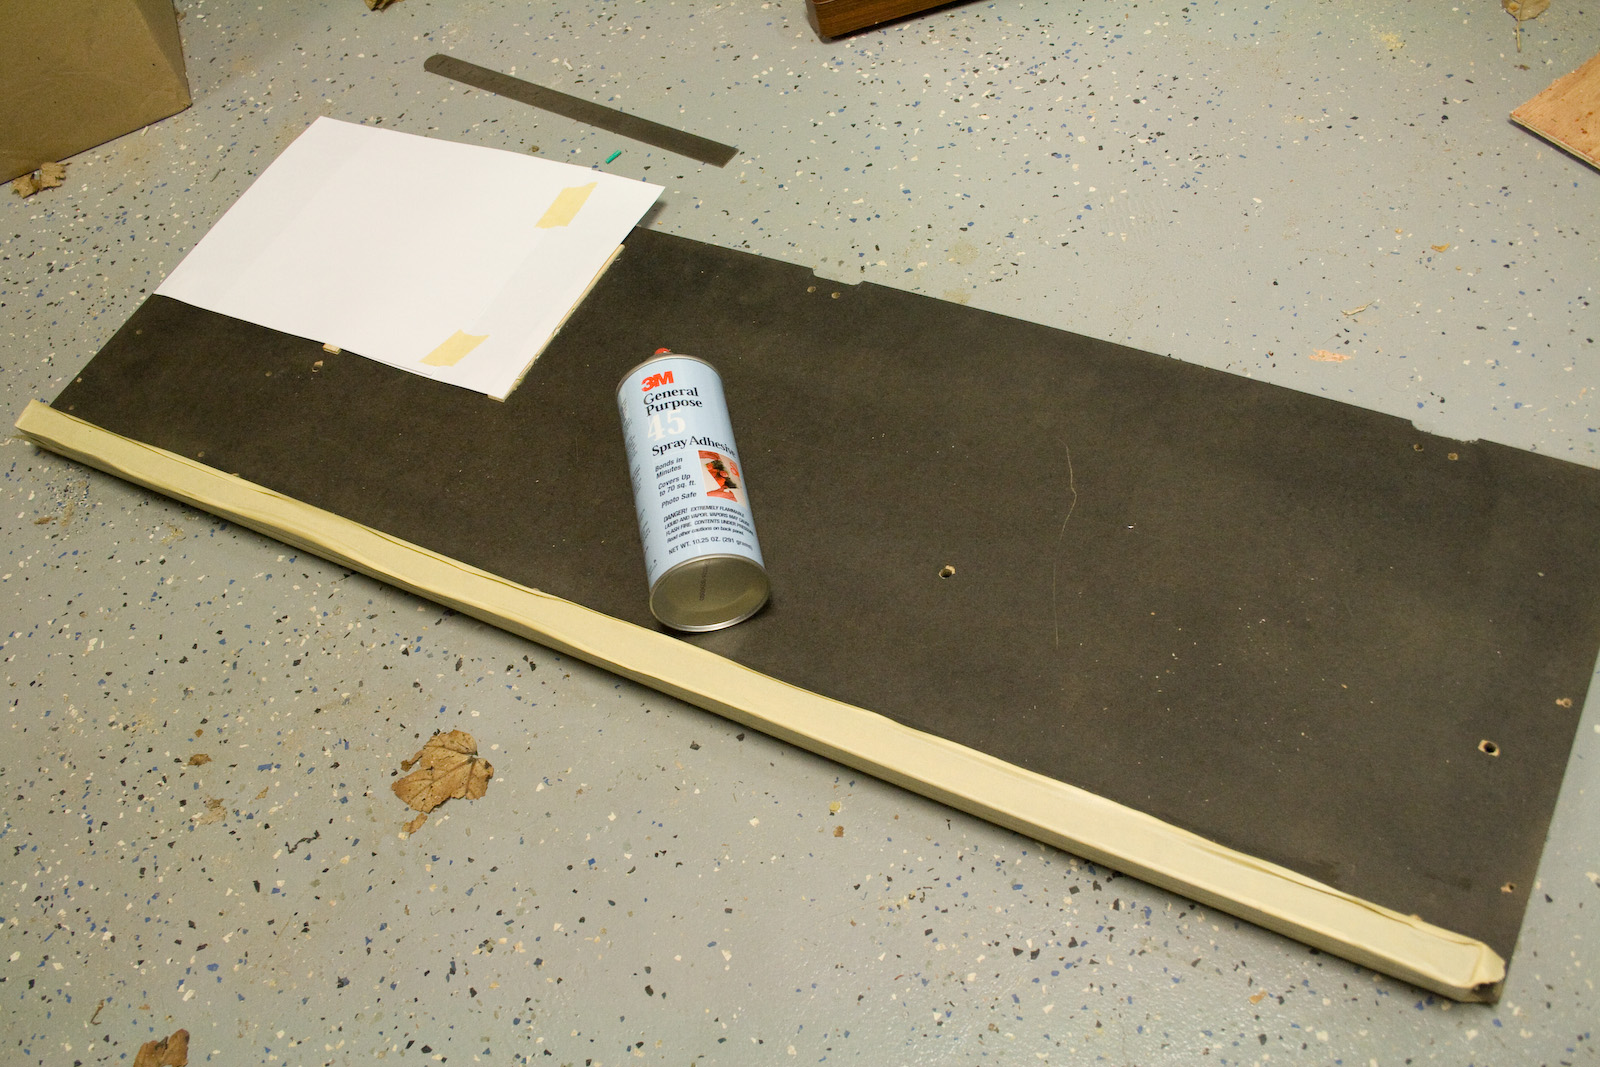
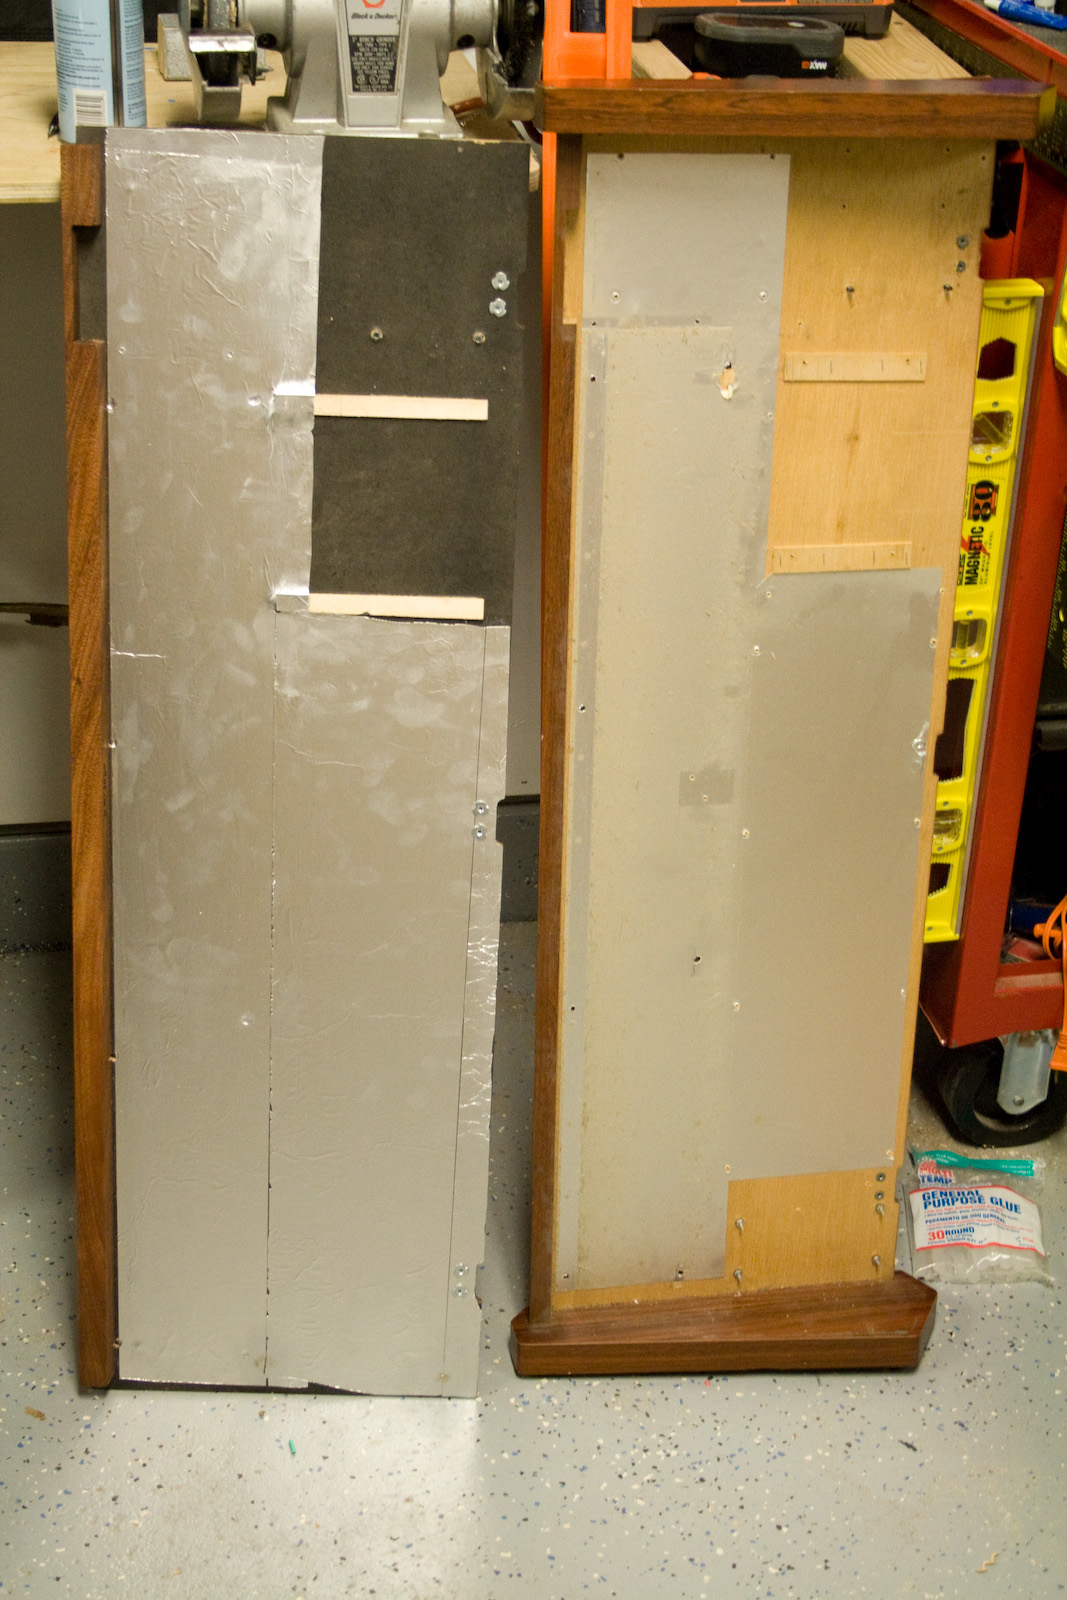
new case is missing the metal shielding.
masked, ready for adhesive...

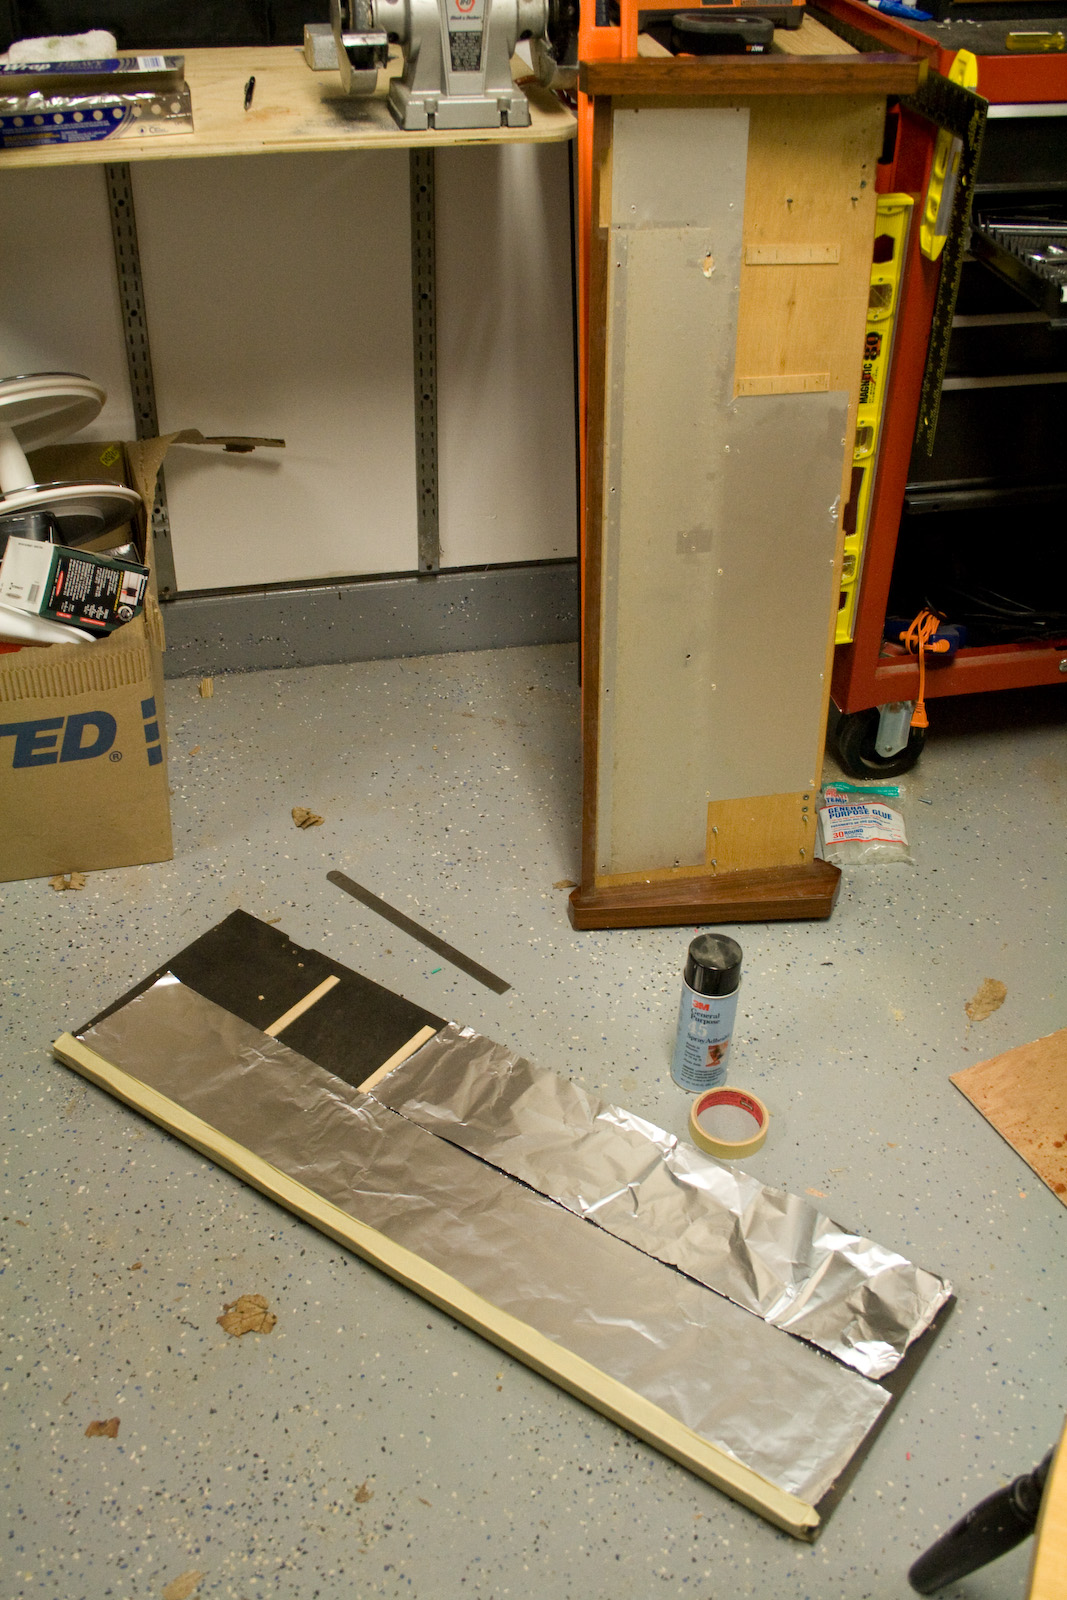
foil cut to fit...
mask the remaining area where we don't want adhesive...
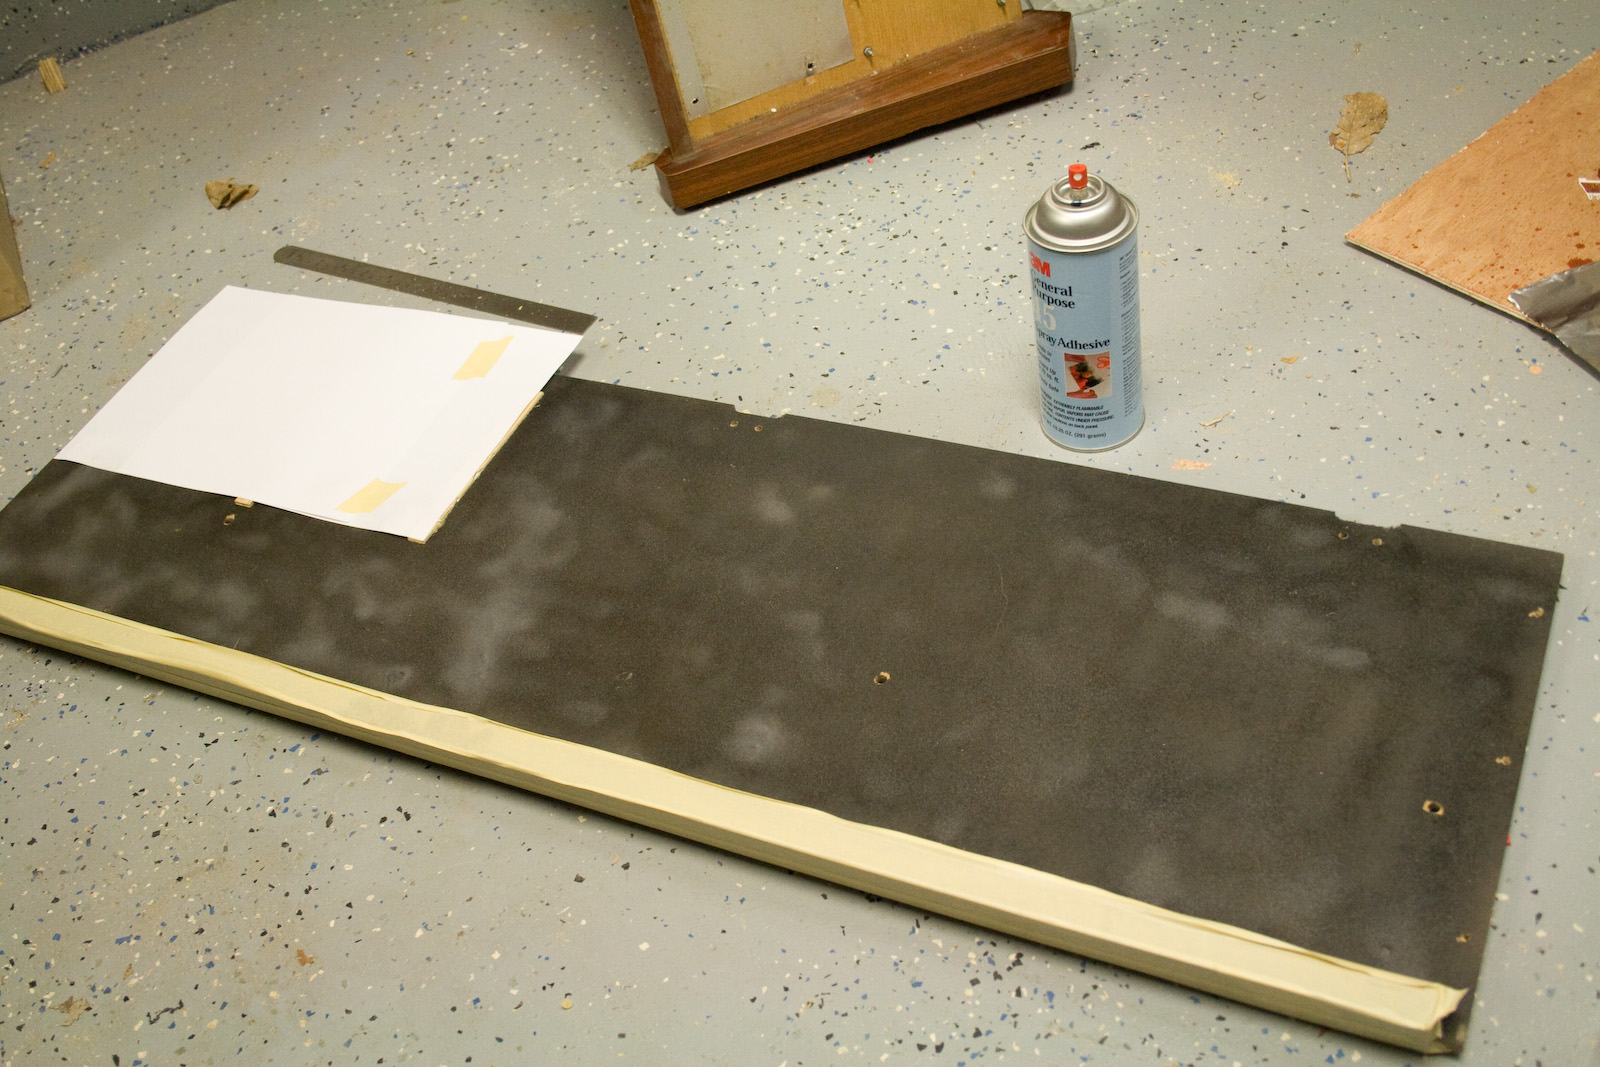
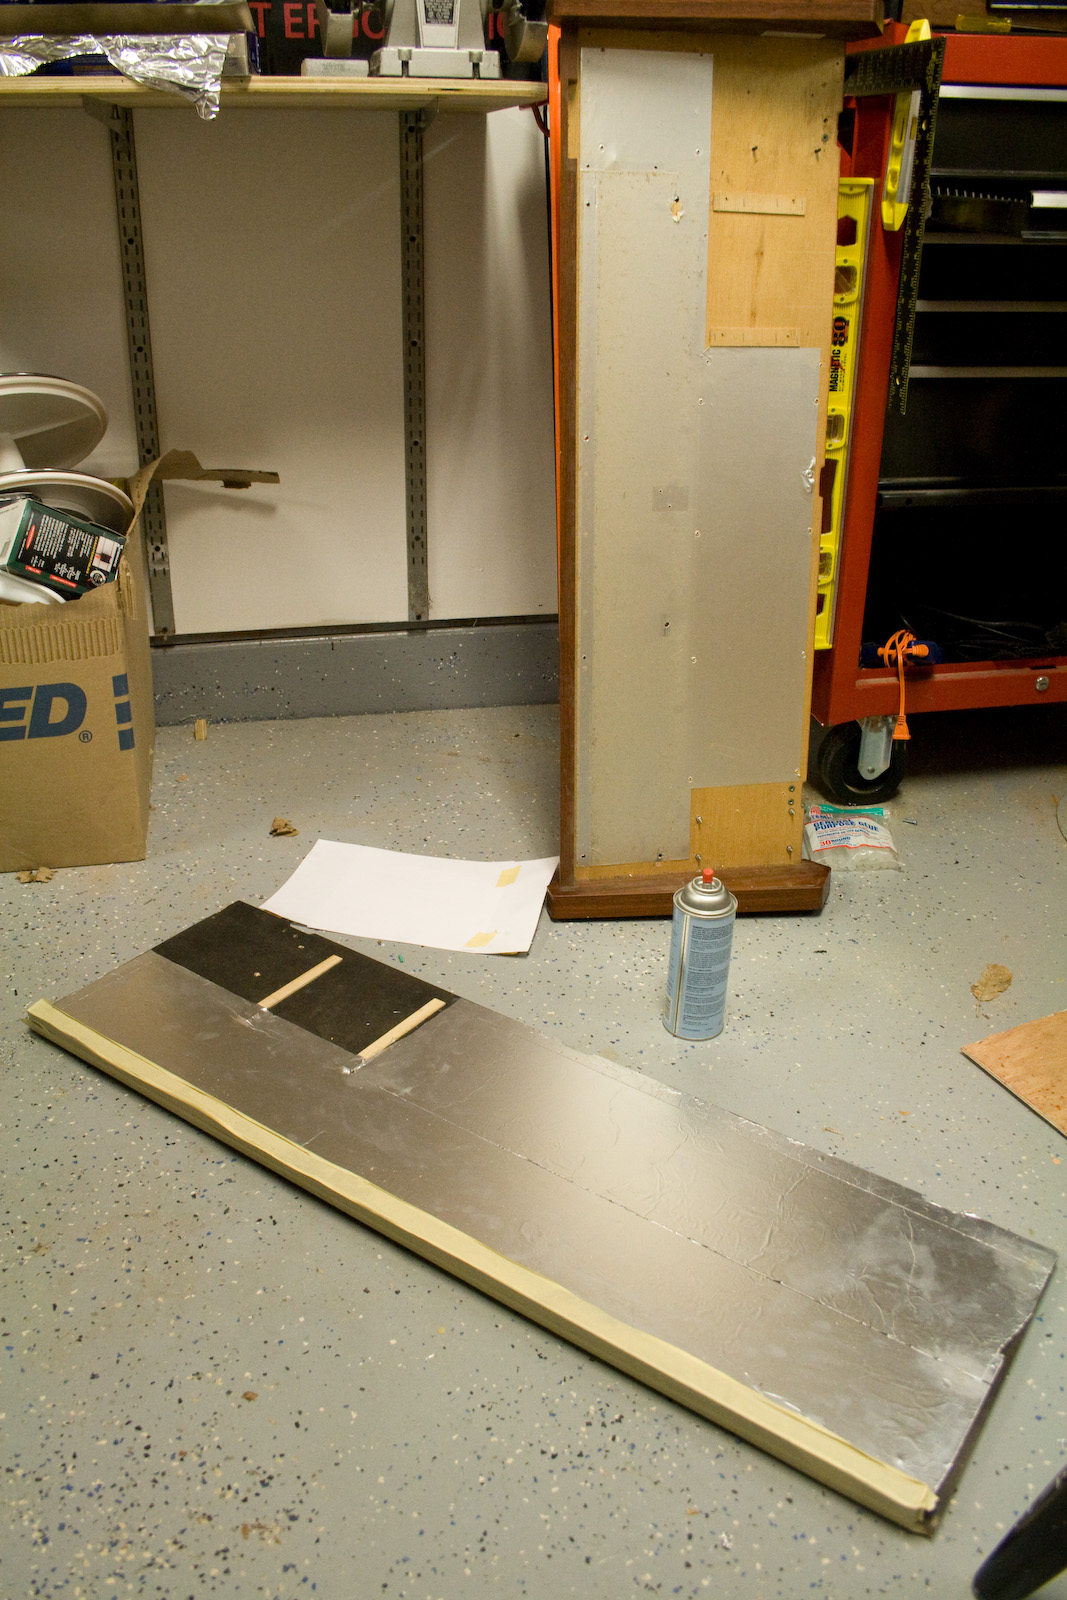
adhesive applied, then foil pressed down.
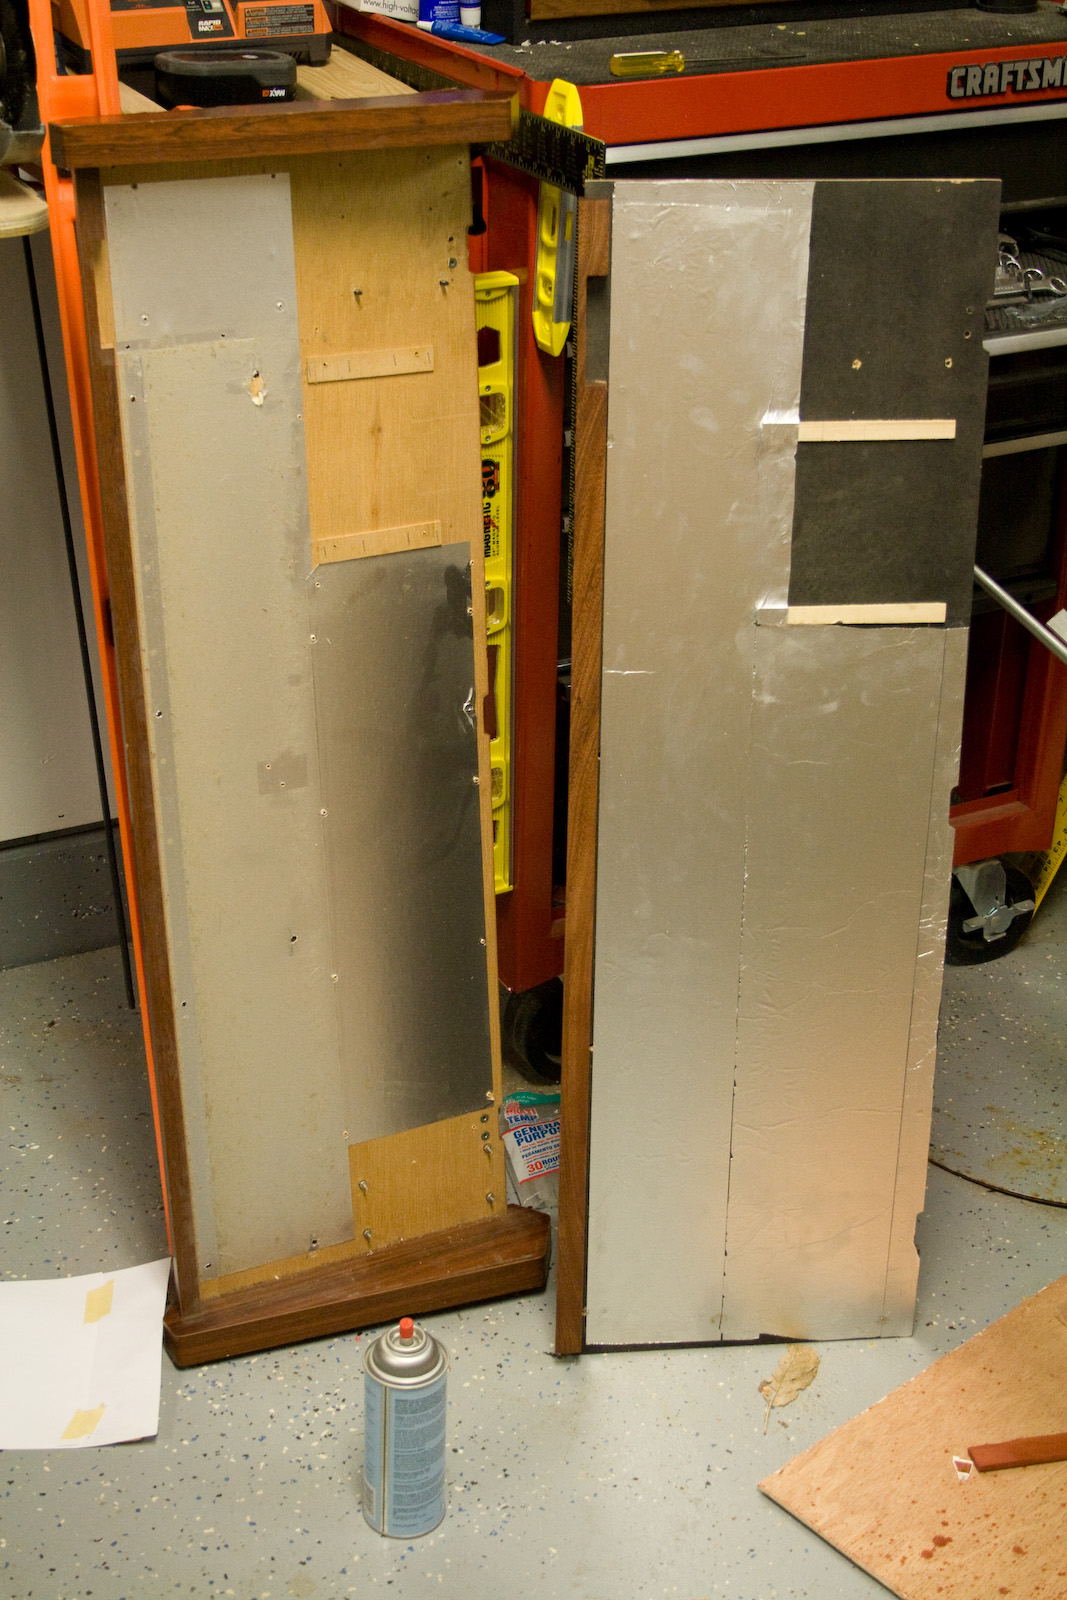
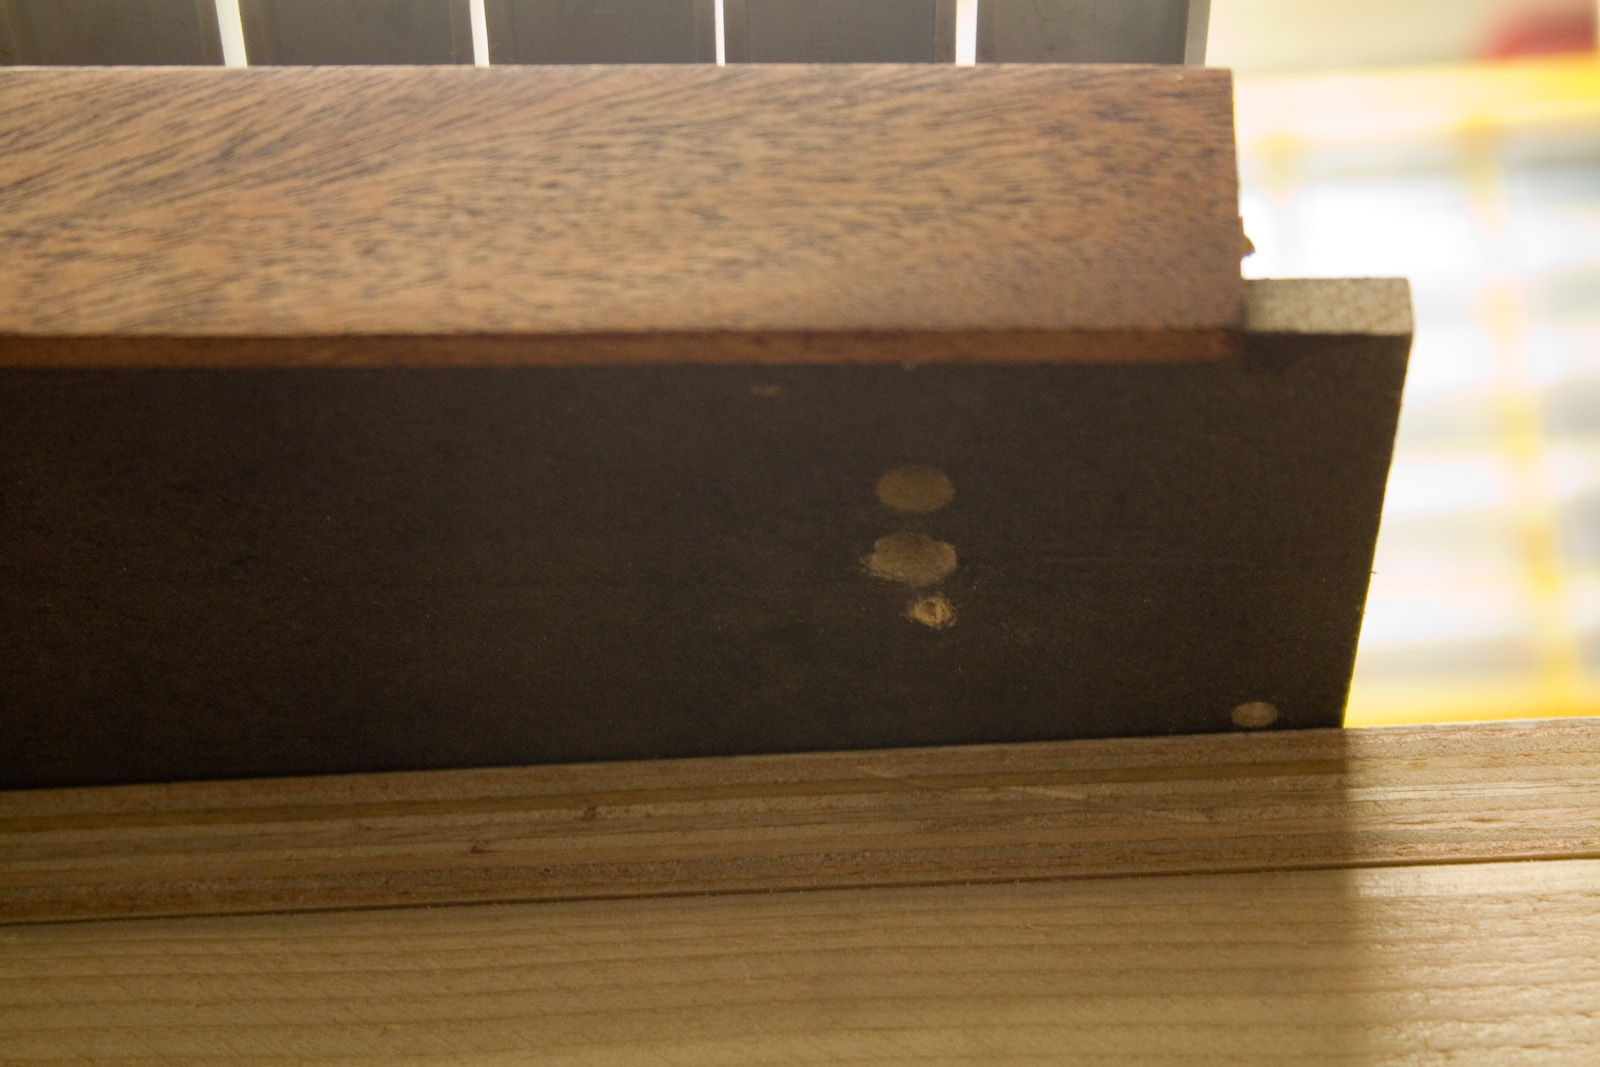
compare, old vs new... still missing some screw bits...

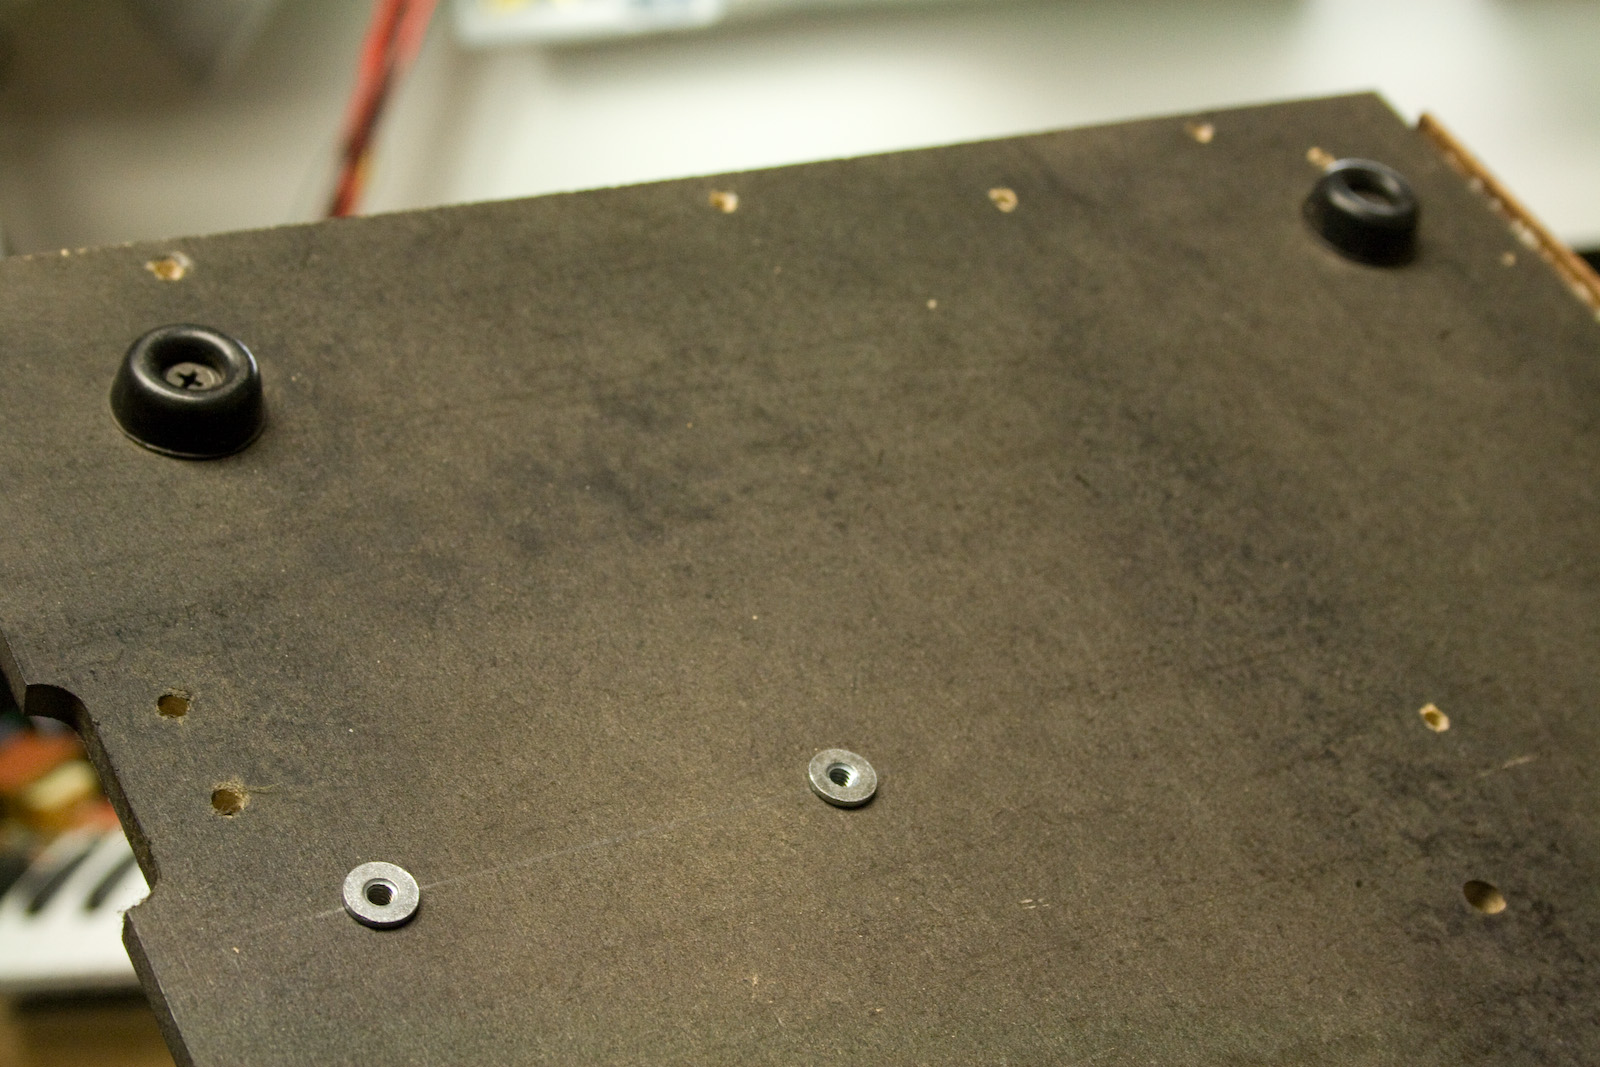
anchors for the transformer...
anchors for the hinges...
compare... old vs new... equivilent! (or very close)
carefully slide under...
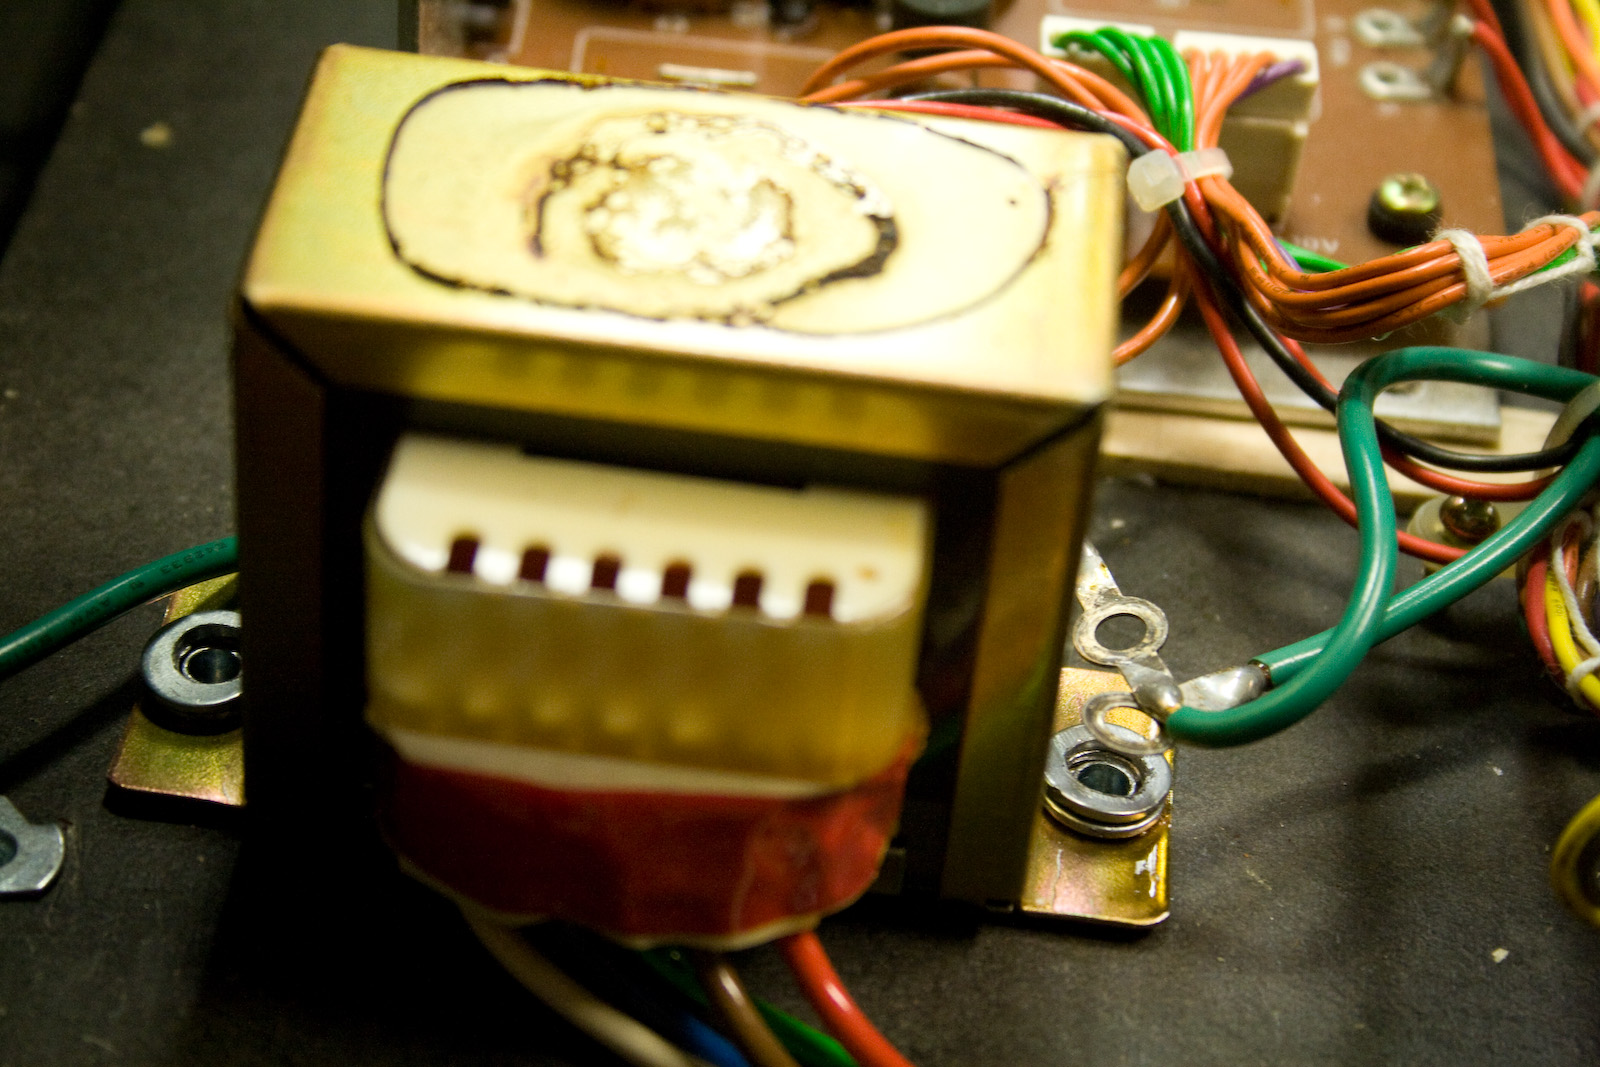
transformer needed drilling to fit around the anchors, + 2 washers.

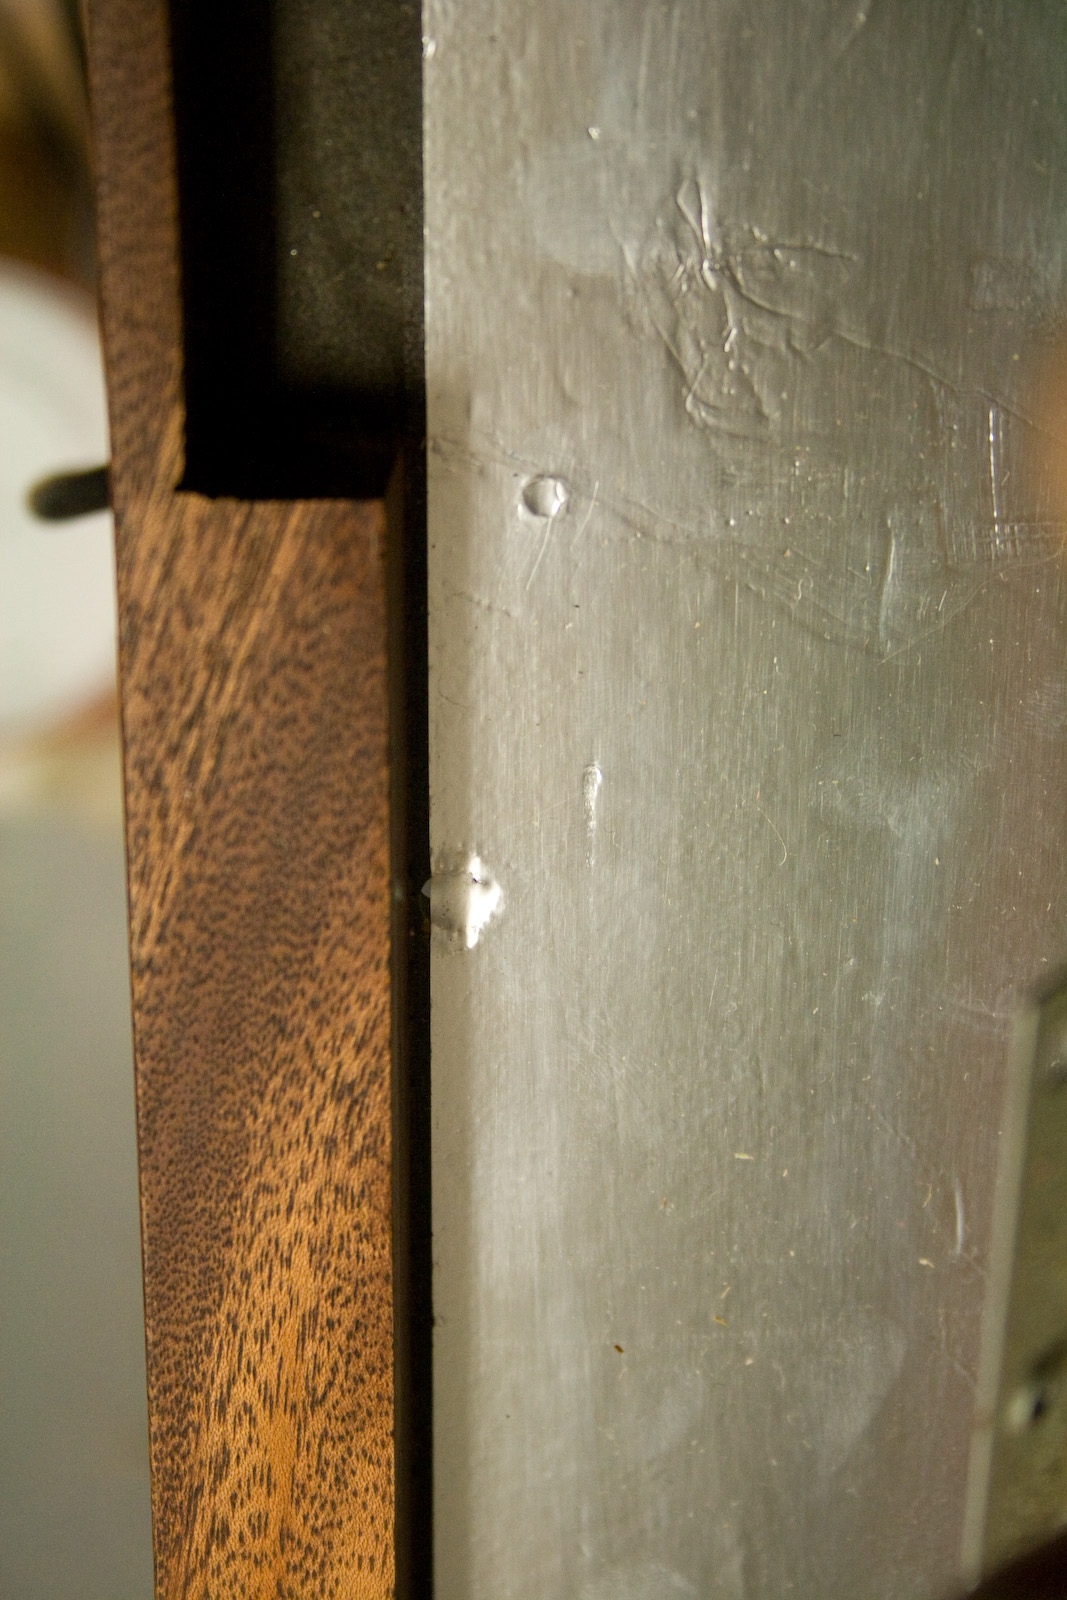
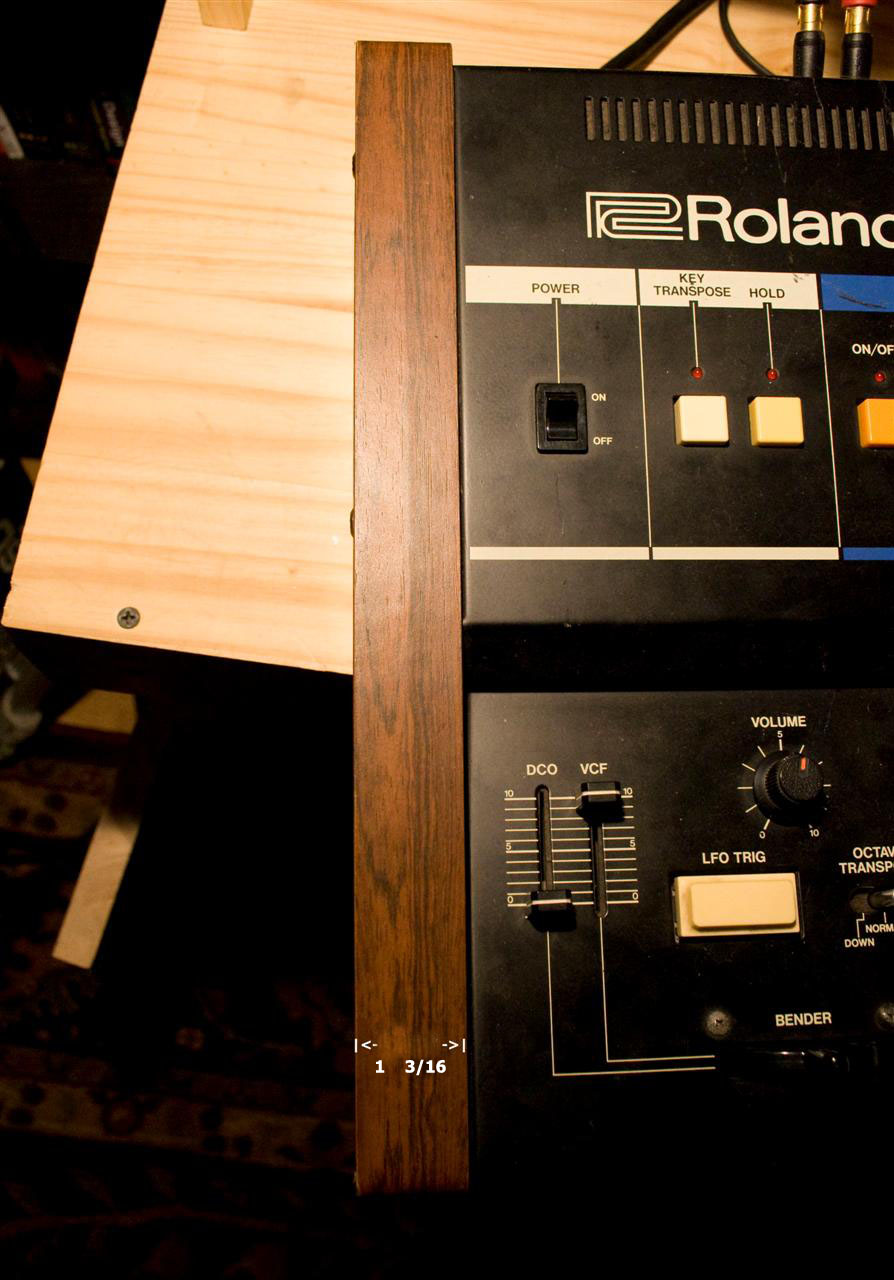
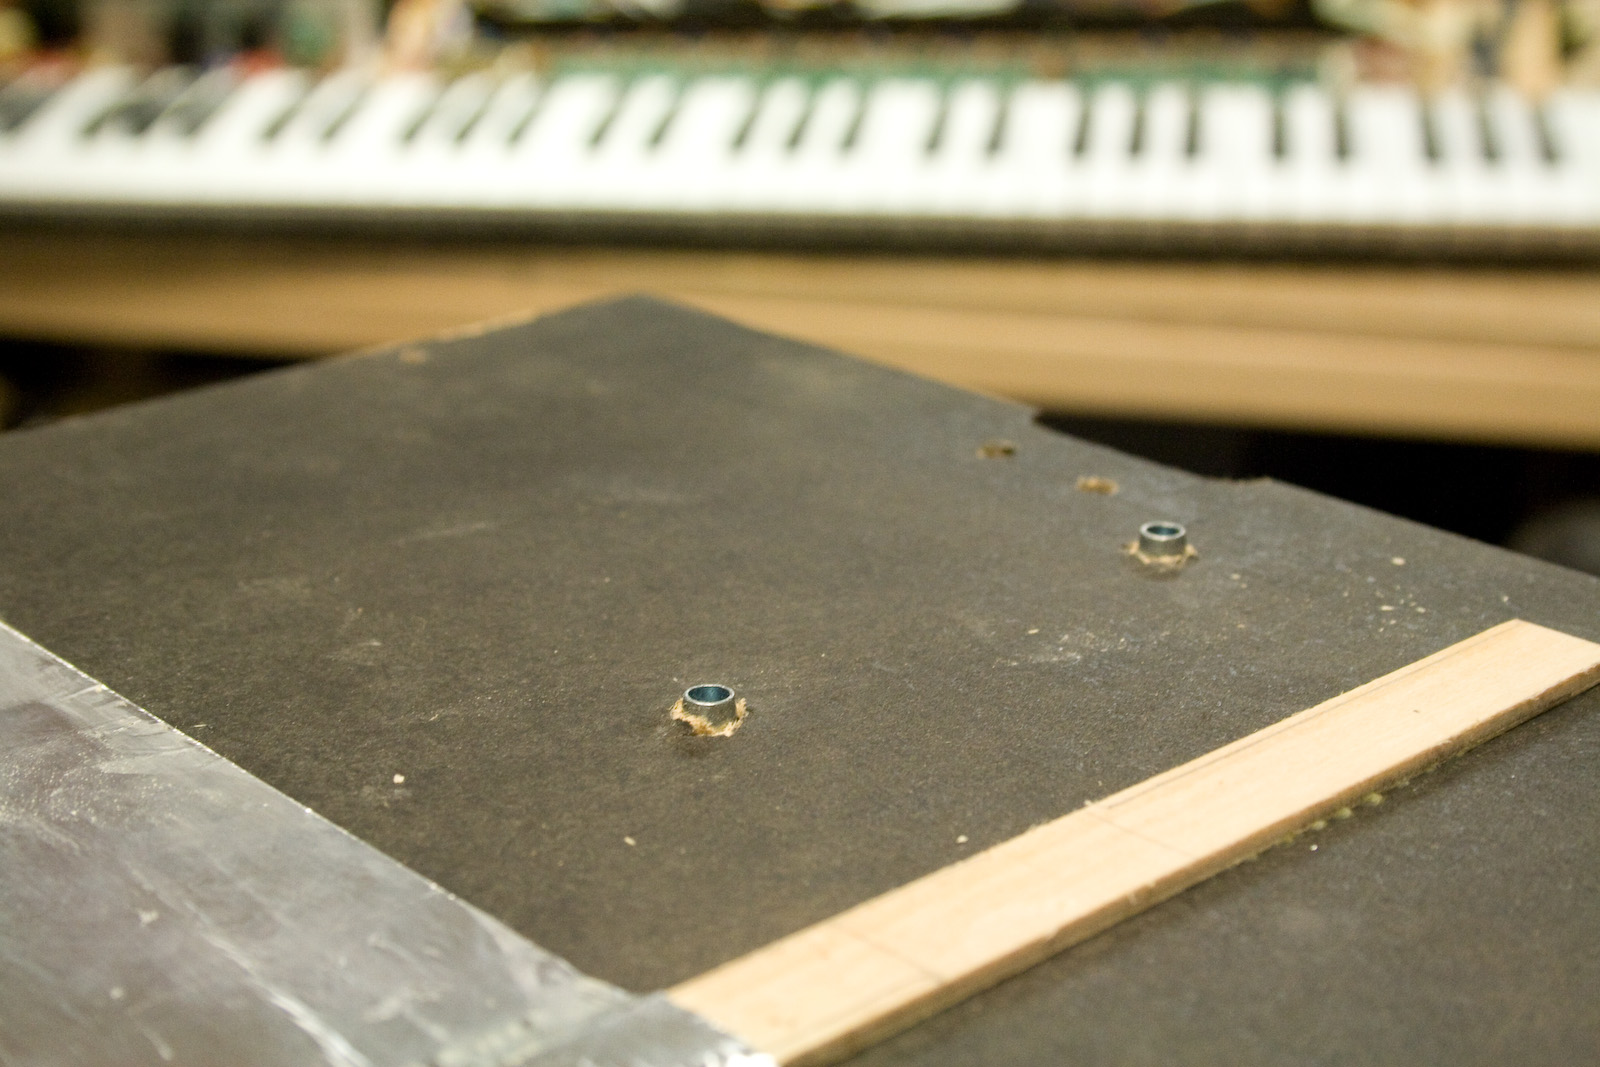
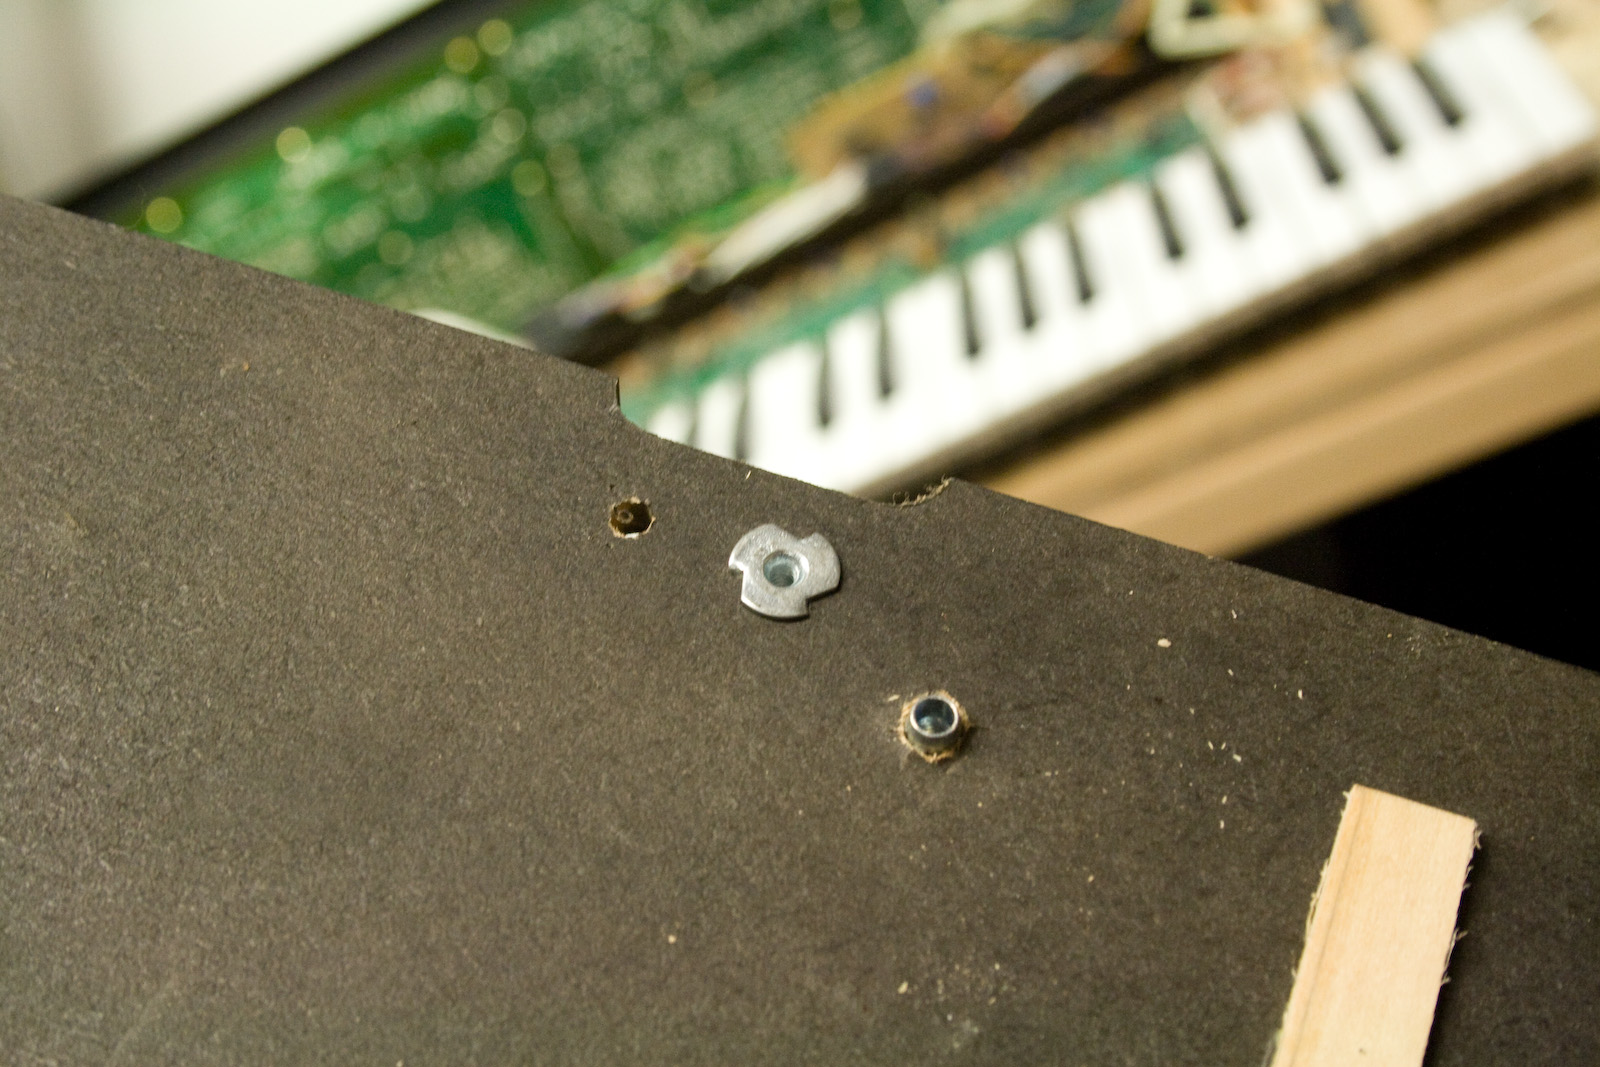
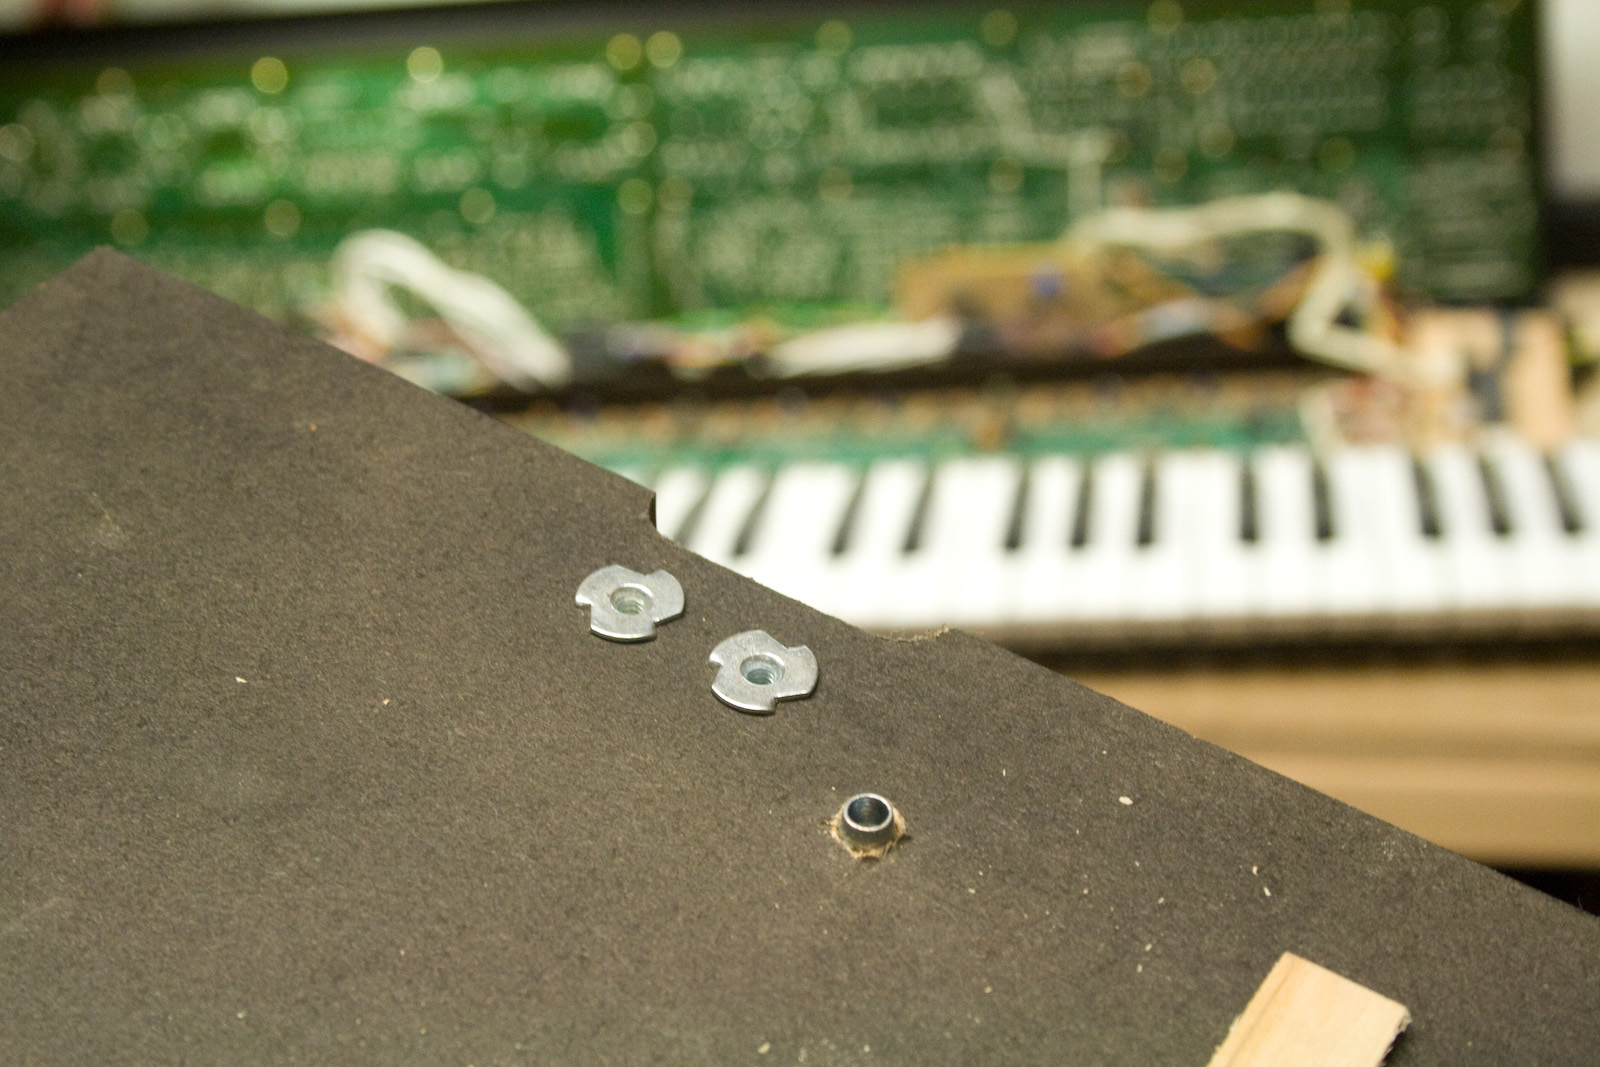
these holes don't line up... (old vs new pictured)
our keyboard assembly will be too far forward
need to redrill...
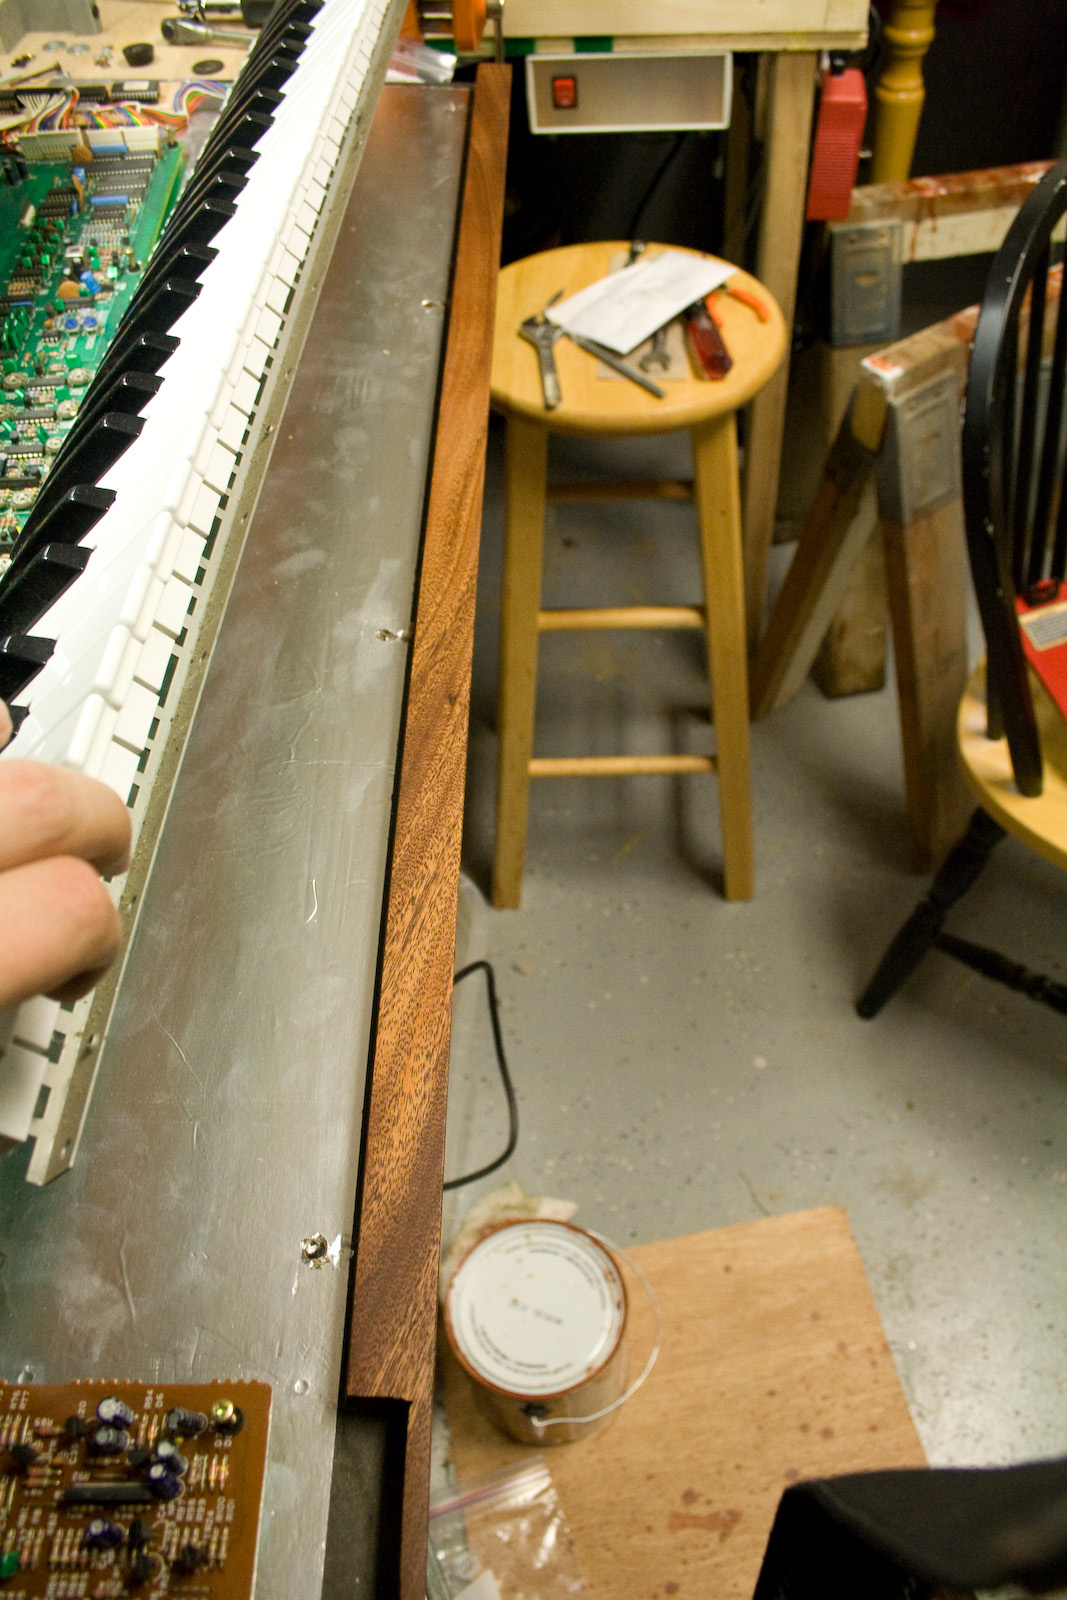
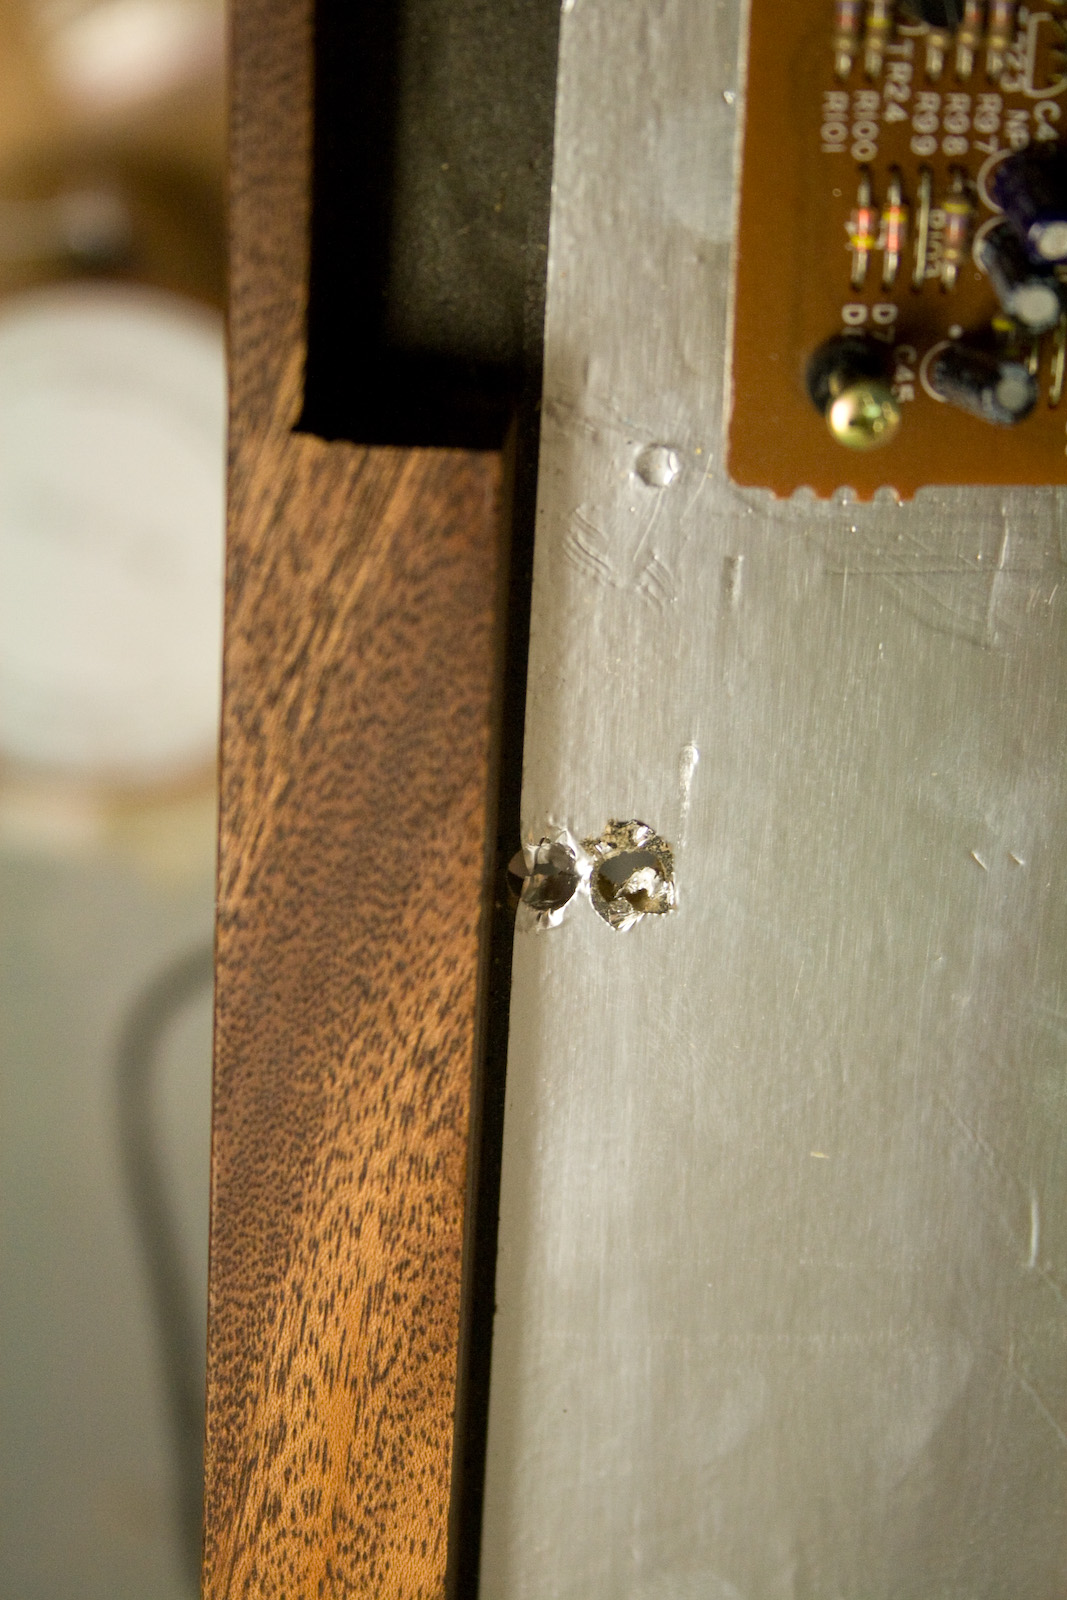
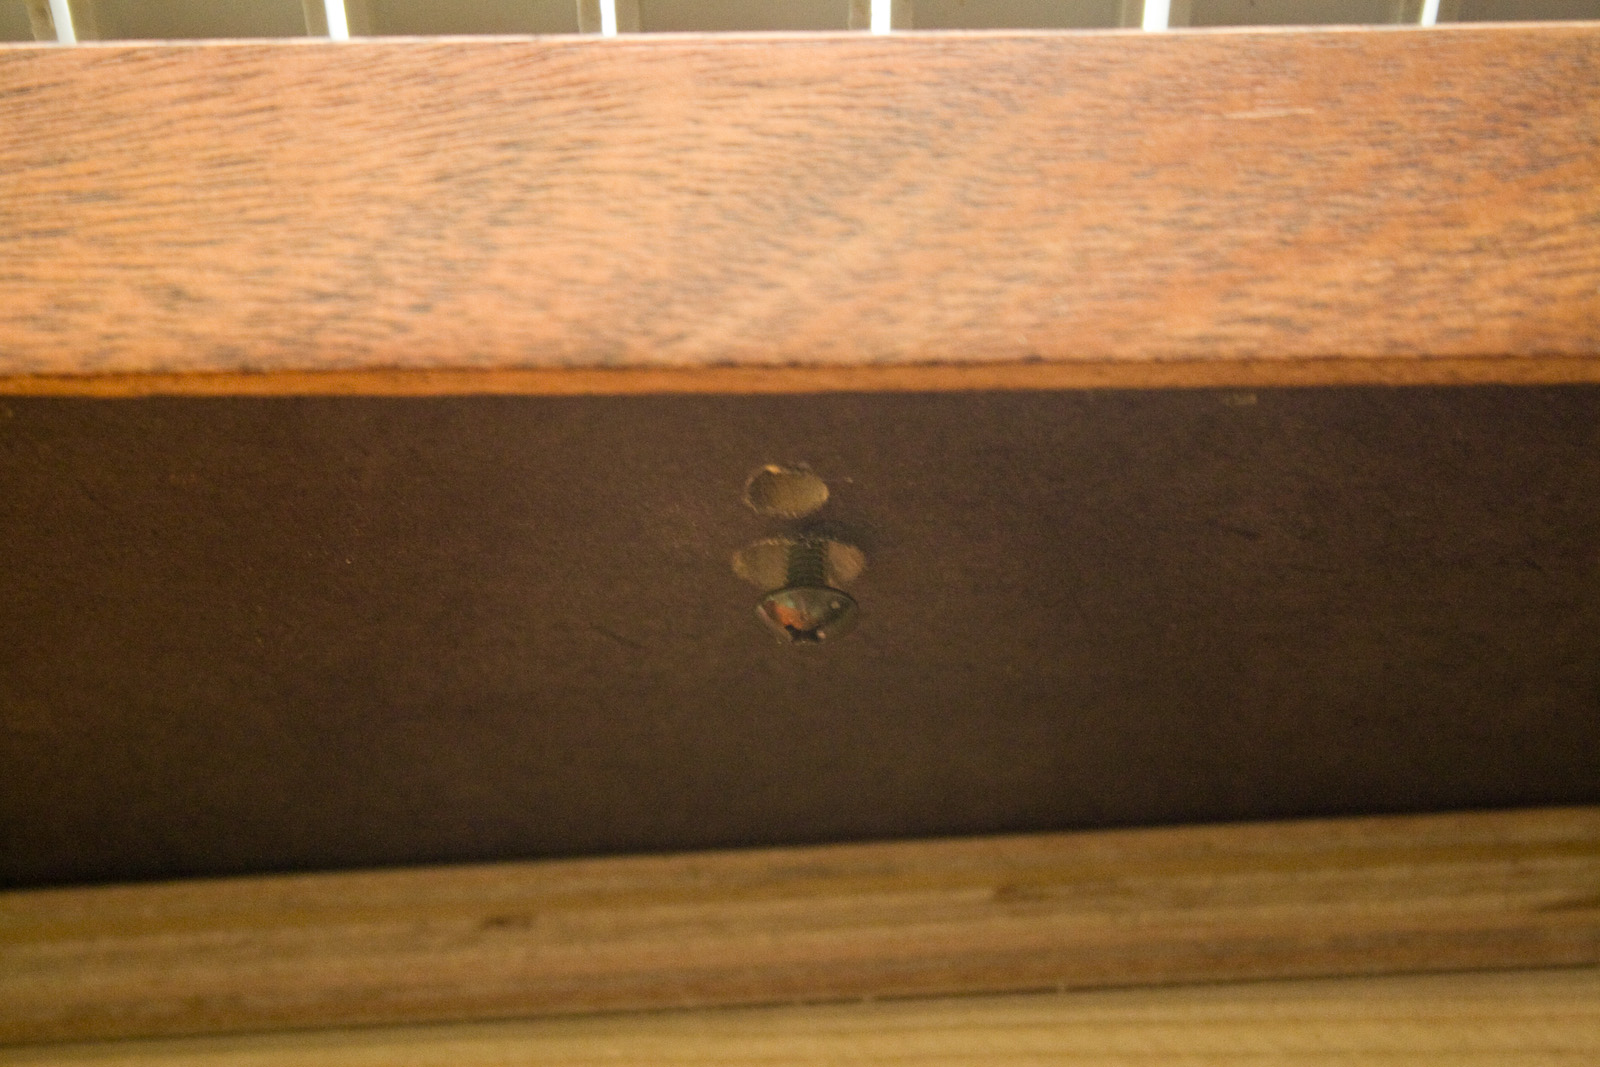
redrilling the holes for the keyboard assembly...
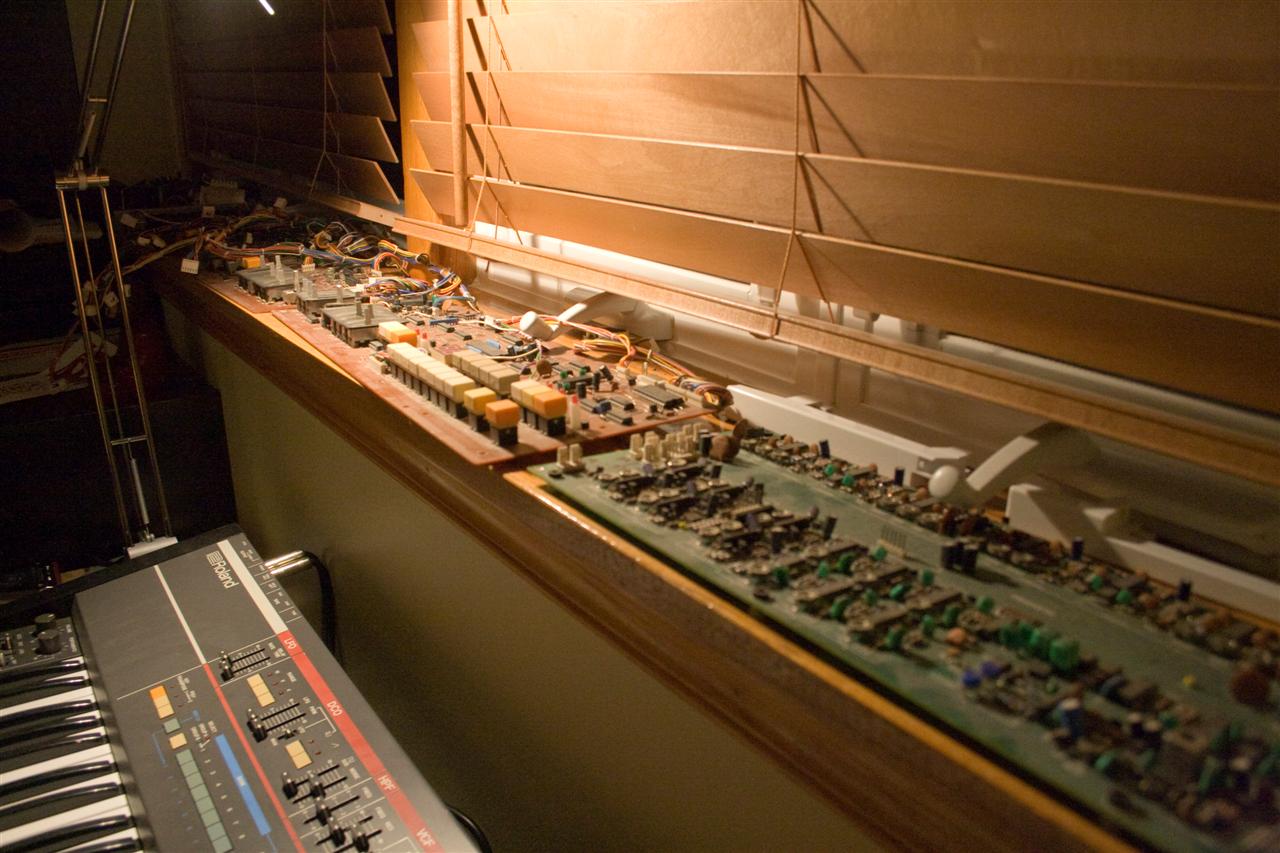
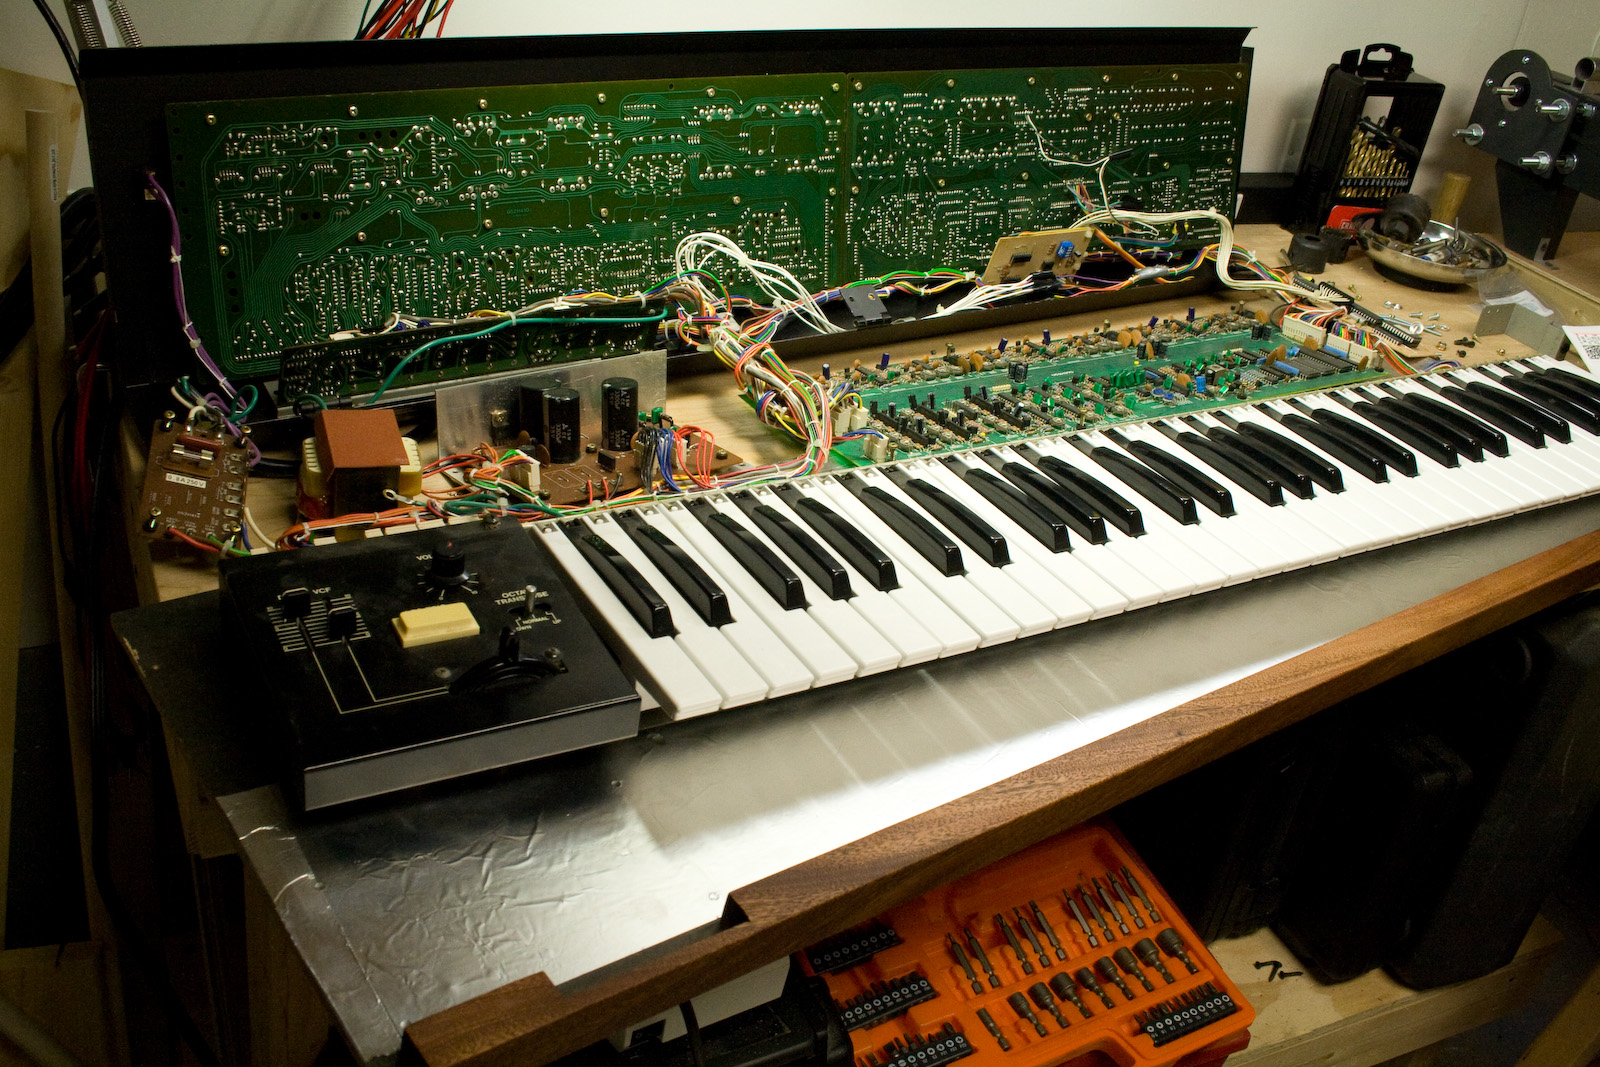
... and then ... lots of screwing circuit boards to the inside of the case... and then...
(sorry no picture, look at this and use your imagination)
together! nice.
one more problem...
the pitchbend assembly is a bit rotated (not square with the case)
and, too large a gap between it and the wood??
think I'll widen those holes and reseat...
that's better...
maybe I still need to slide over the keyboard assembly, but for now it'll be good enough...
(i'd need to widen those holes again for the KB to move over)
also needed to move the right front rubber foot back a bit to accomodate the new hole drilled... but all in all, not too bad.
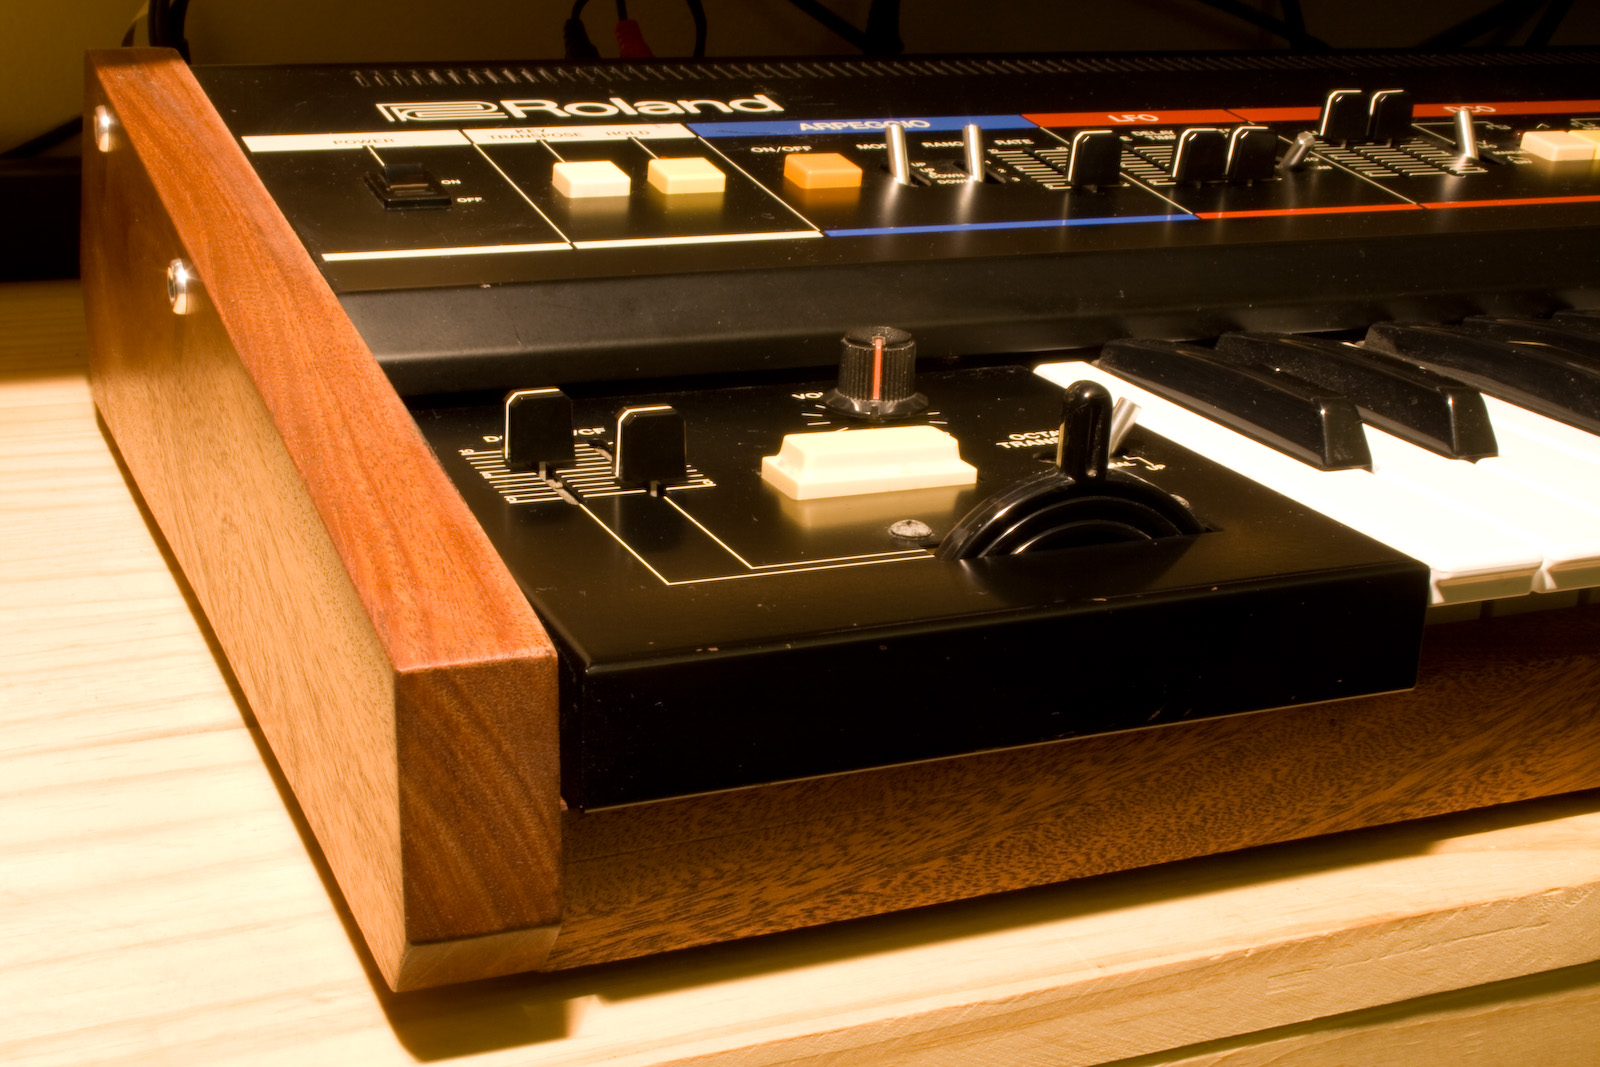
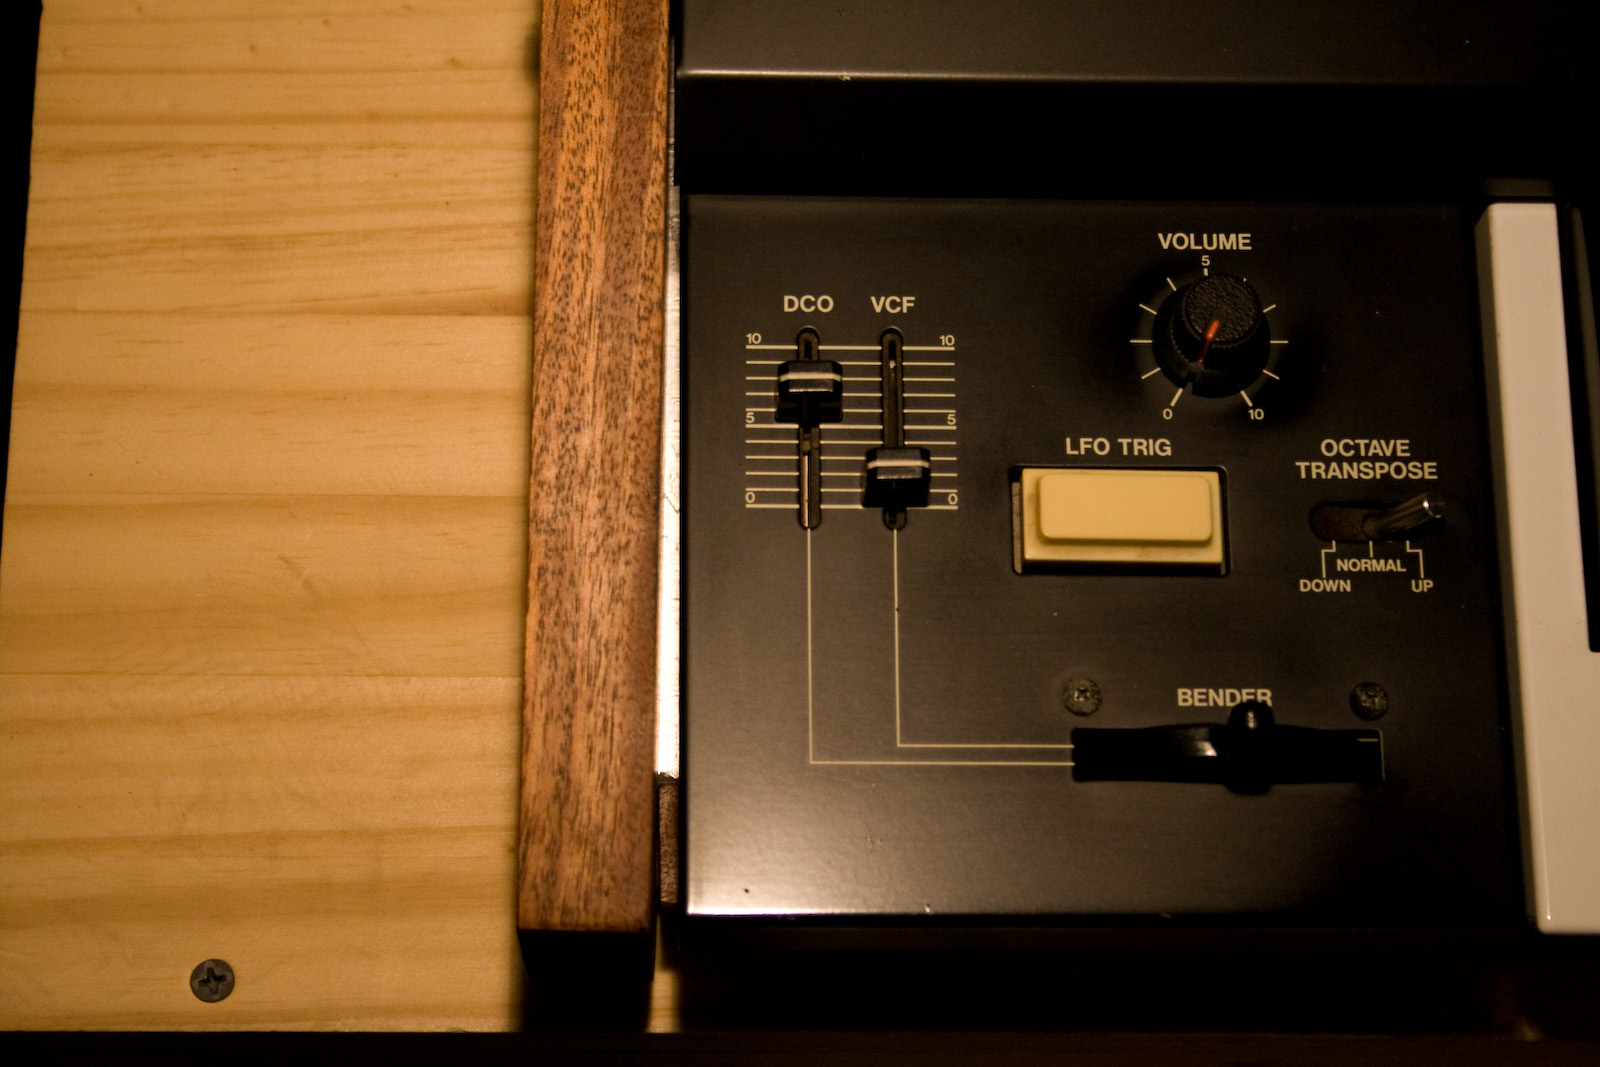
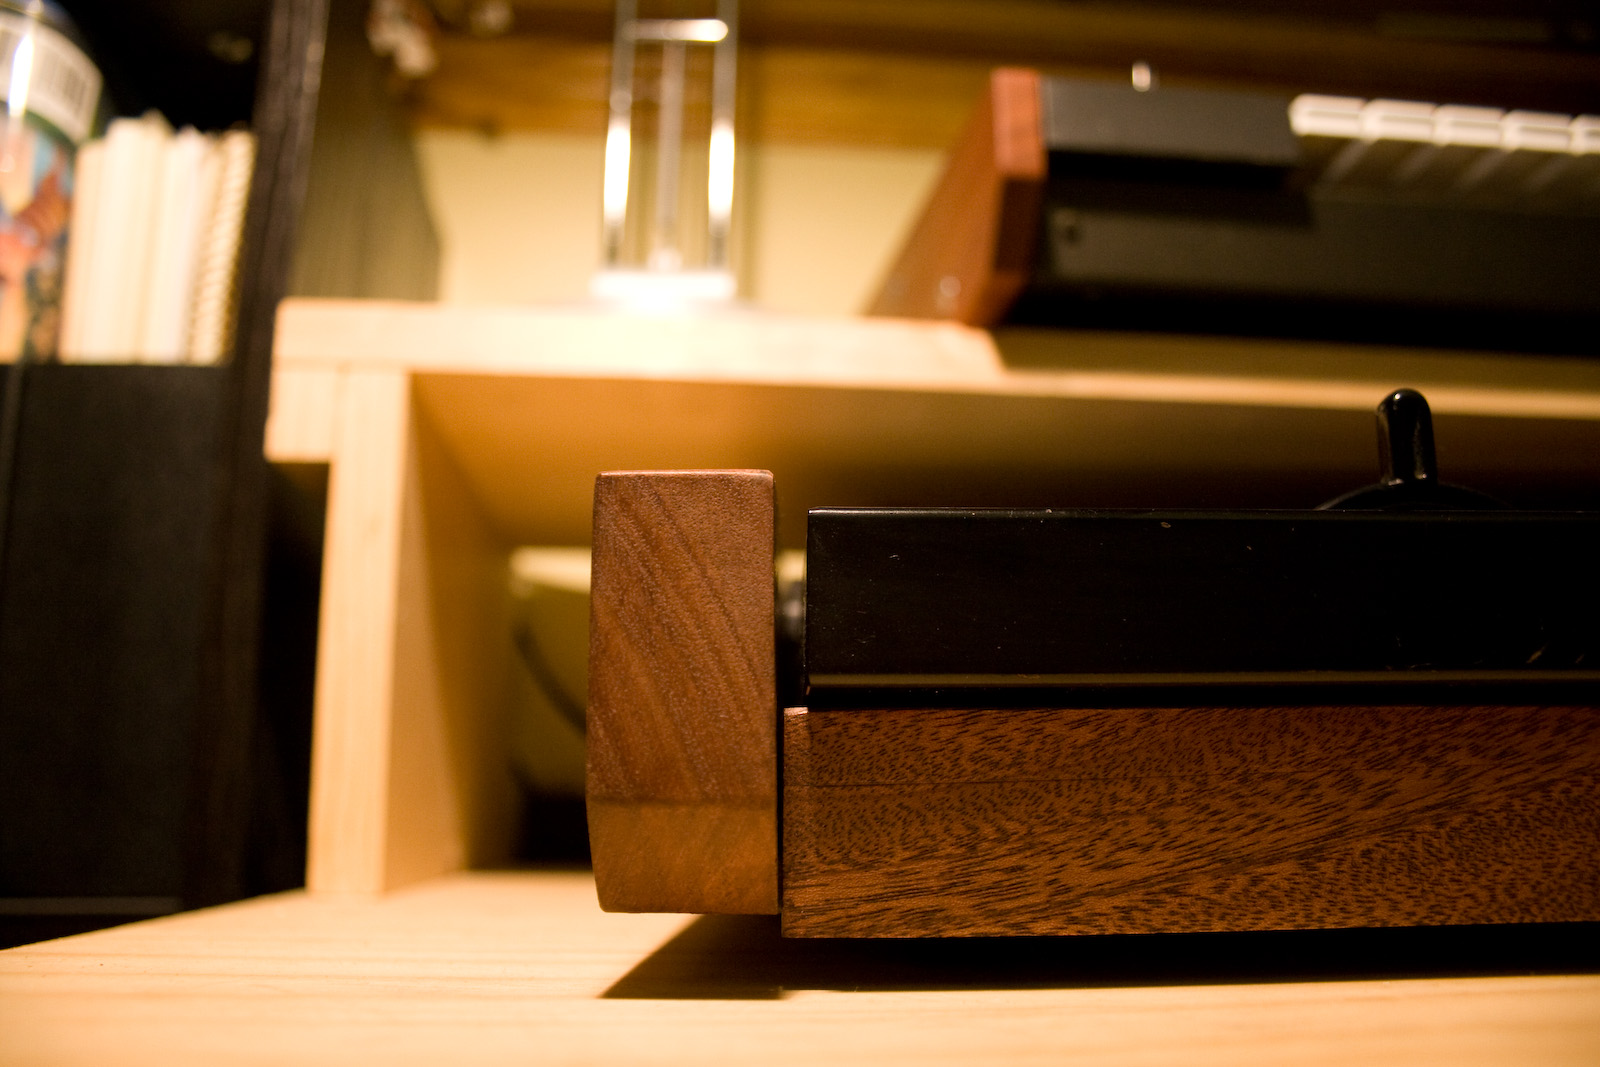
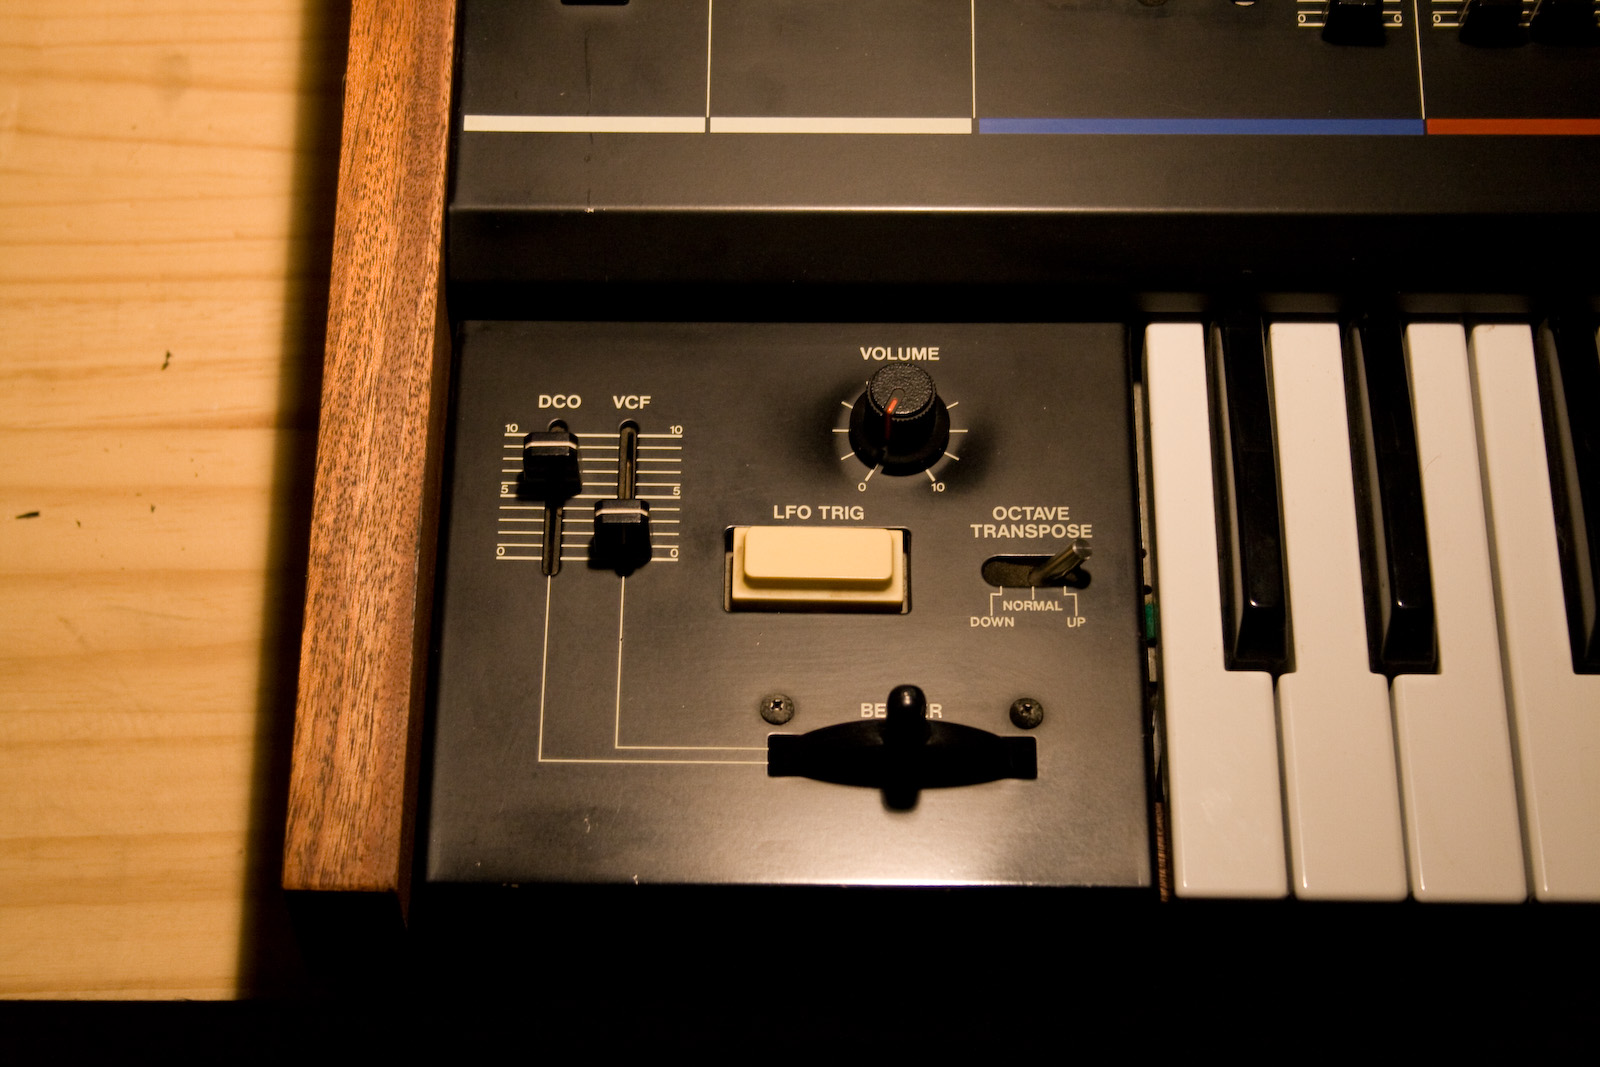
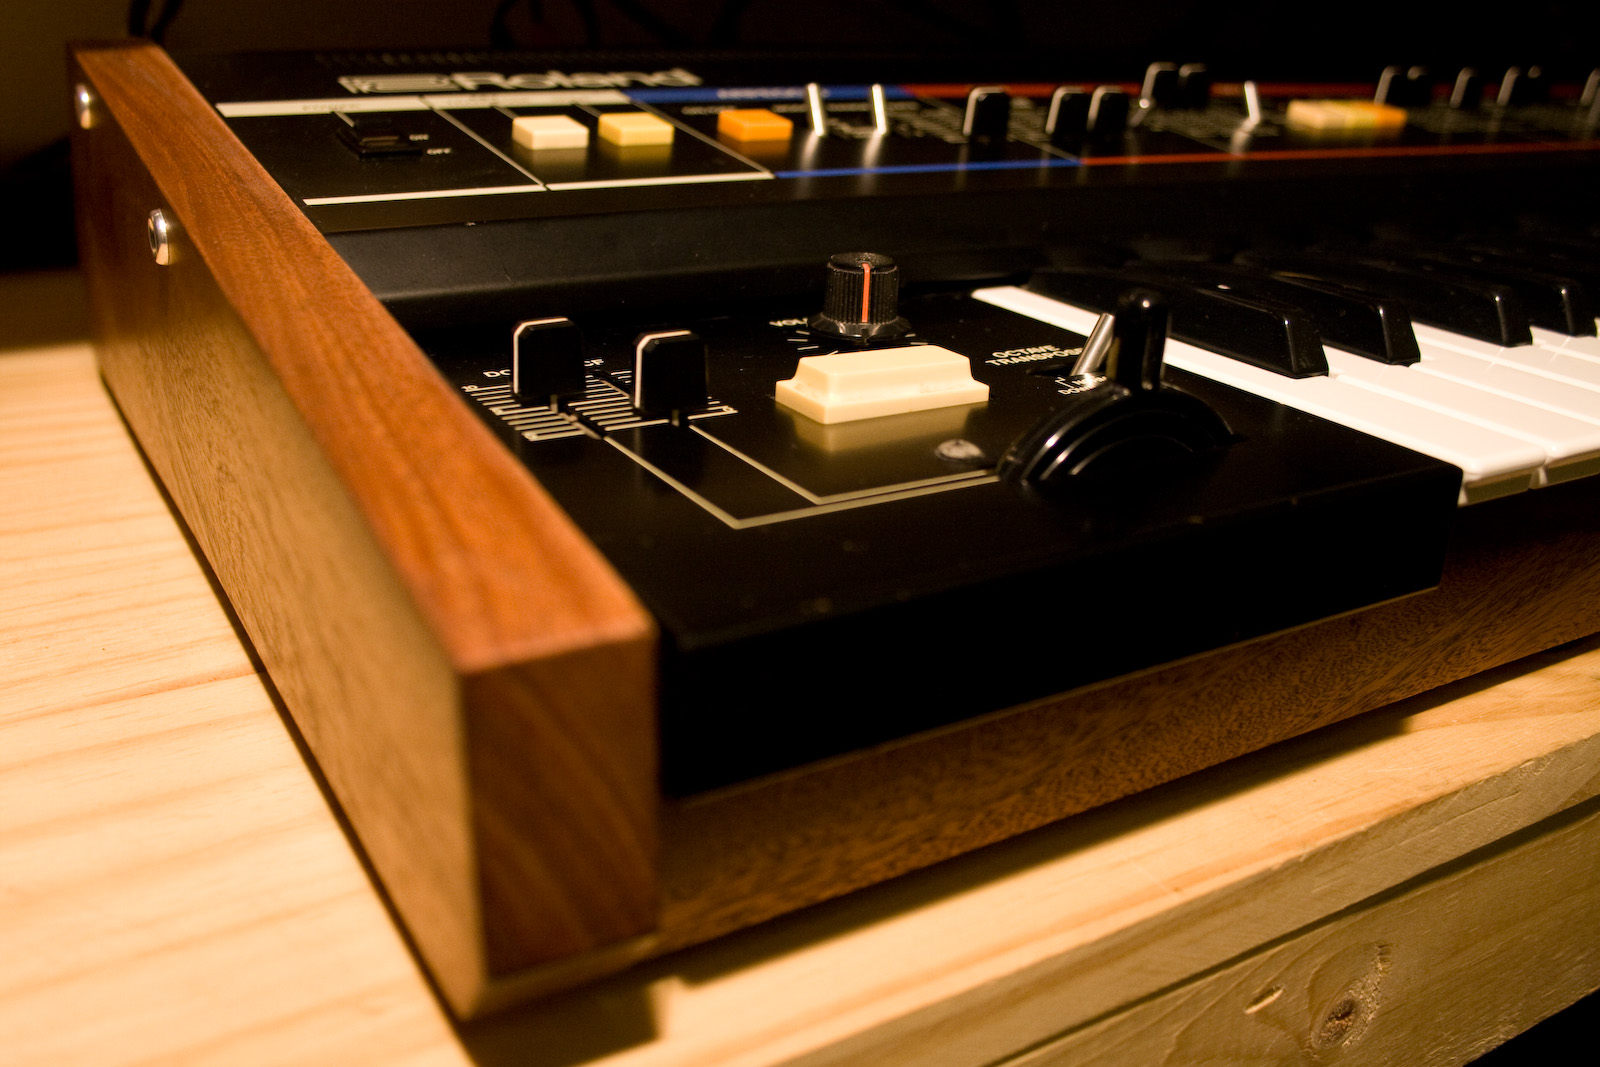
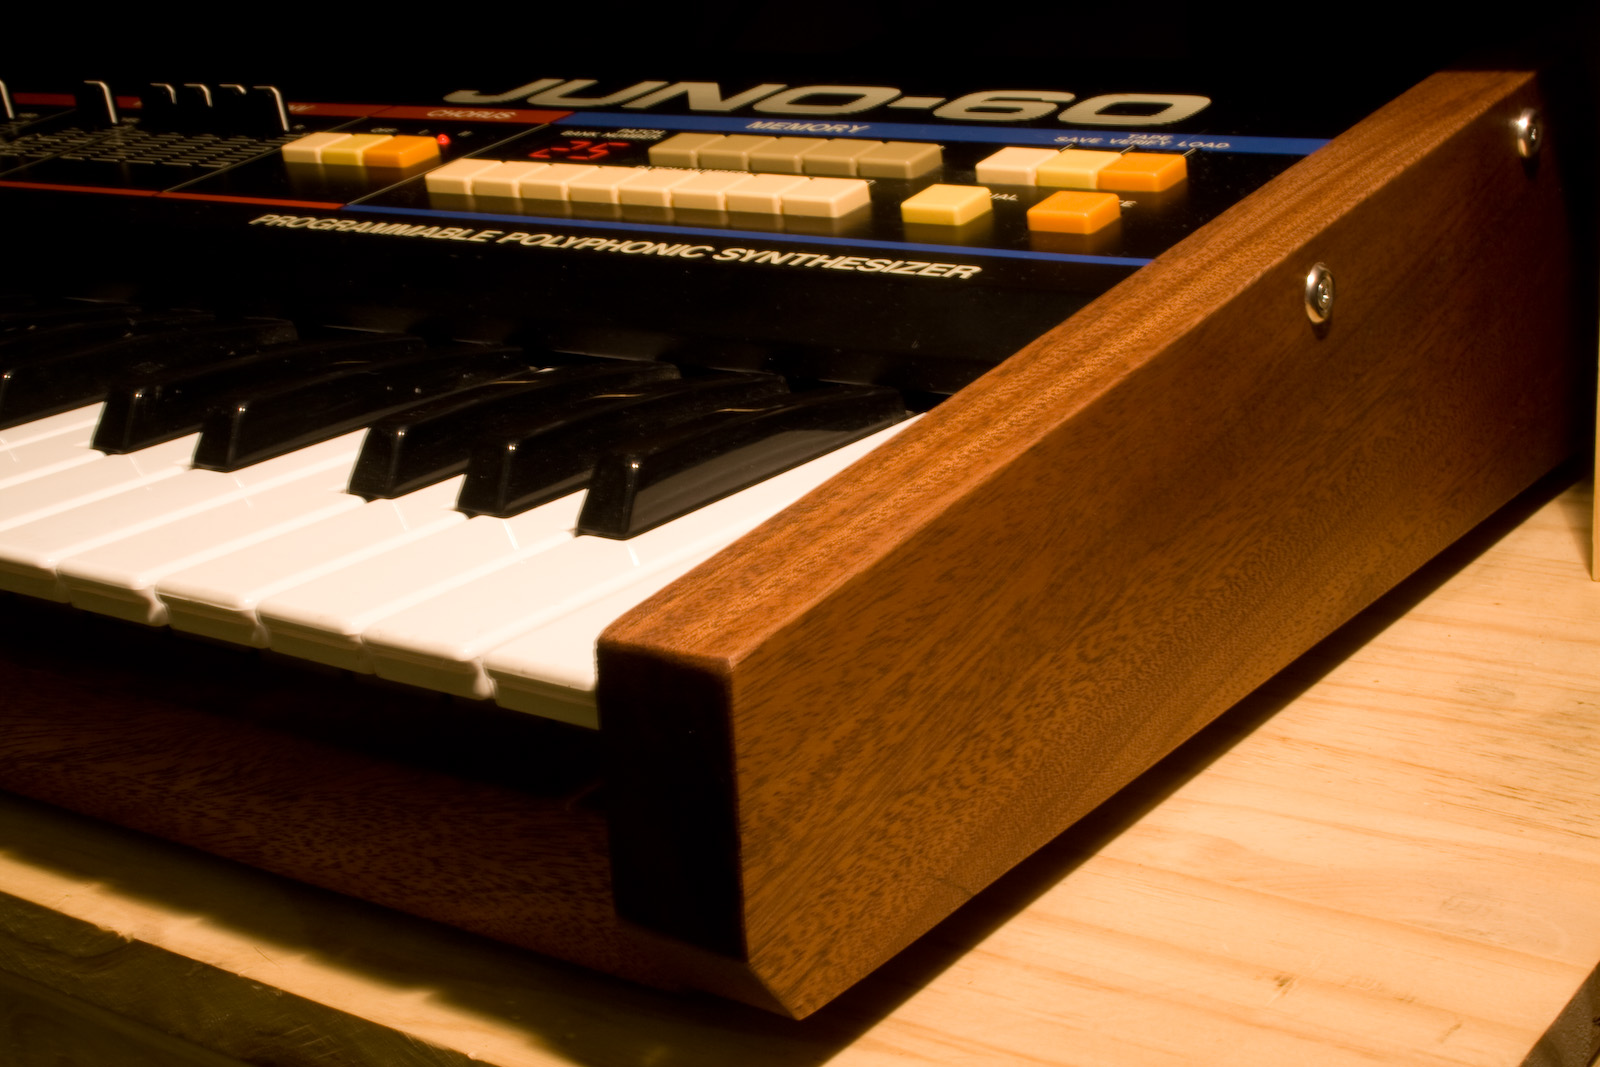
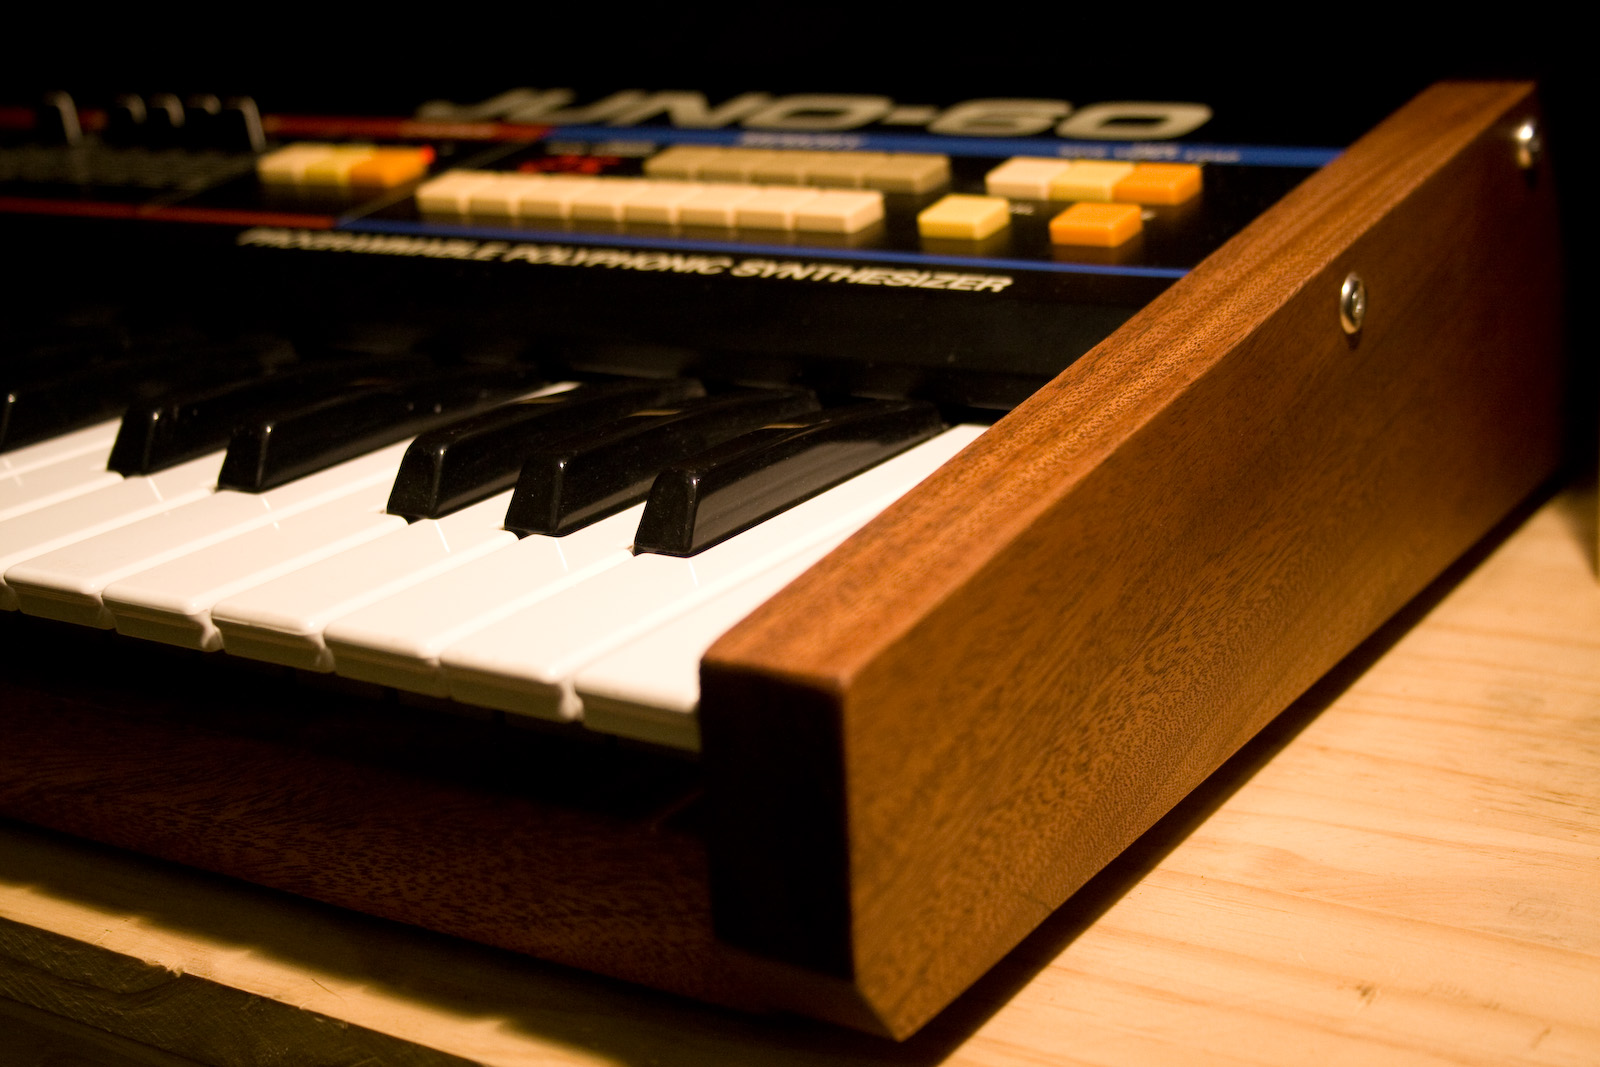
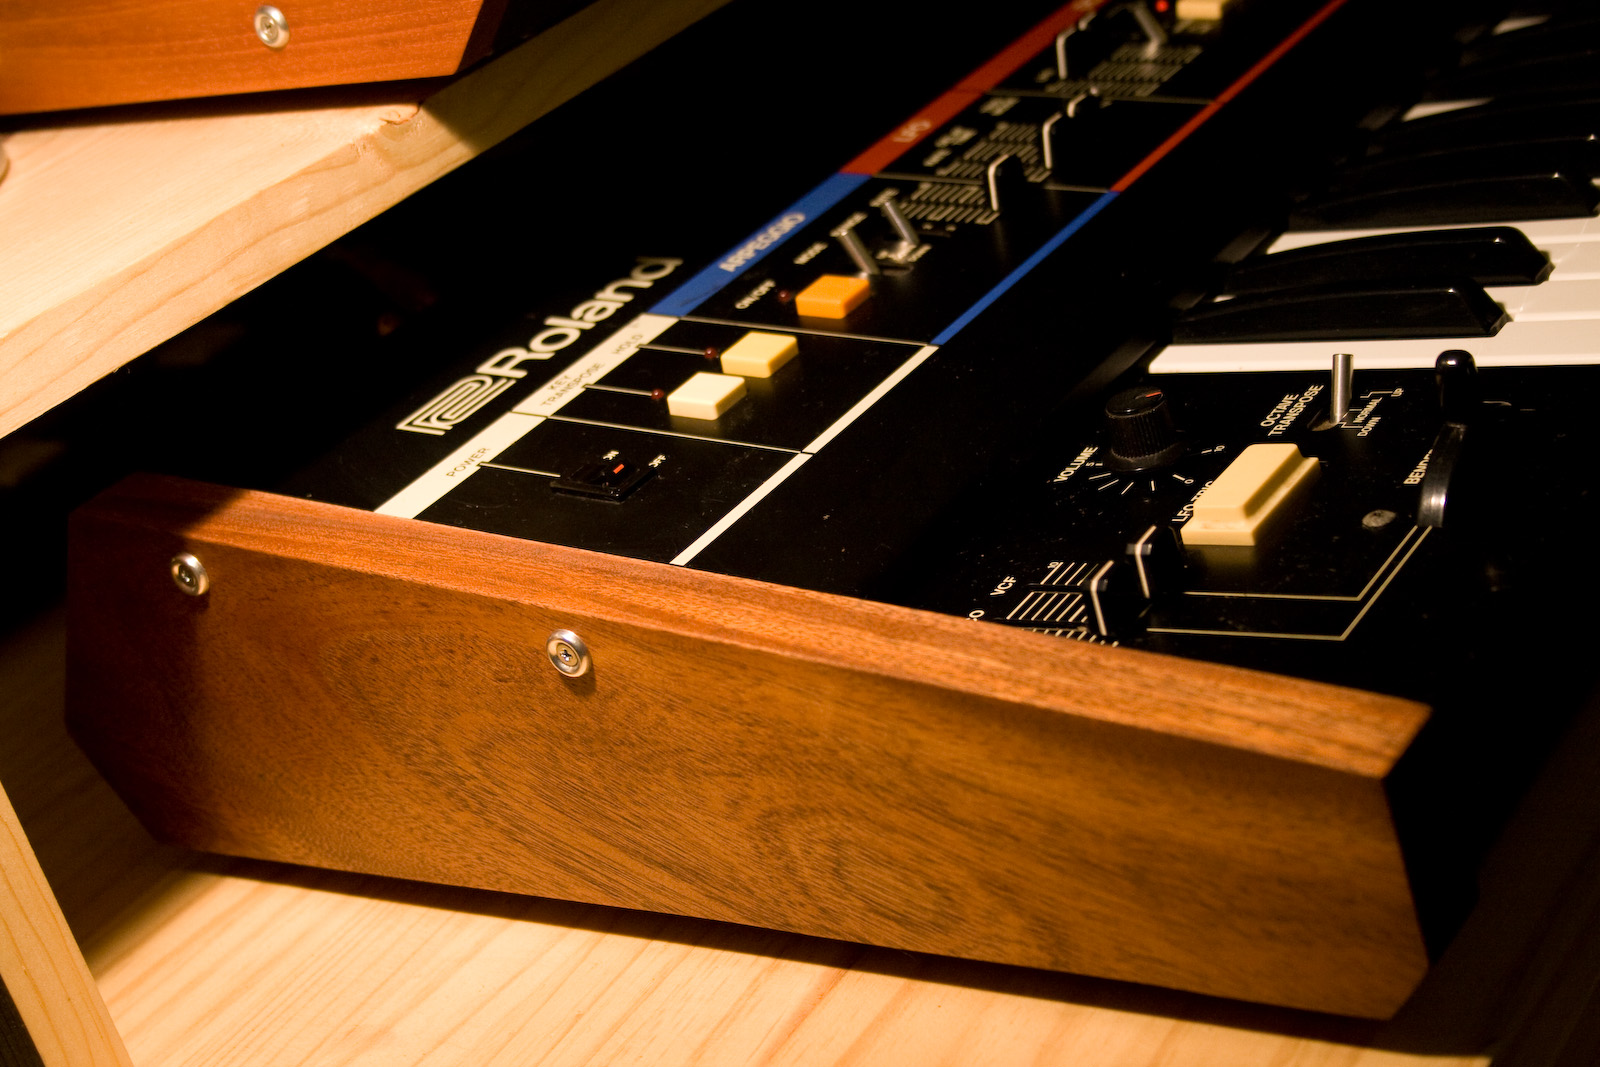
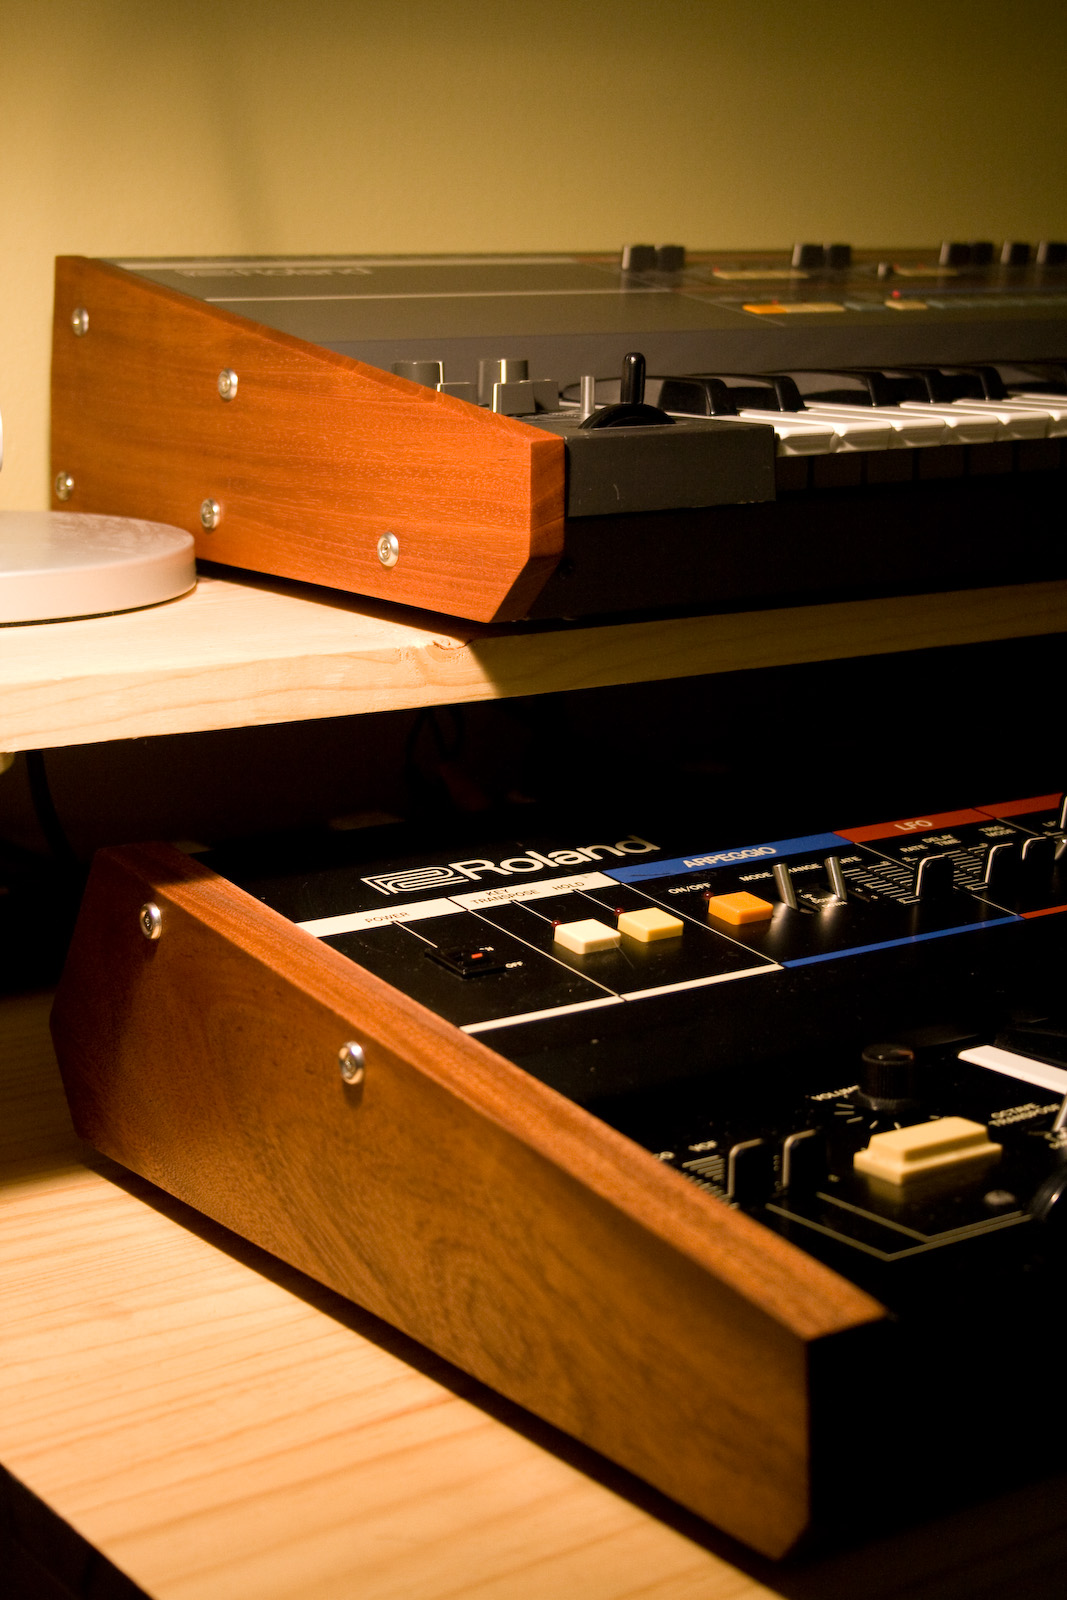
glamour shots...
left/front : w/ clear depth of field
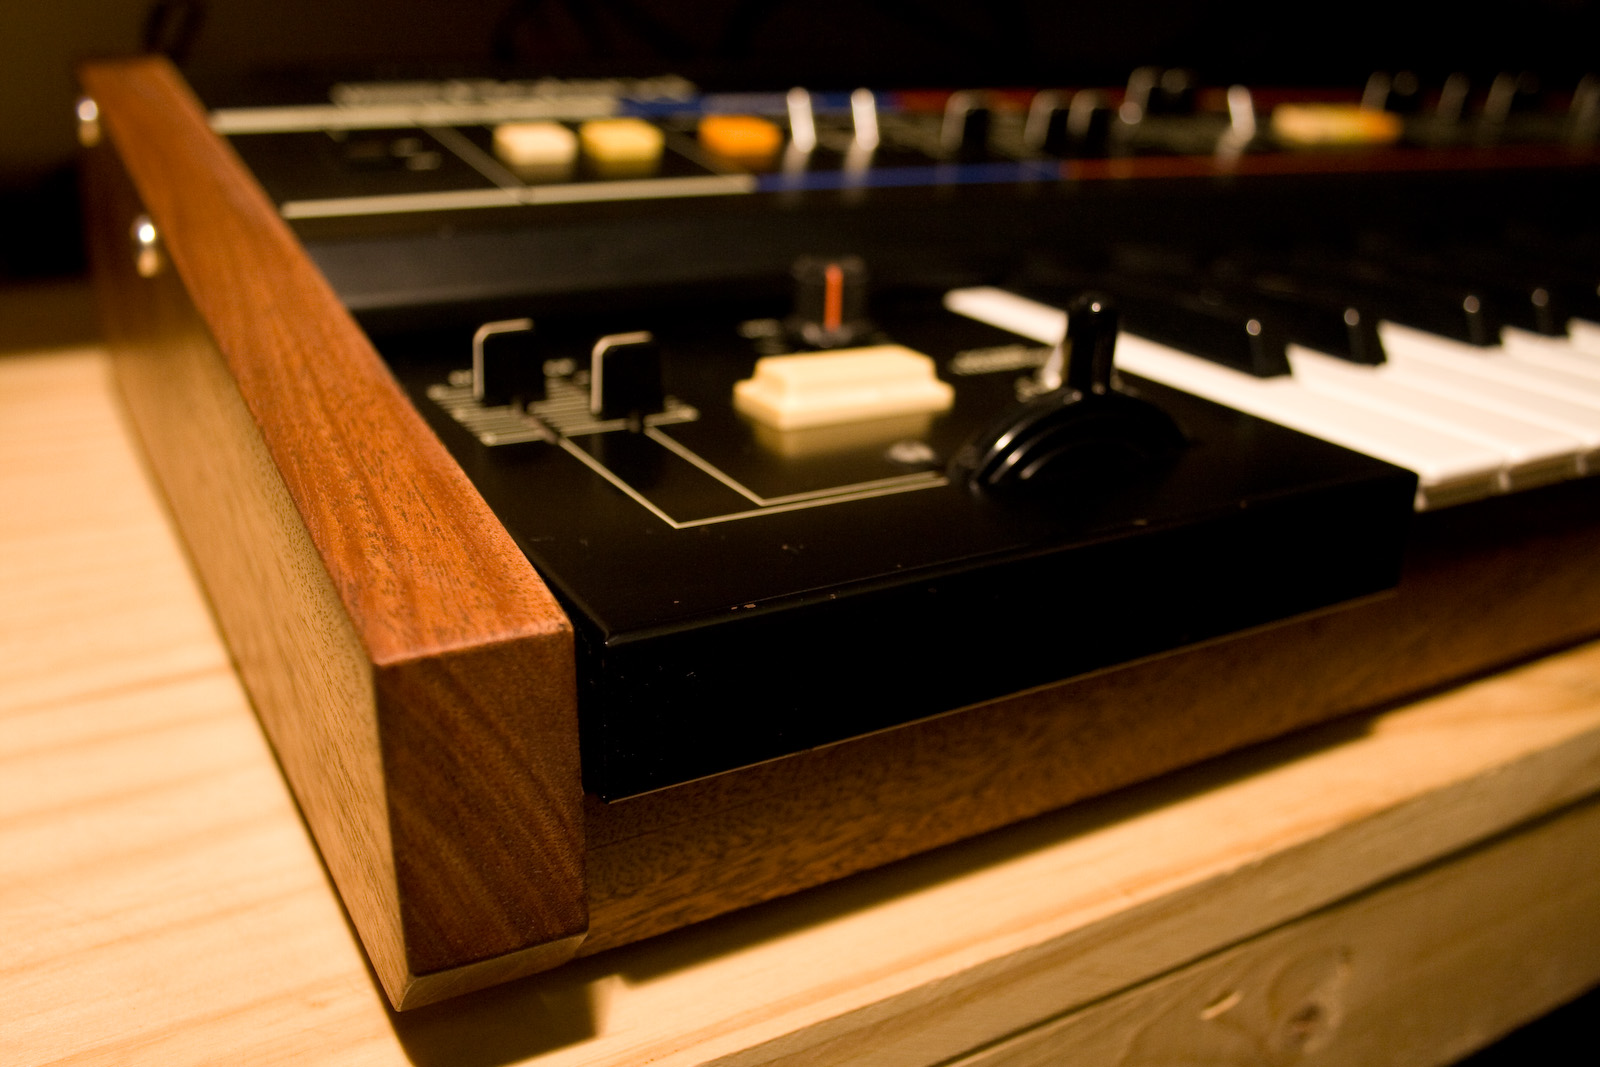
left/front : w/ blurry depth of field
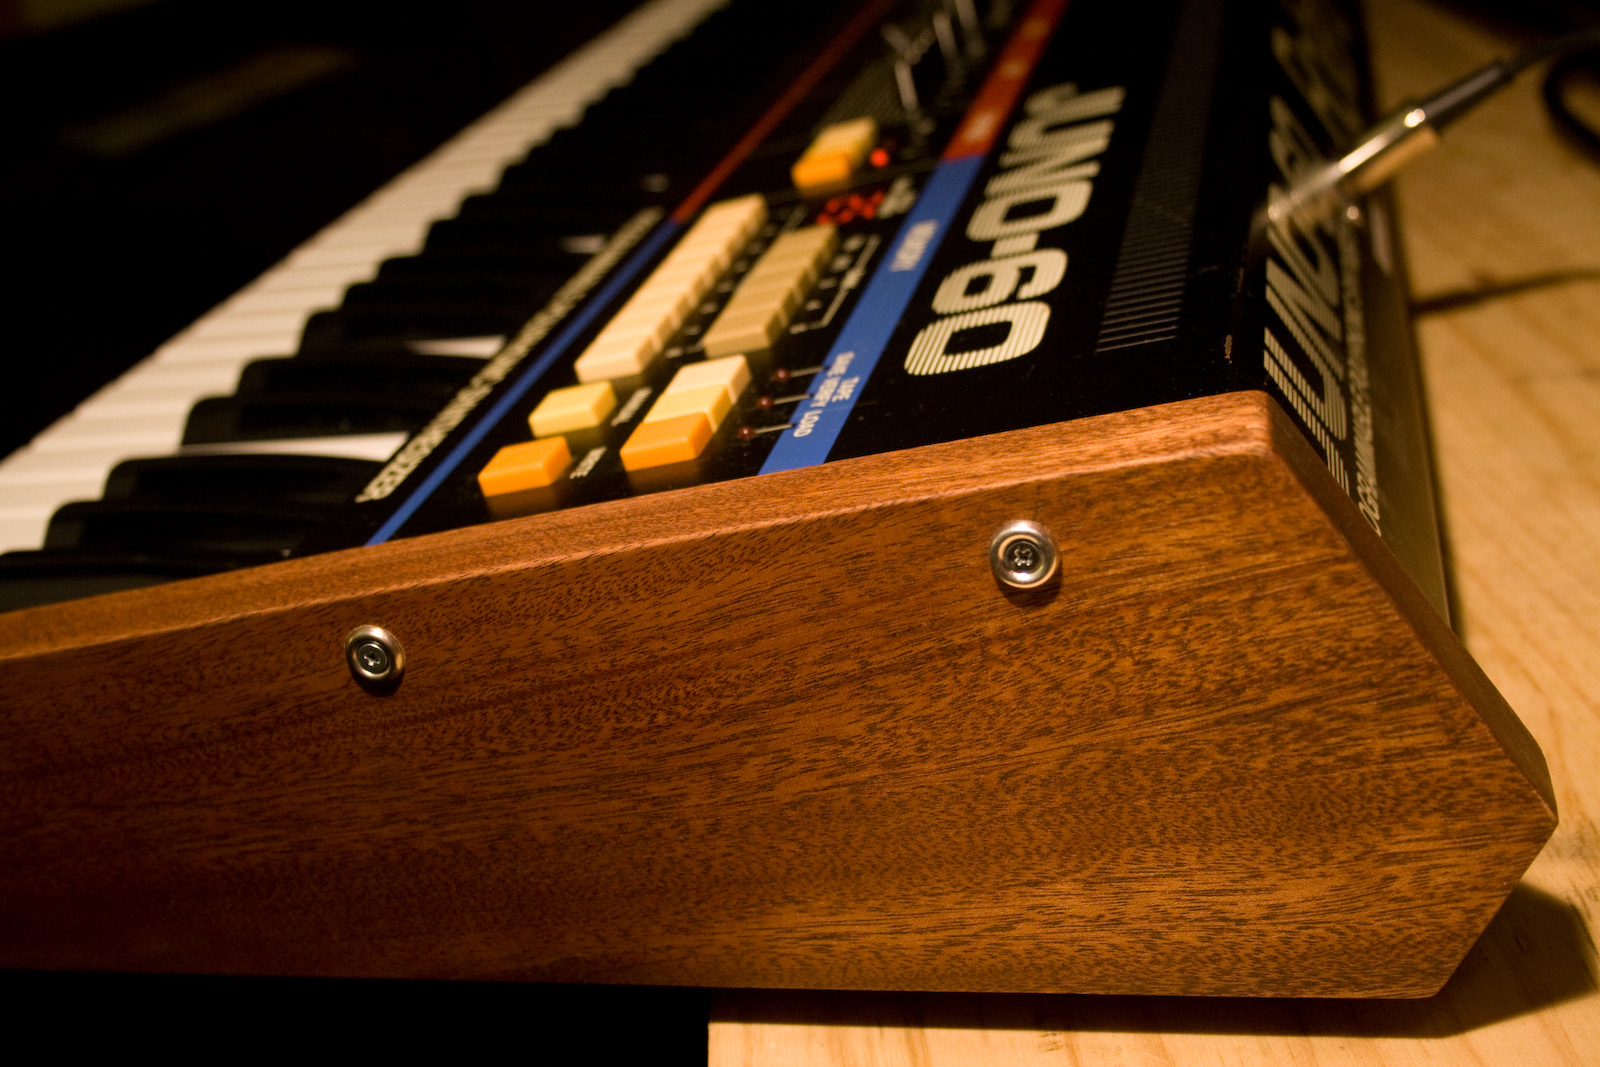
right/front
right/back : juno power
left side
with a friend