hellfire modulator ts-21
 |
I got introduced to the hellfire modulator from a local dorkbot meeting in chicago back in 2009. this is kind of a 'back burner' project, when i remember to think of it i work on it. :) |
05.06.2009
[spread over several days] obtained ts-21 manual and schematic.
original ts-21 manual (word doc)
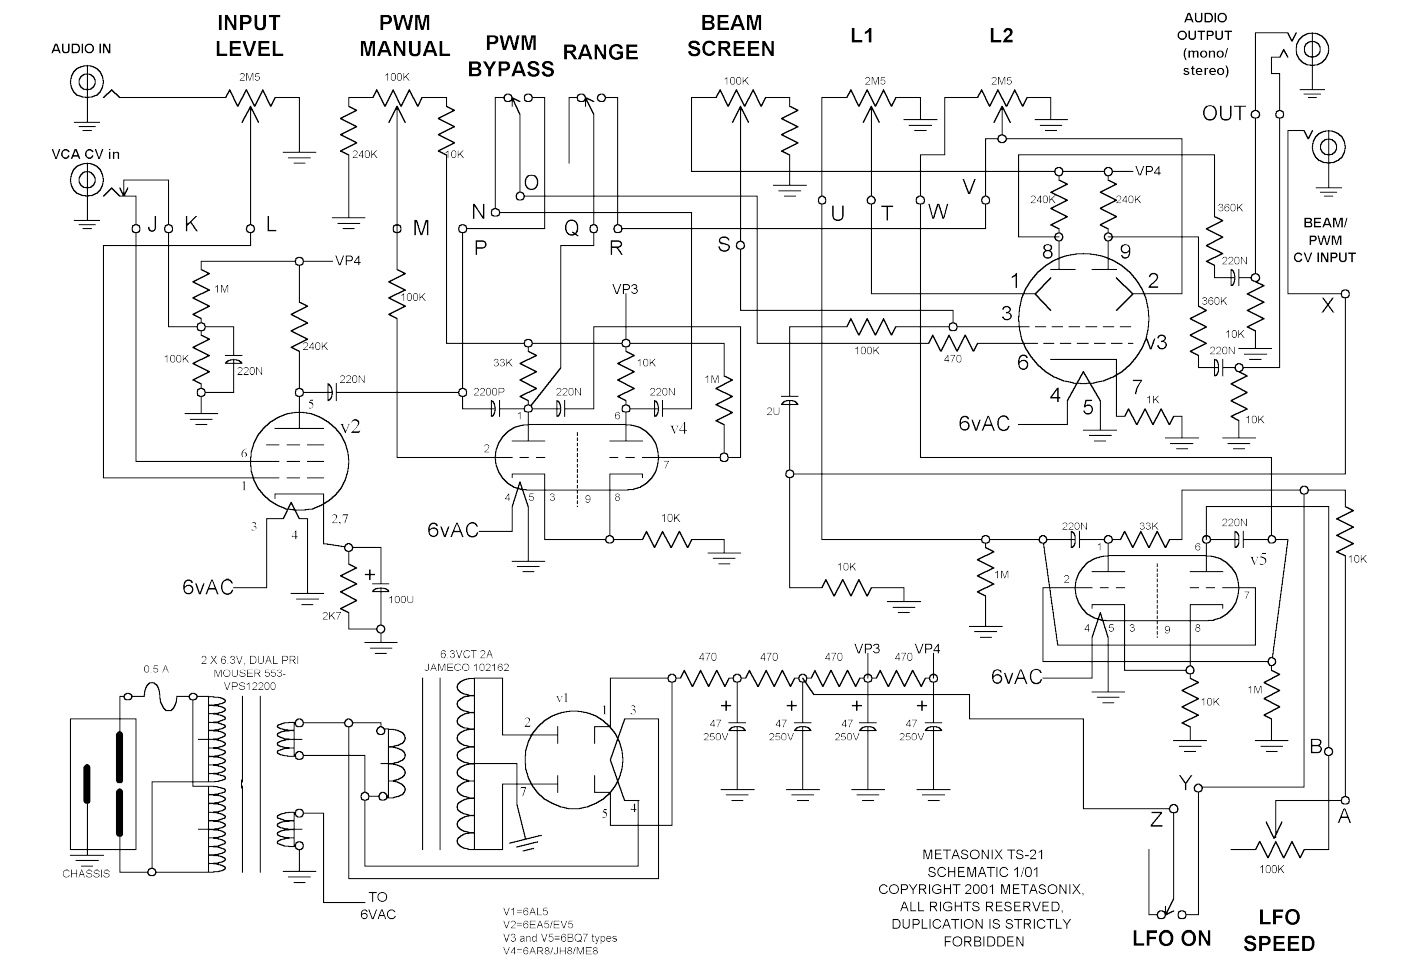
original ts-21 schematic
needed a list of parts to buy, so went through the schematic and made an inventory. also labeled each part so they would be easy to reference. color coded the labels by type of part so it would be easy to find i.e. all the resistors, or all the power lines...
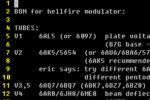
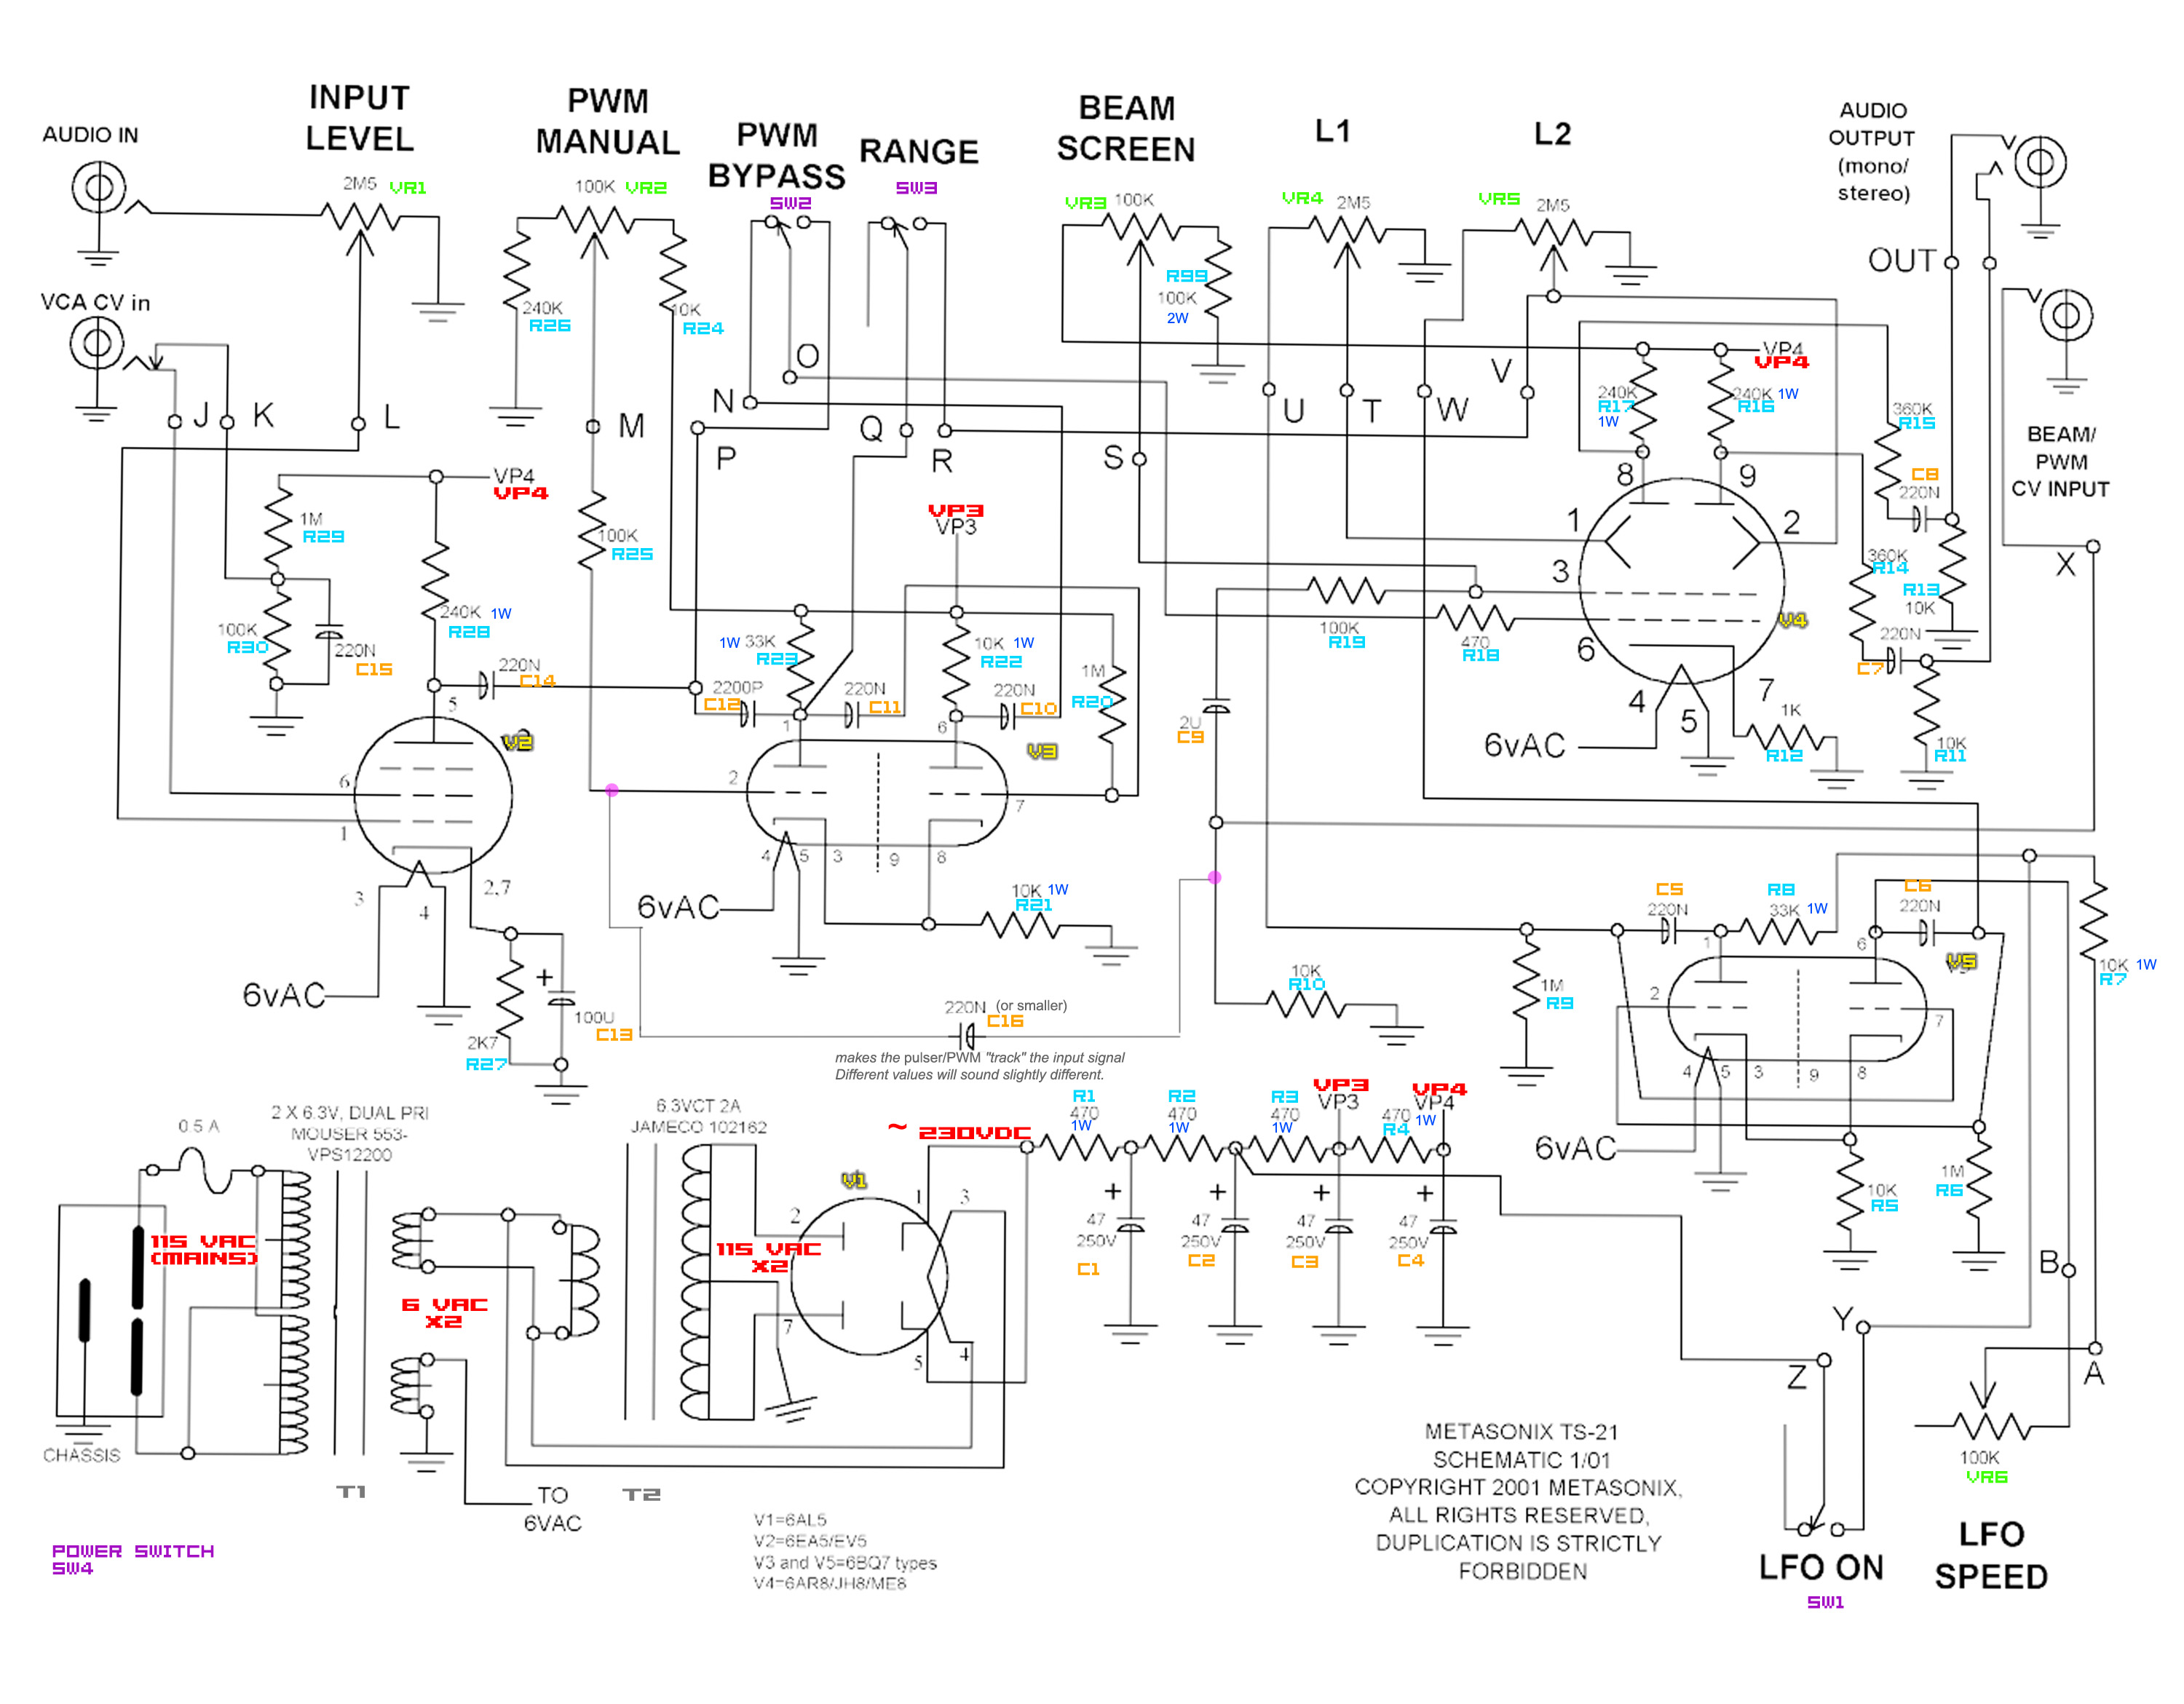
1.) BOM for ts-21 -- 2.) Schematic with labels
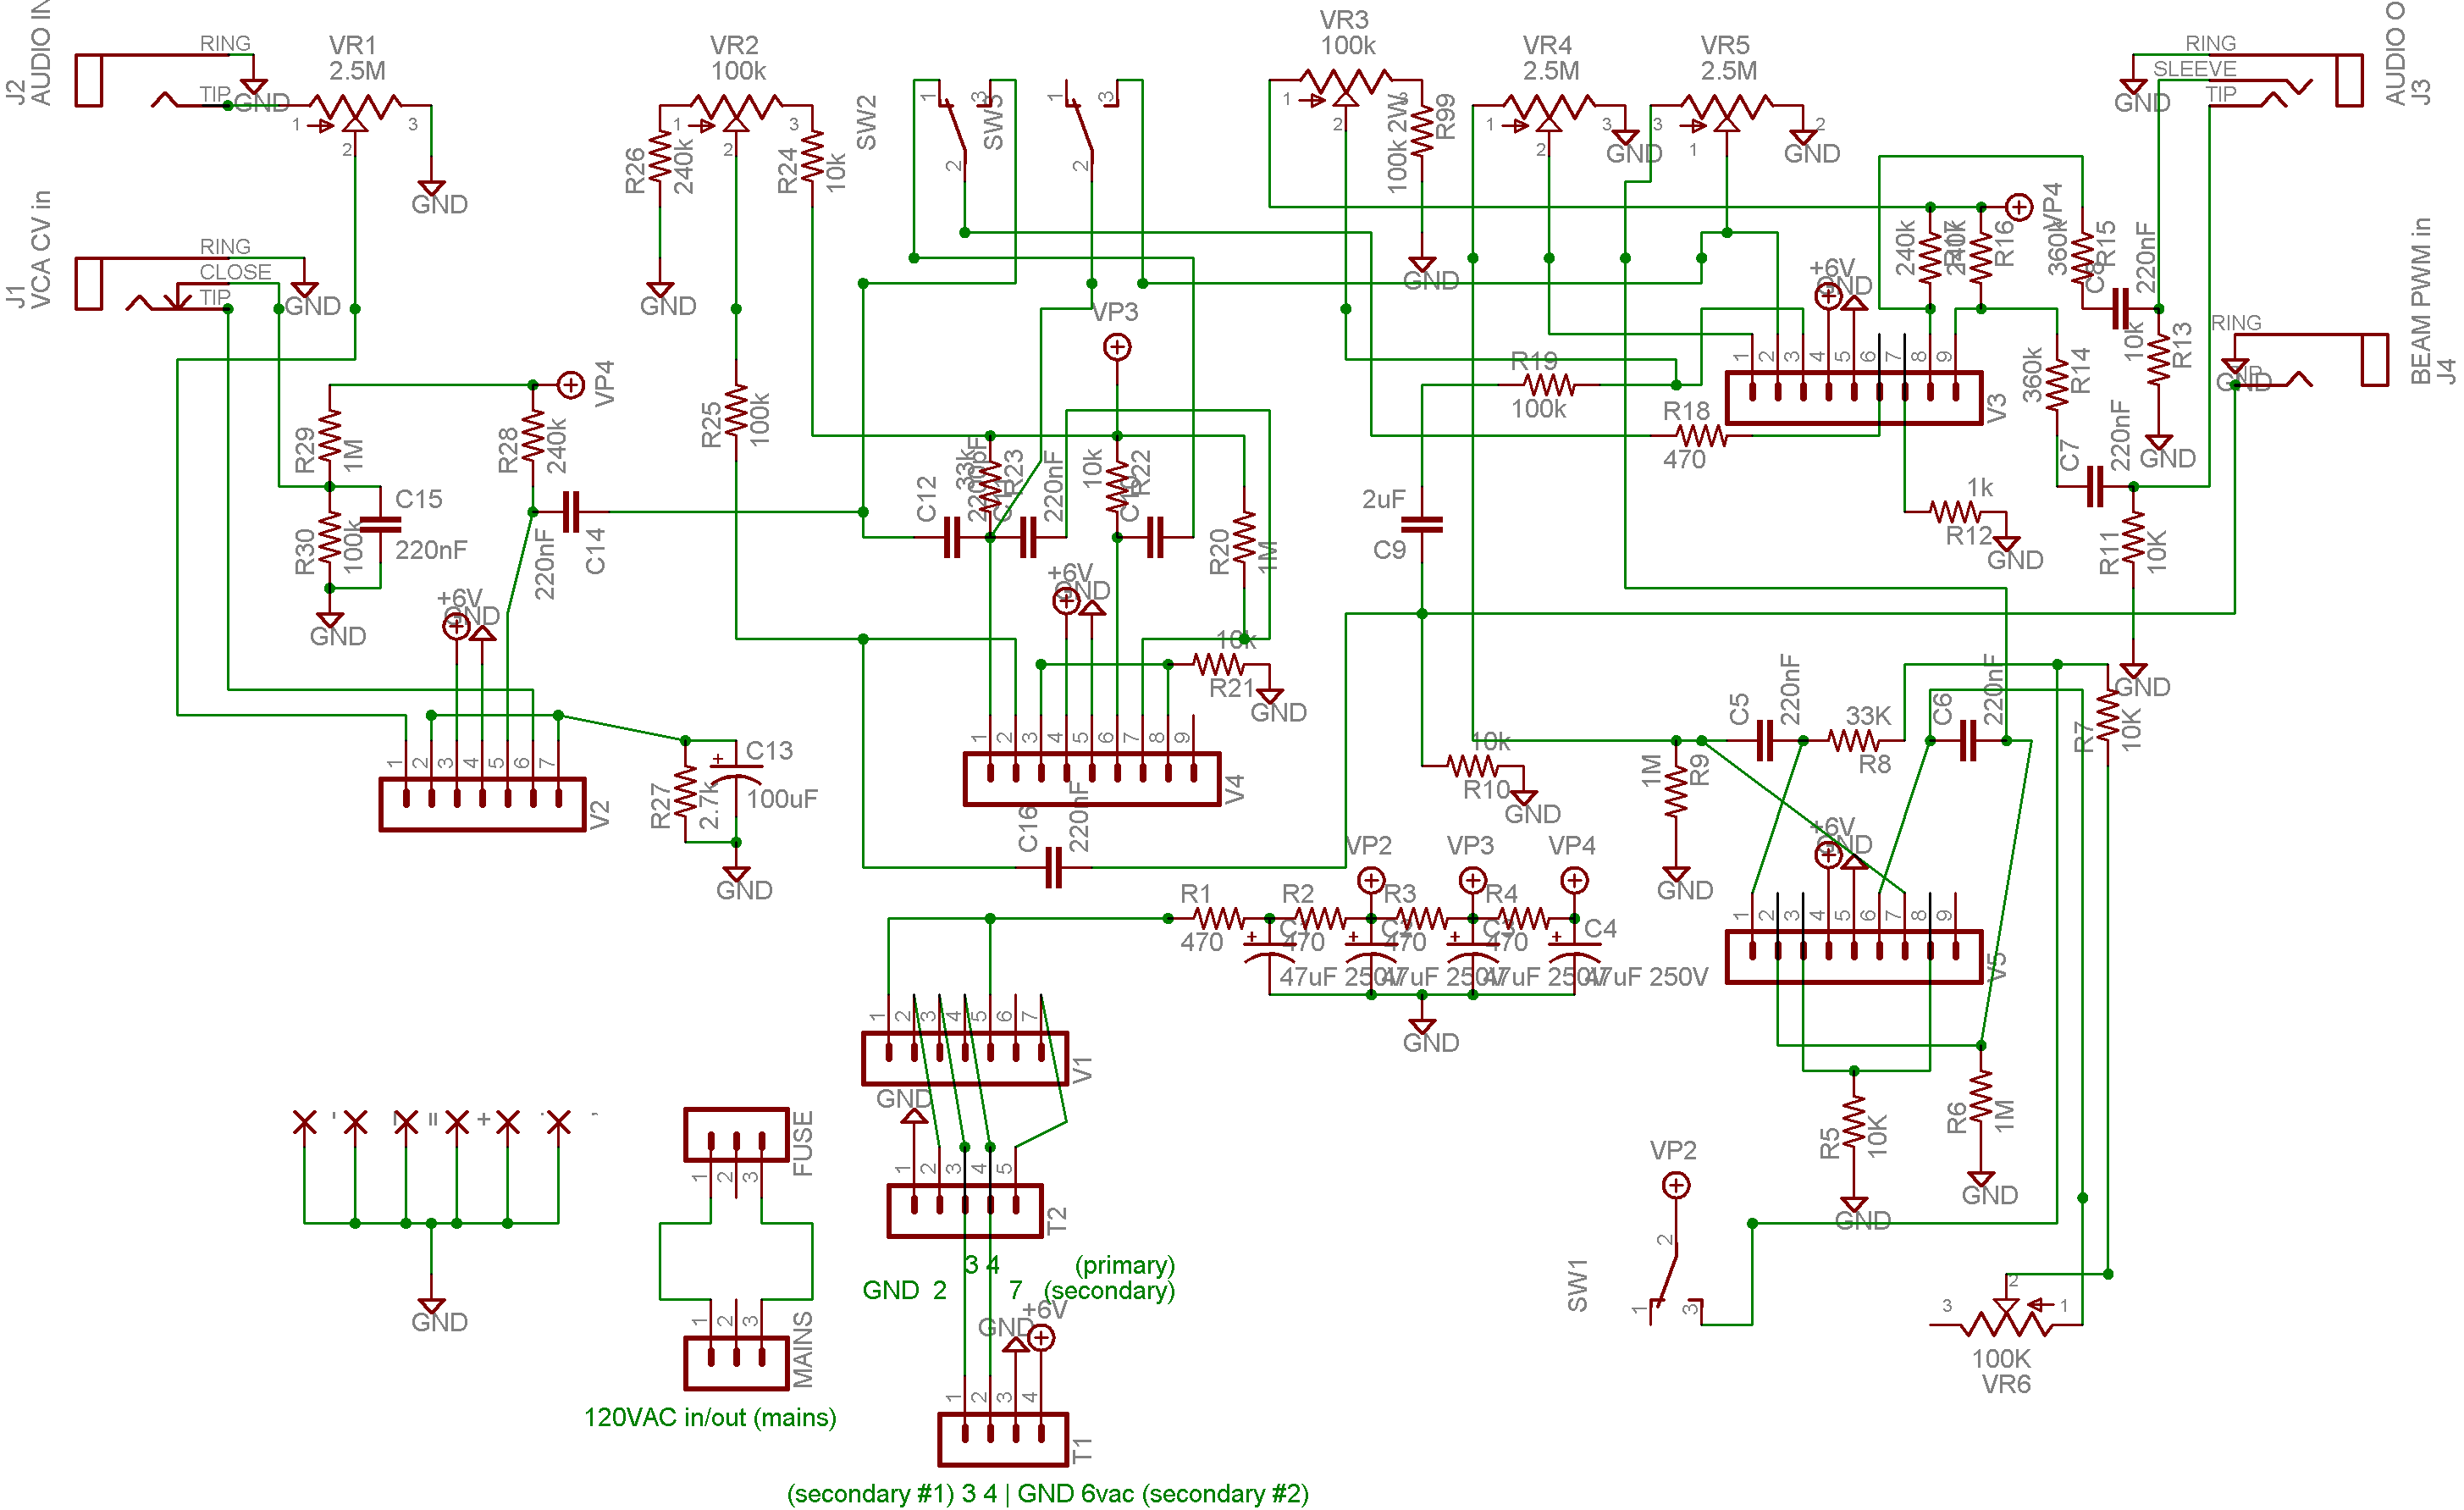
recreated the schematic in Eagle. then created a PCB layout. used a calculator (called C4) to determine how much copper i needed as well as the minimum gap between traces. some high voltages here... not too sure the PCB approach will be good or not, but we'll see. Generated .nc files for the milling machine, I hope to mill these PCBs myself... will see how that goes.
created a front/back panel design in front panel designer. I intend to have 1.5" silver "U" guards for the tubes, and 3" silver handles for the rack (2U rack).
![]()
![]()
06.17.2009
[couple hours] ordered parts from http://www.tubesandmore.com/ and http://www.mouser.com they arrived, and I split them up into 2 portions... (I'm building this with a friend).
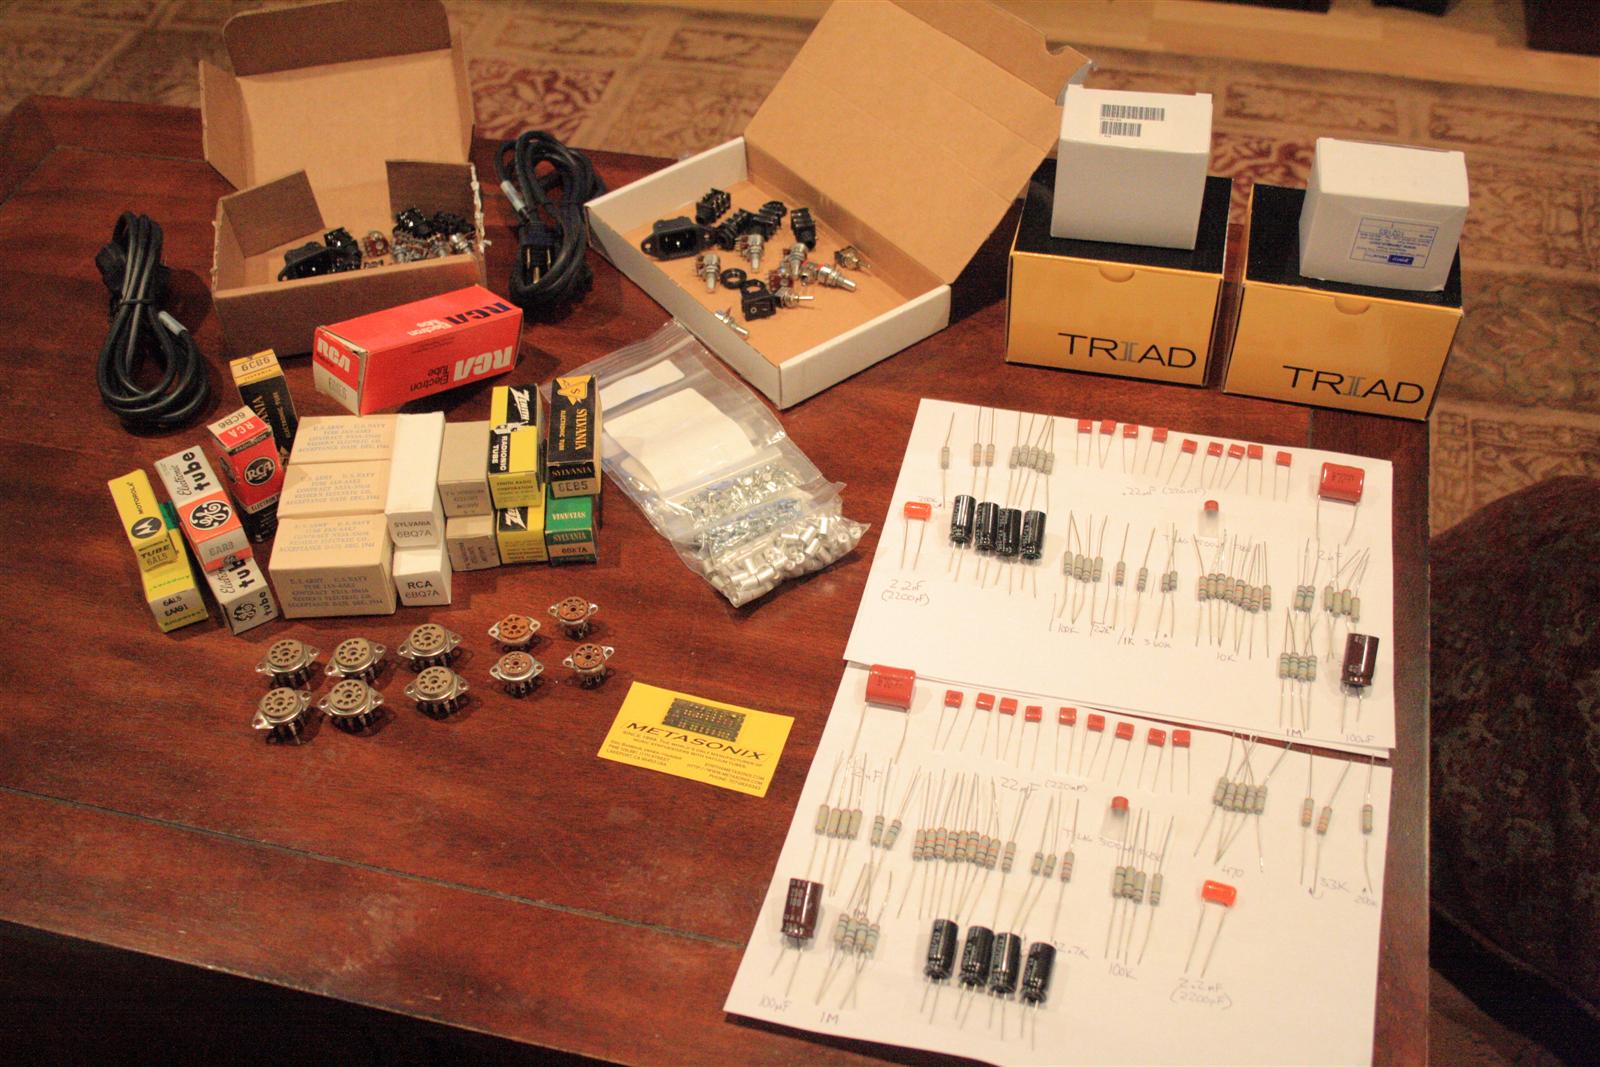
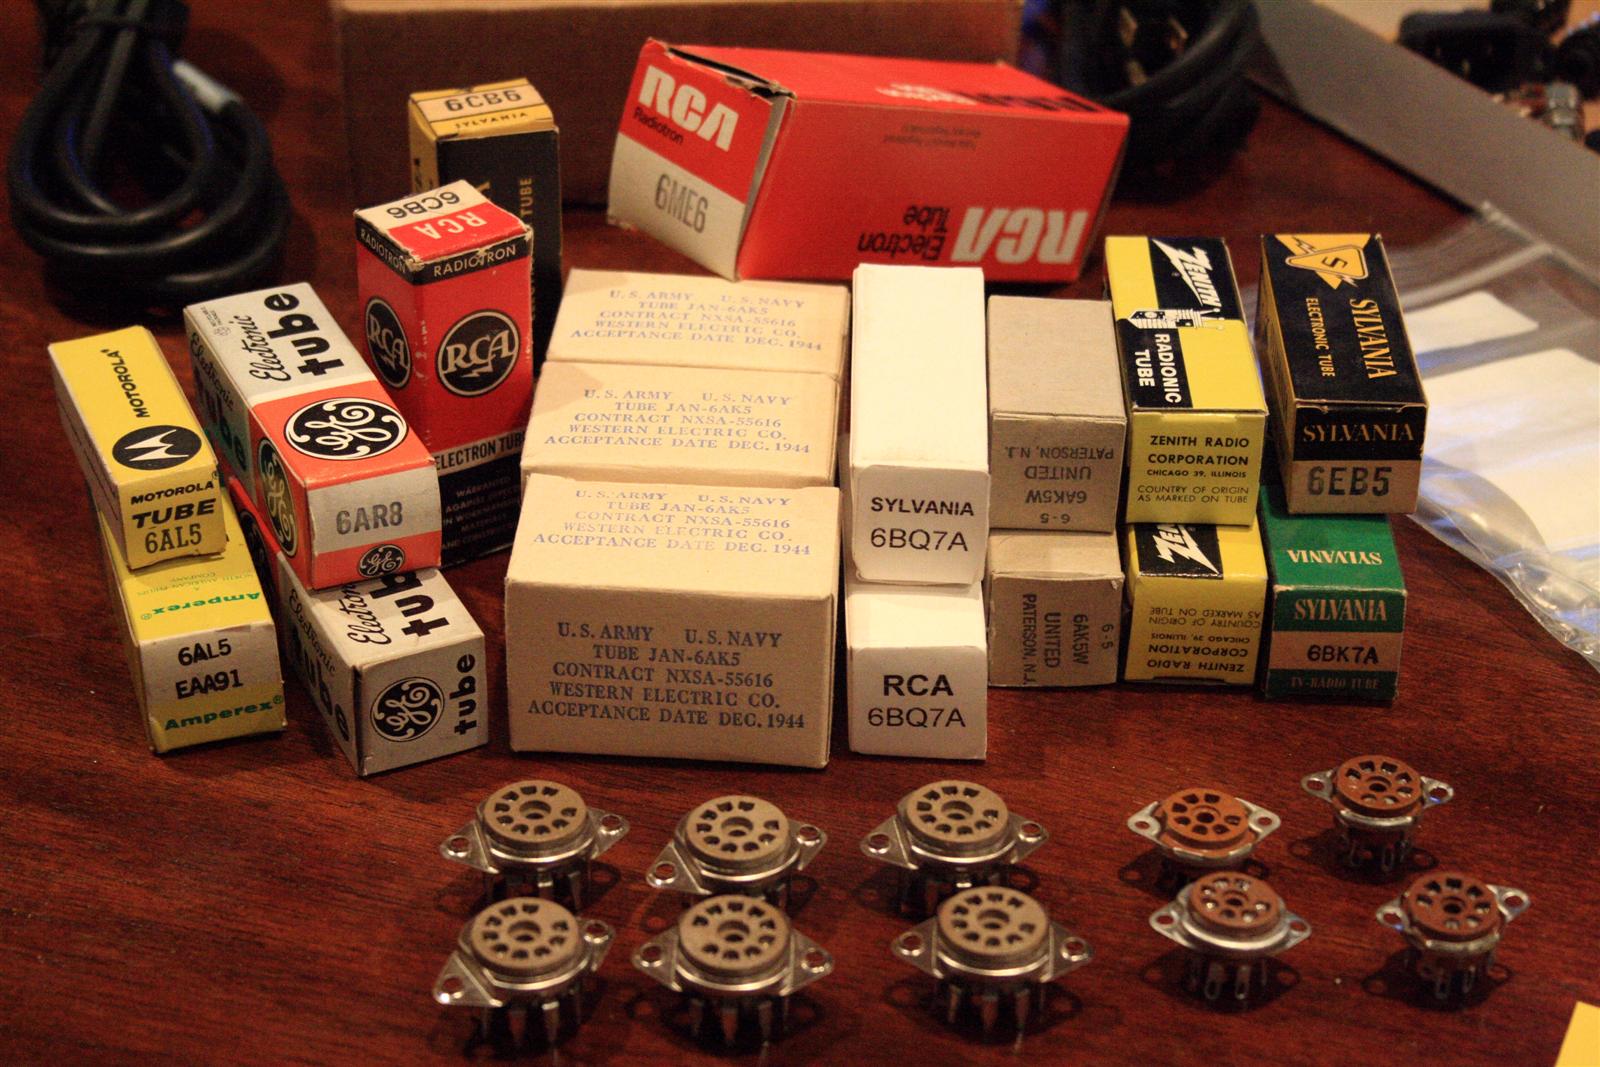
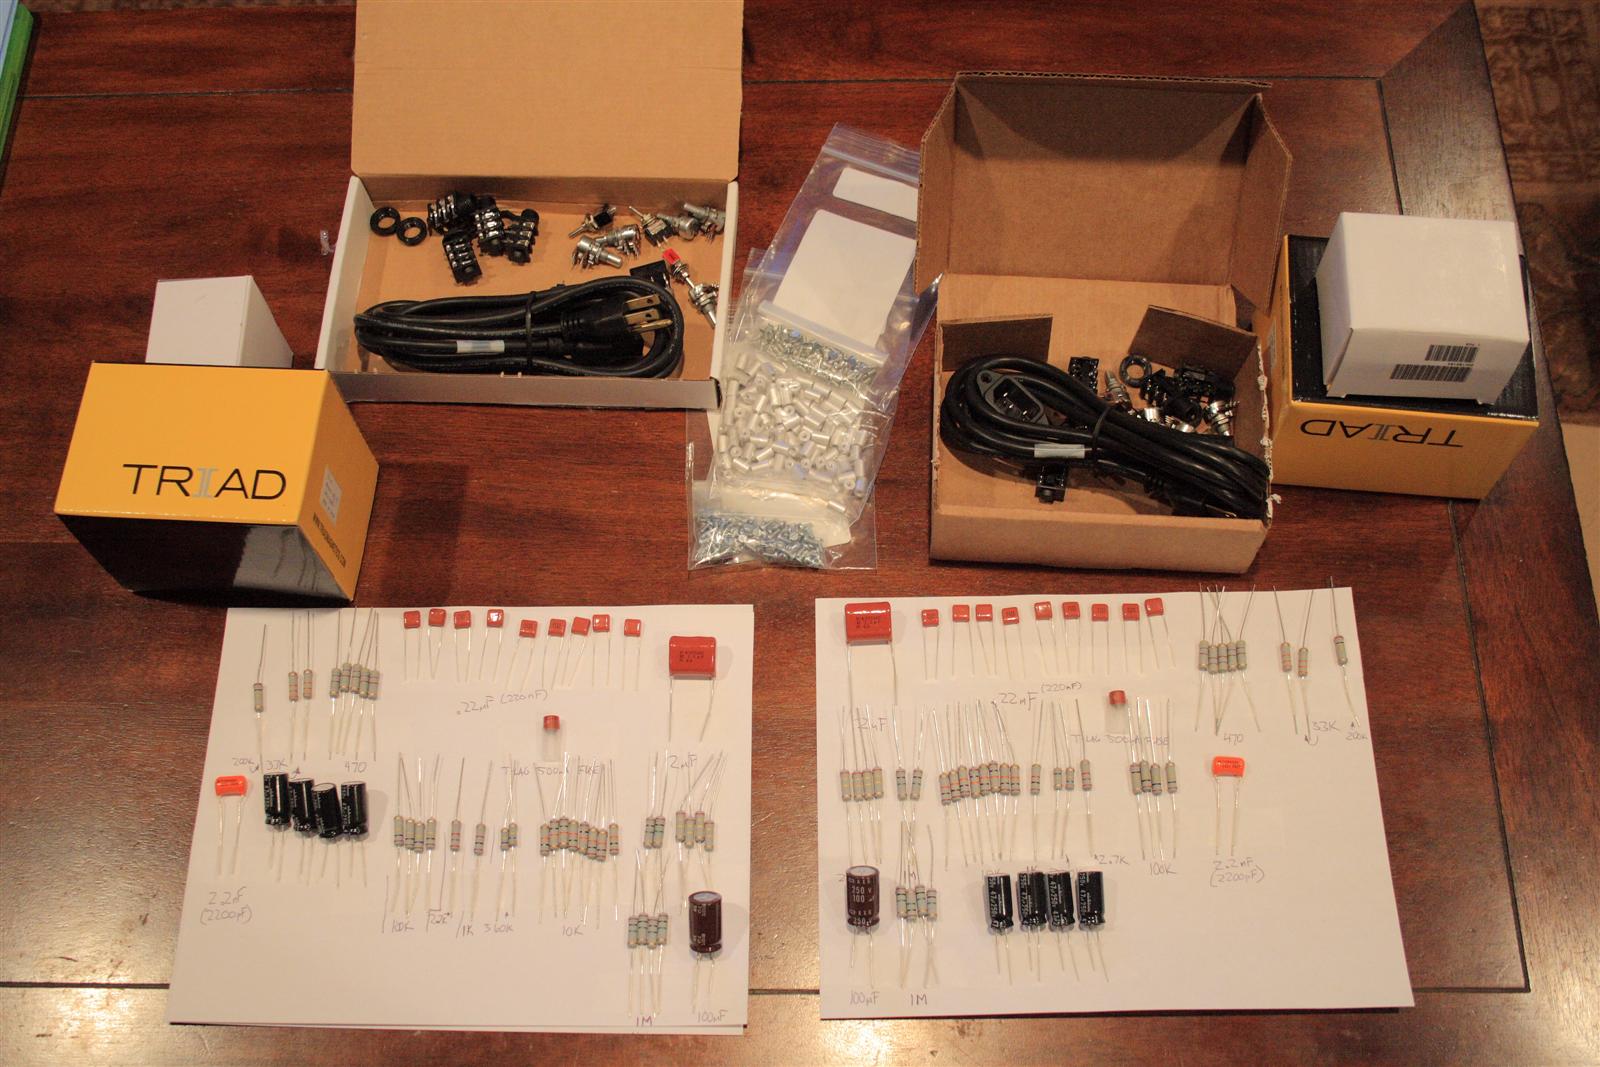
Sourced the parts for the circuit
07.07.2009
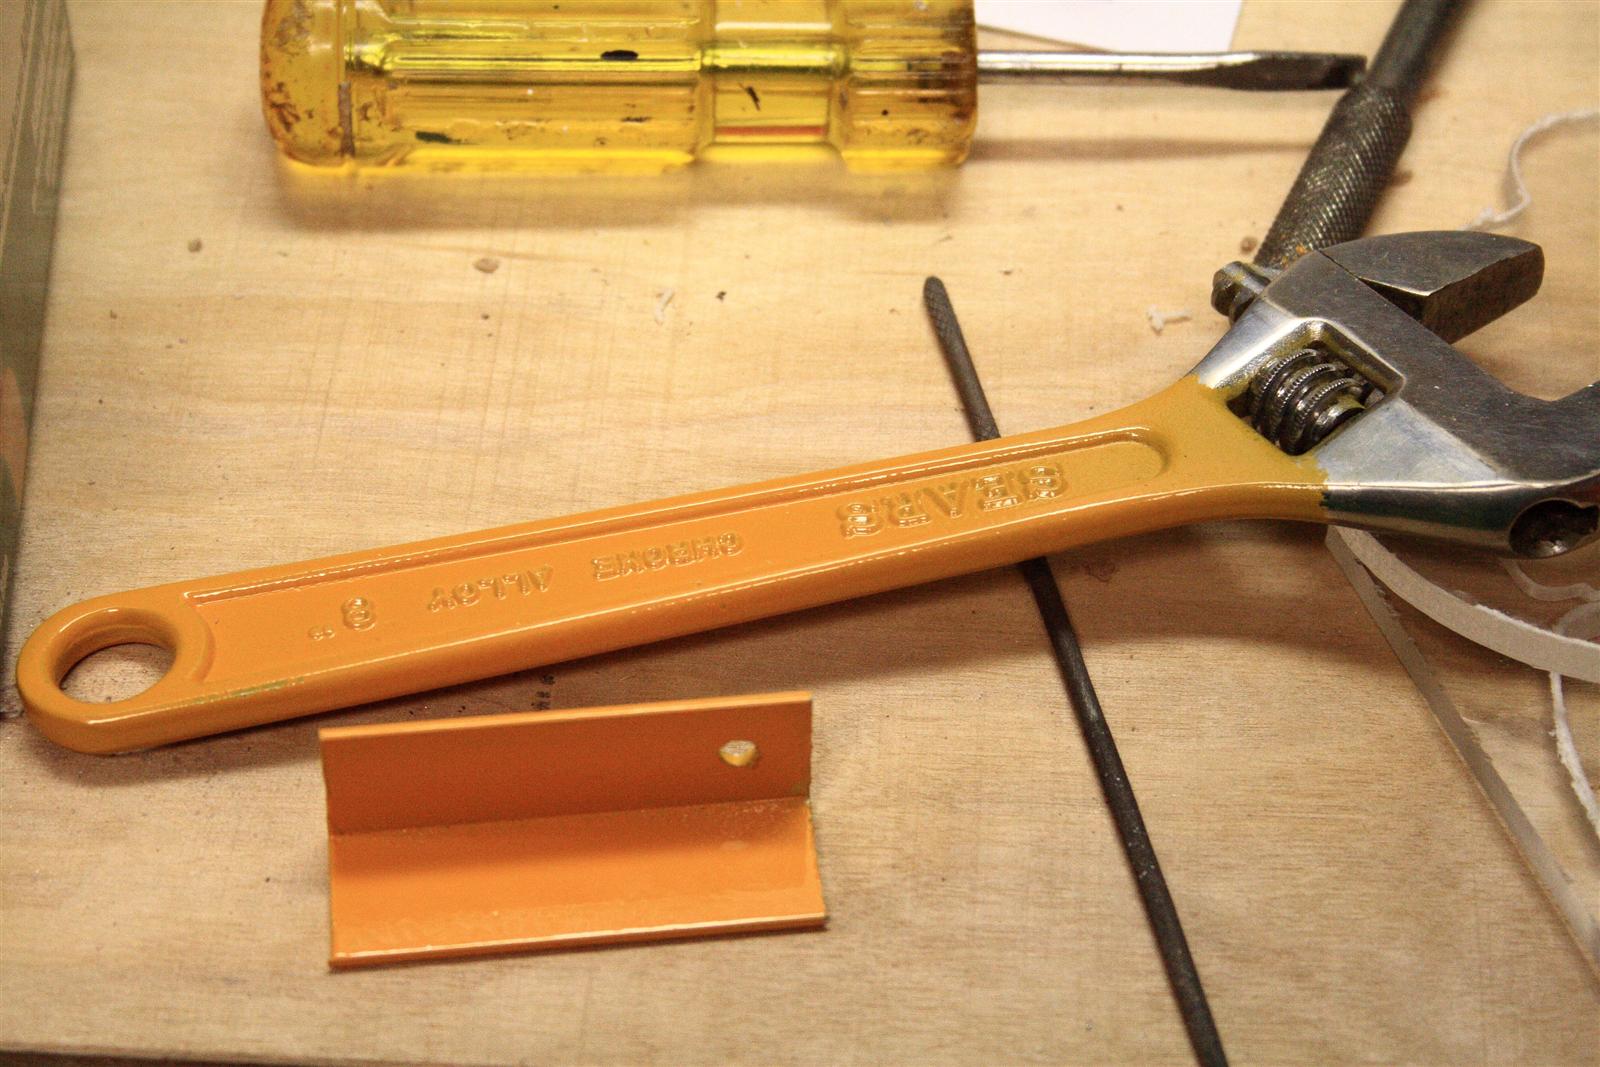
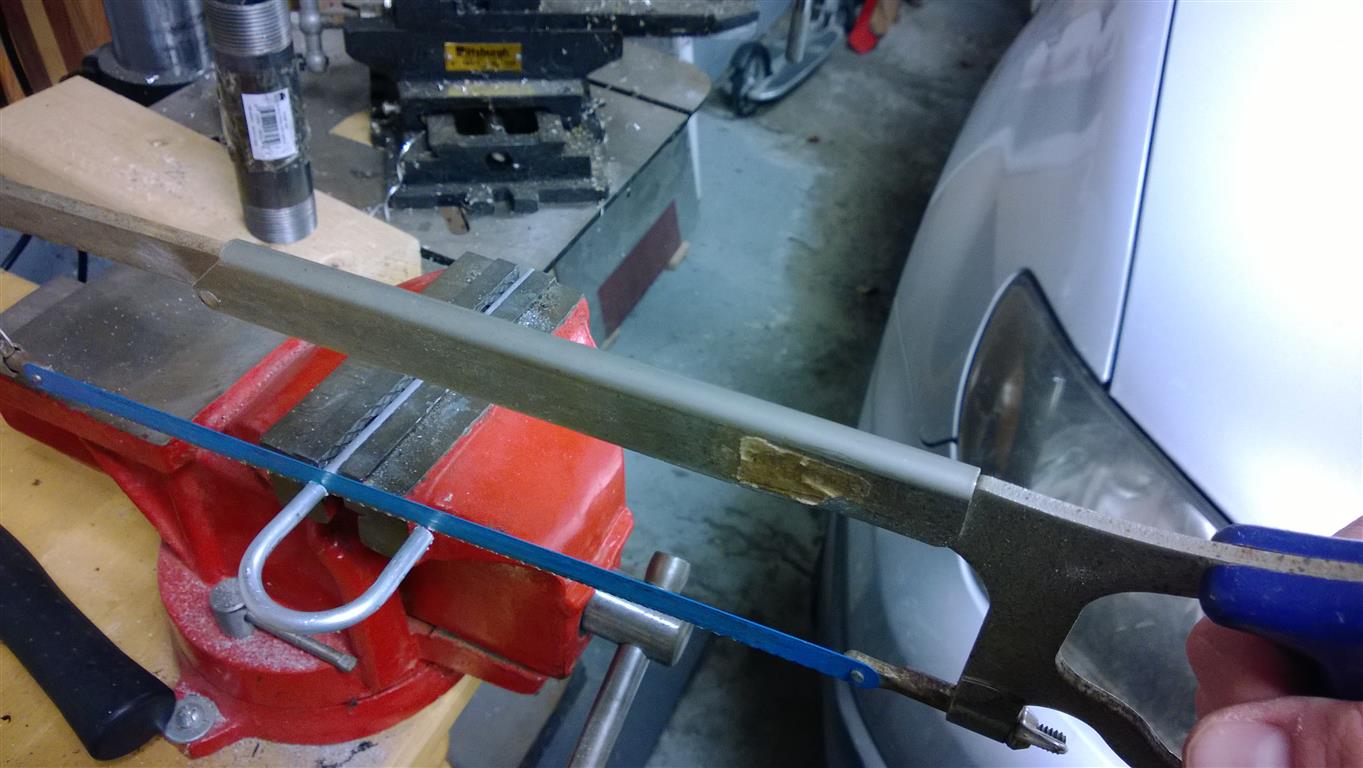
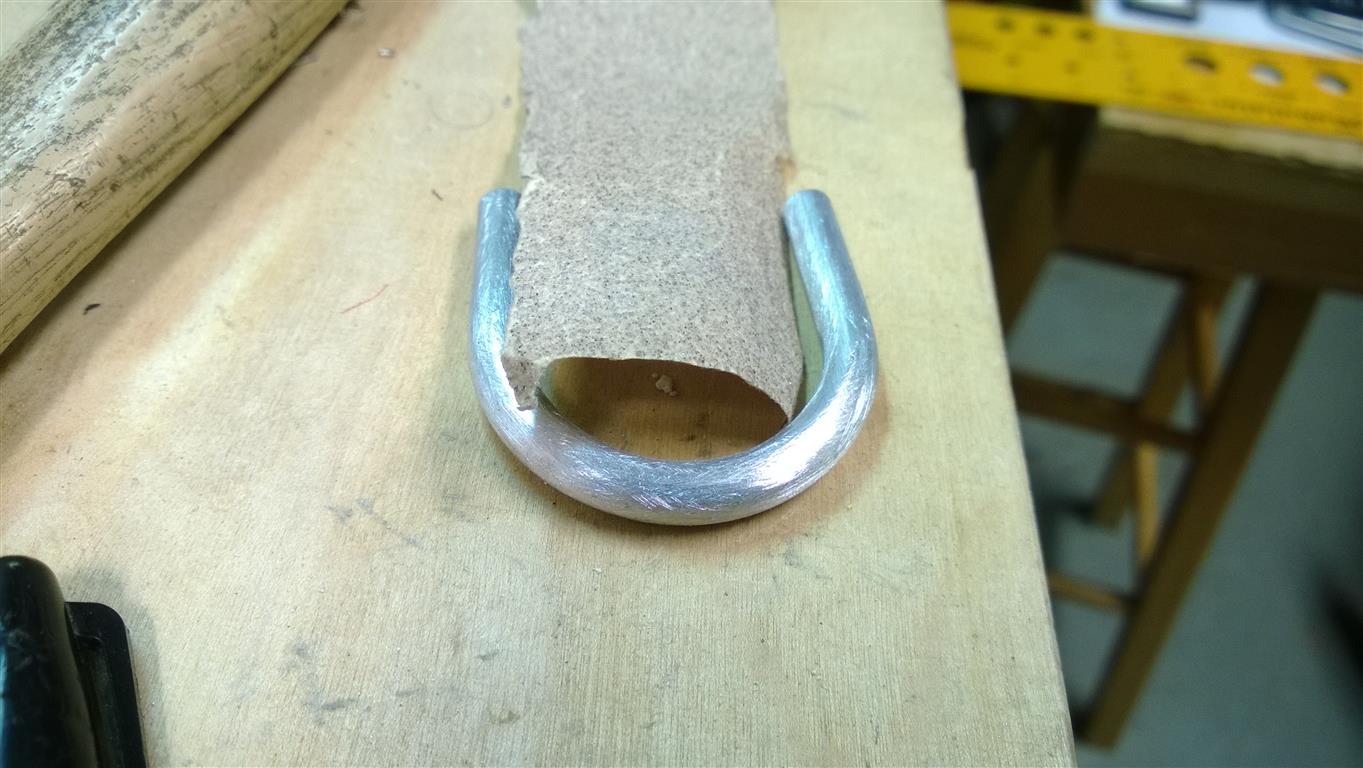
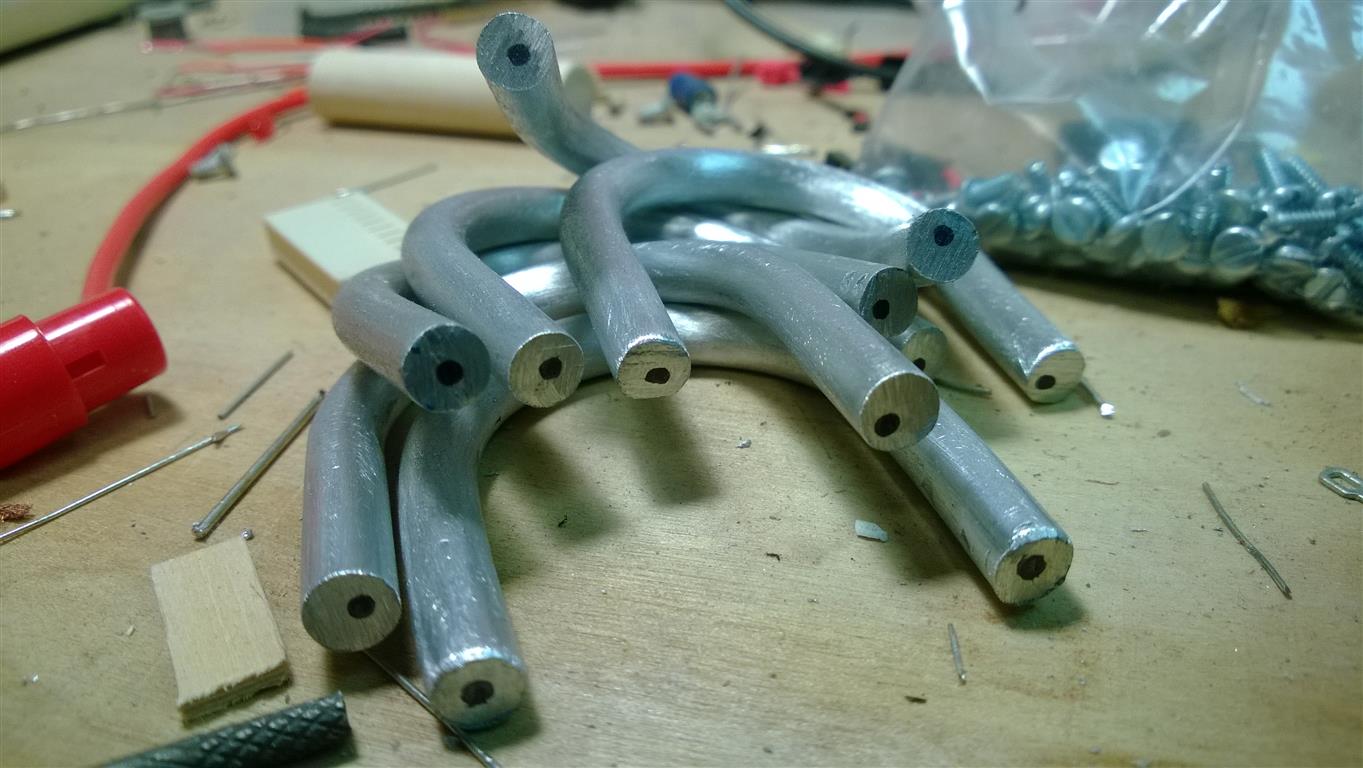
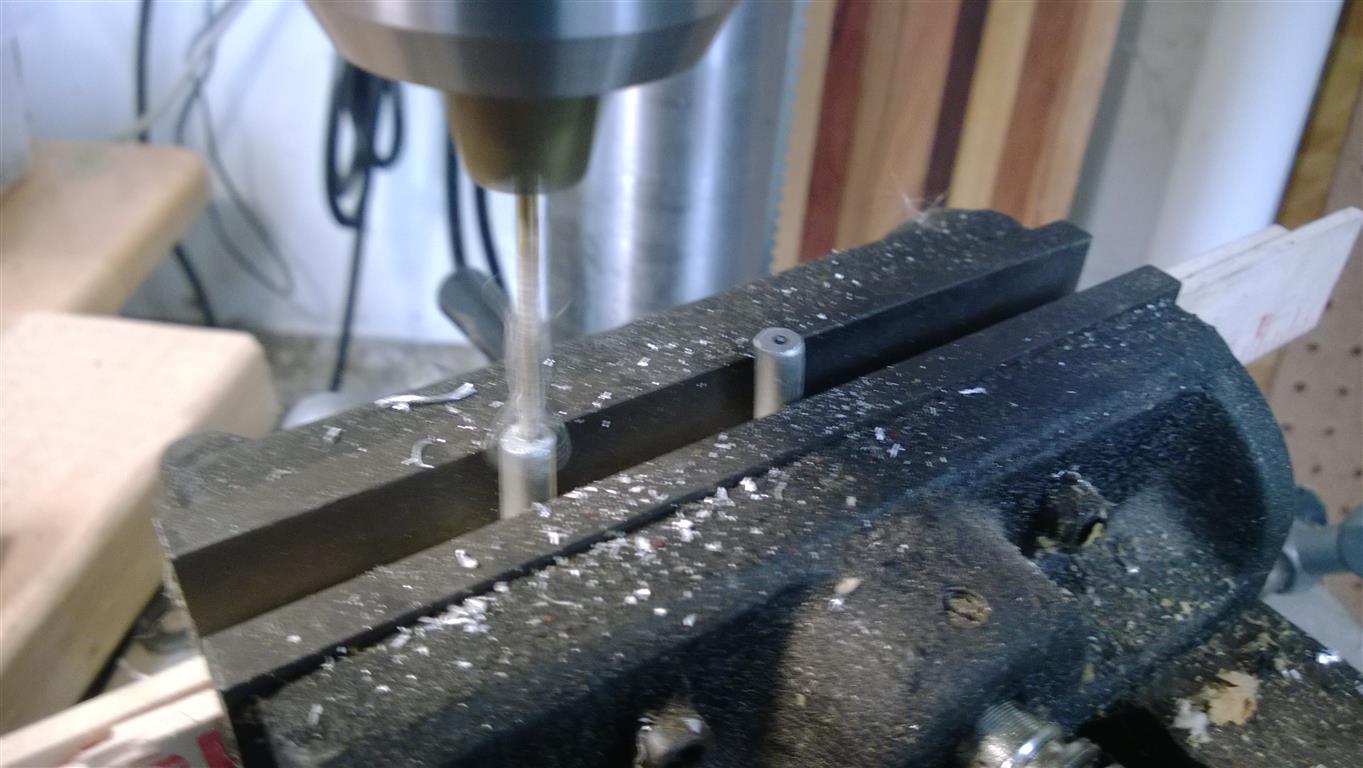
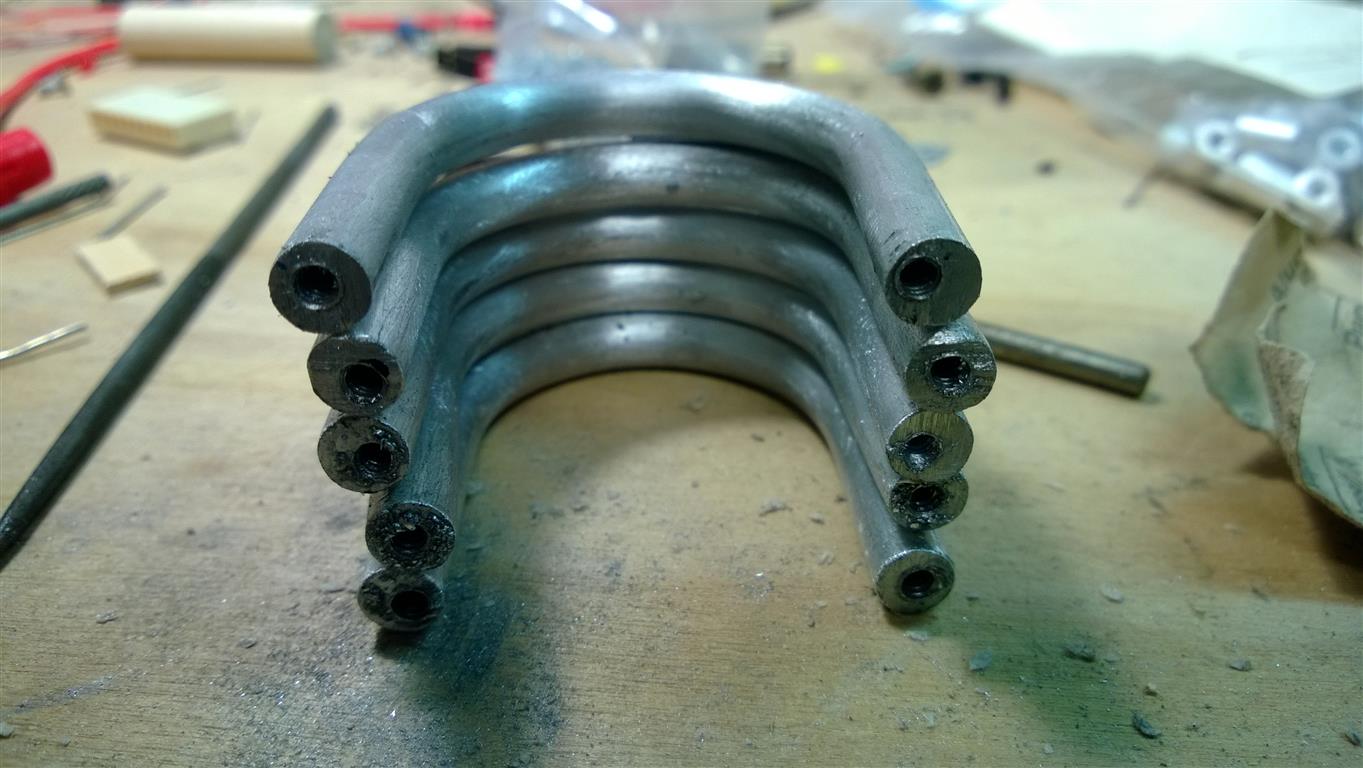
[2hrs] after searching the internet for something like U shaped handles and not finding anything... I got some 1/4" aluminum rod from home depot and some 1.25" pipe, and bent my own. turned out pretty ok. I plan to finish them by brushing with sandpaper and drilling and tapping holes into the ends.
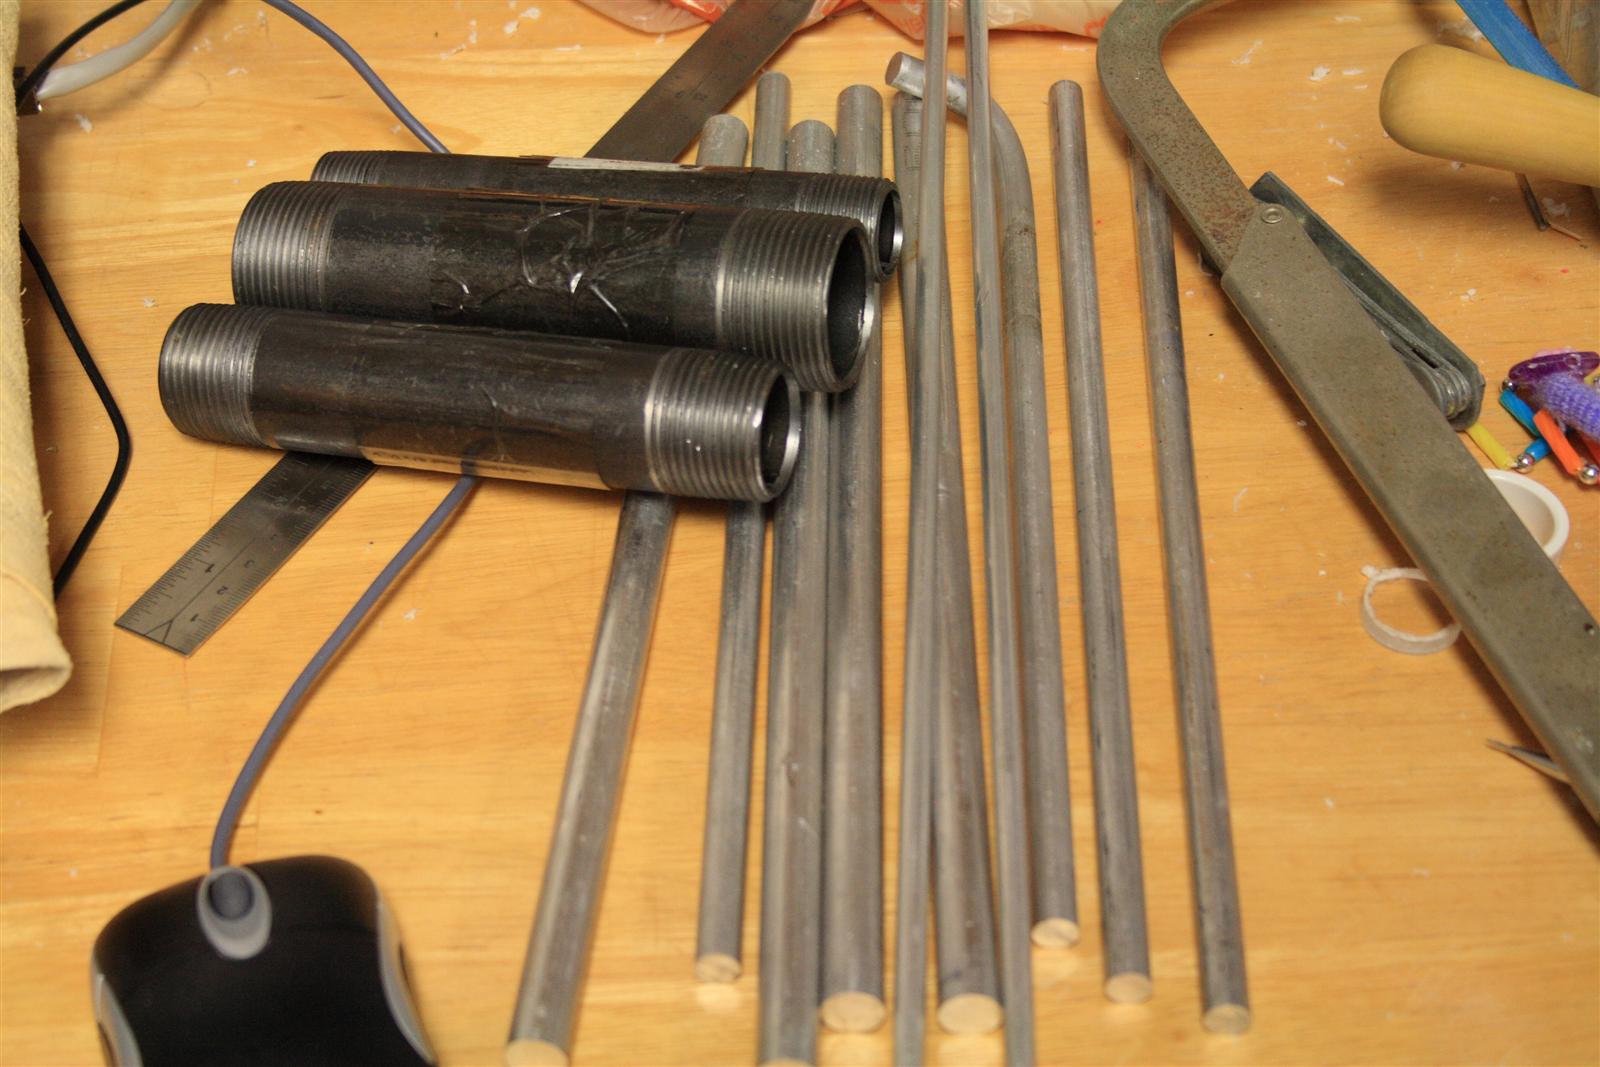
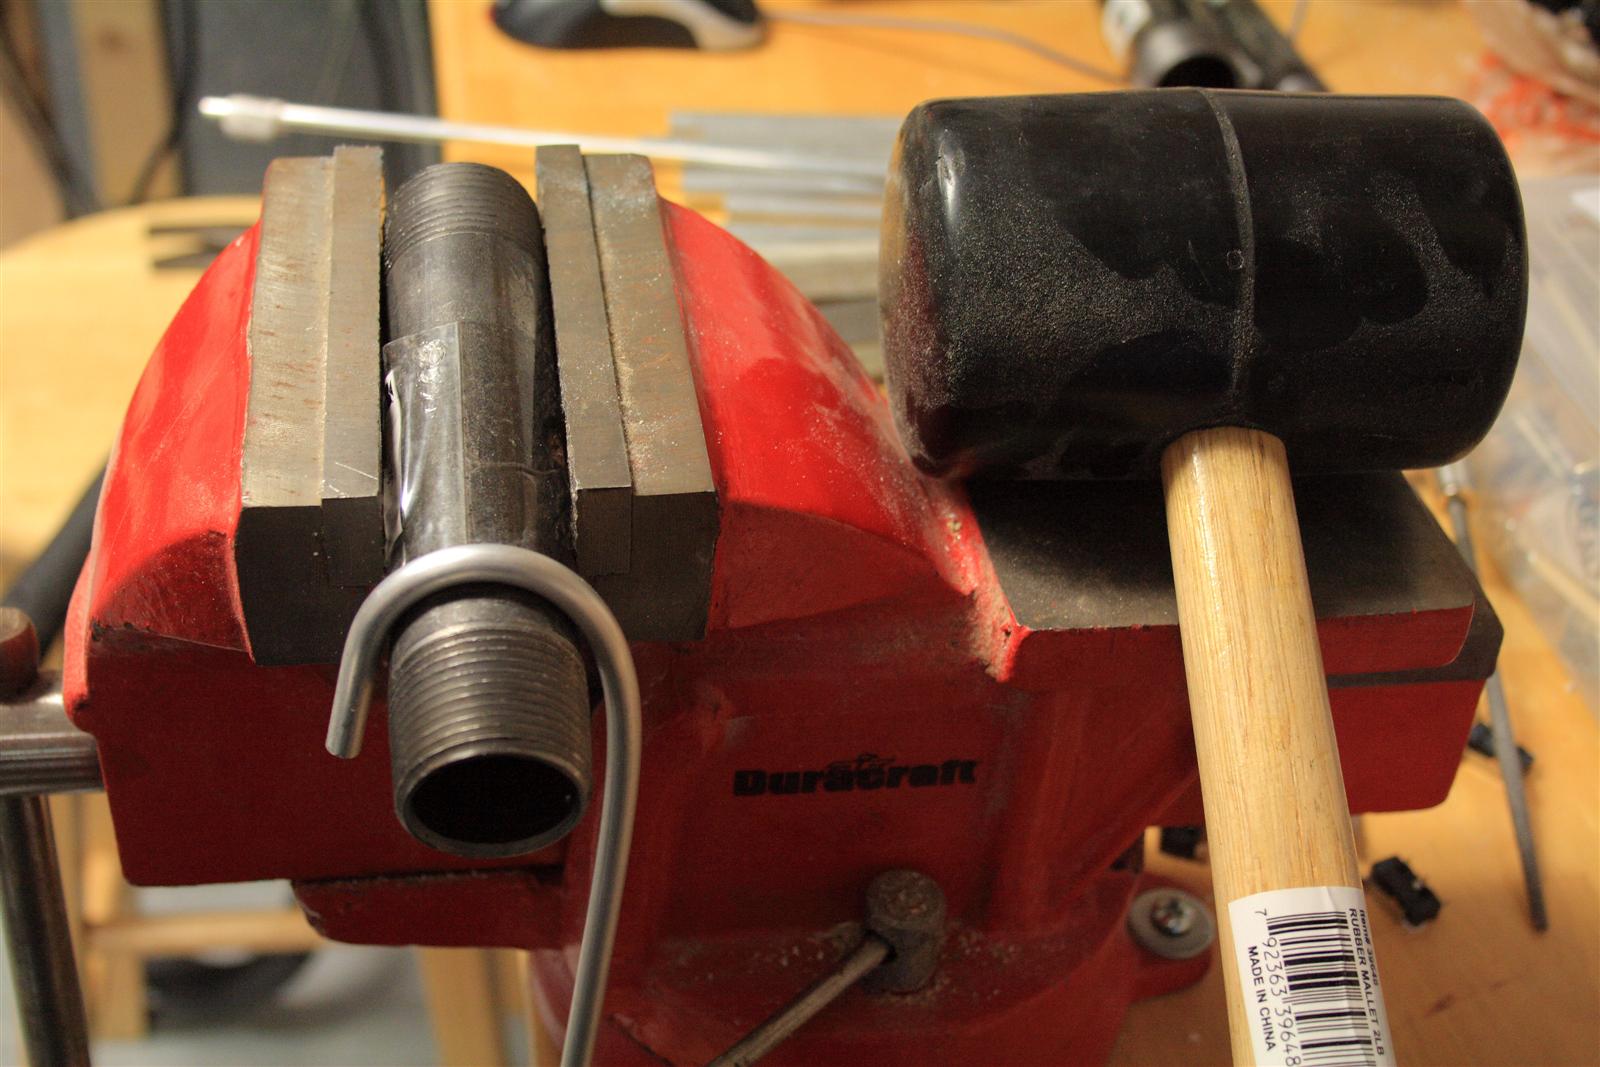
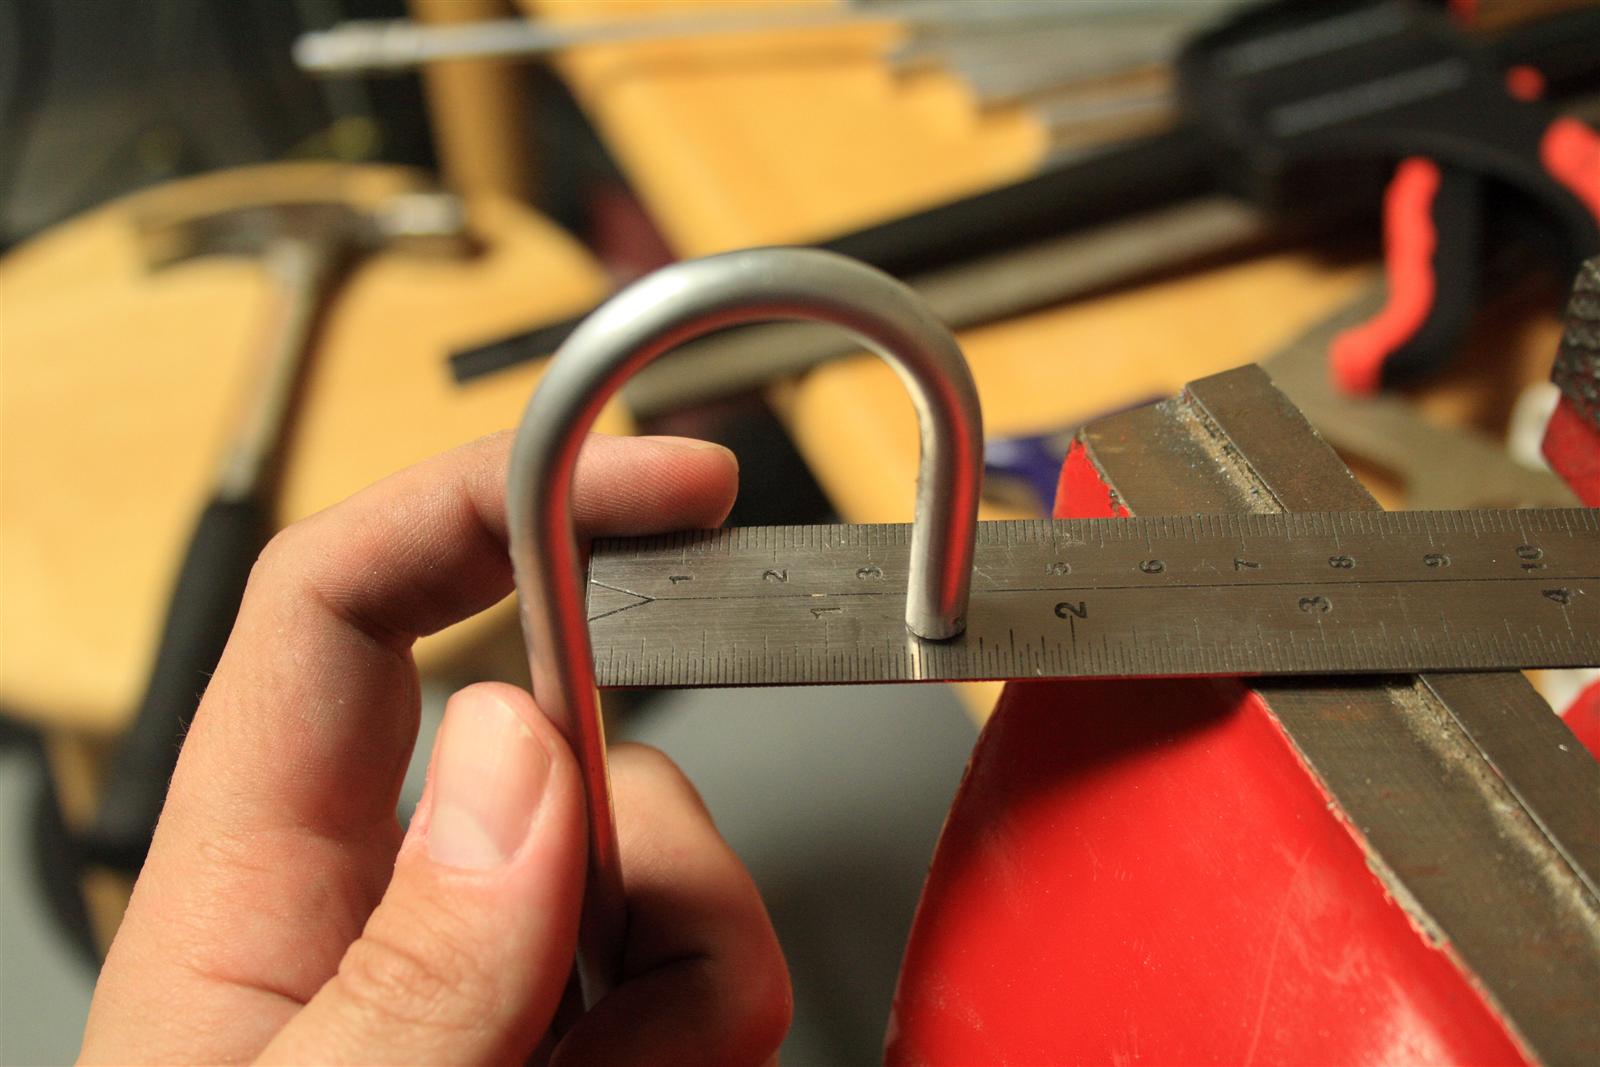
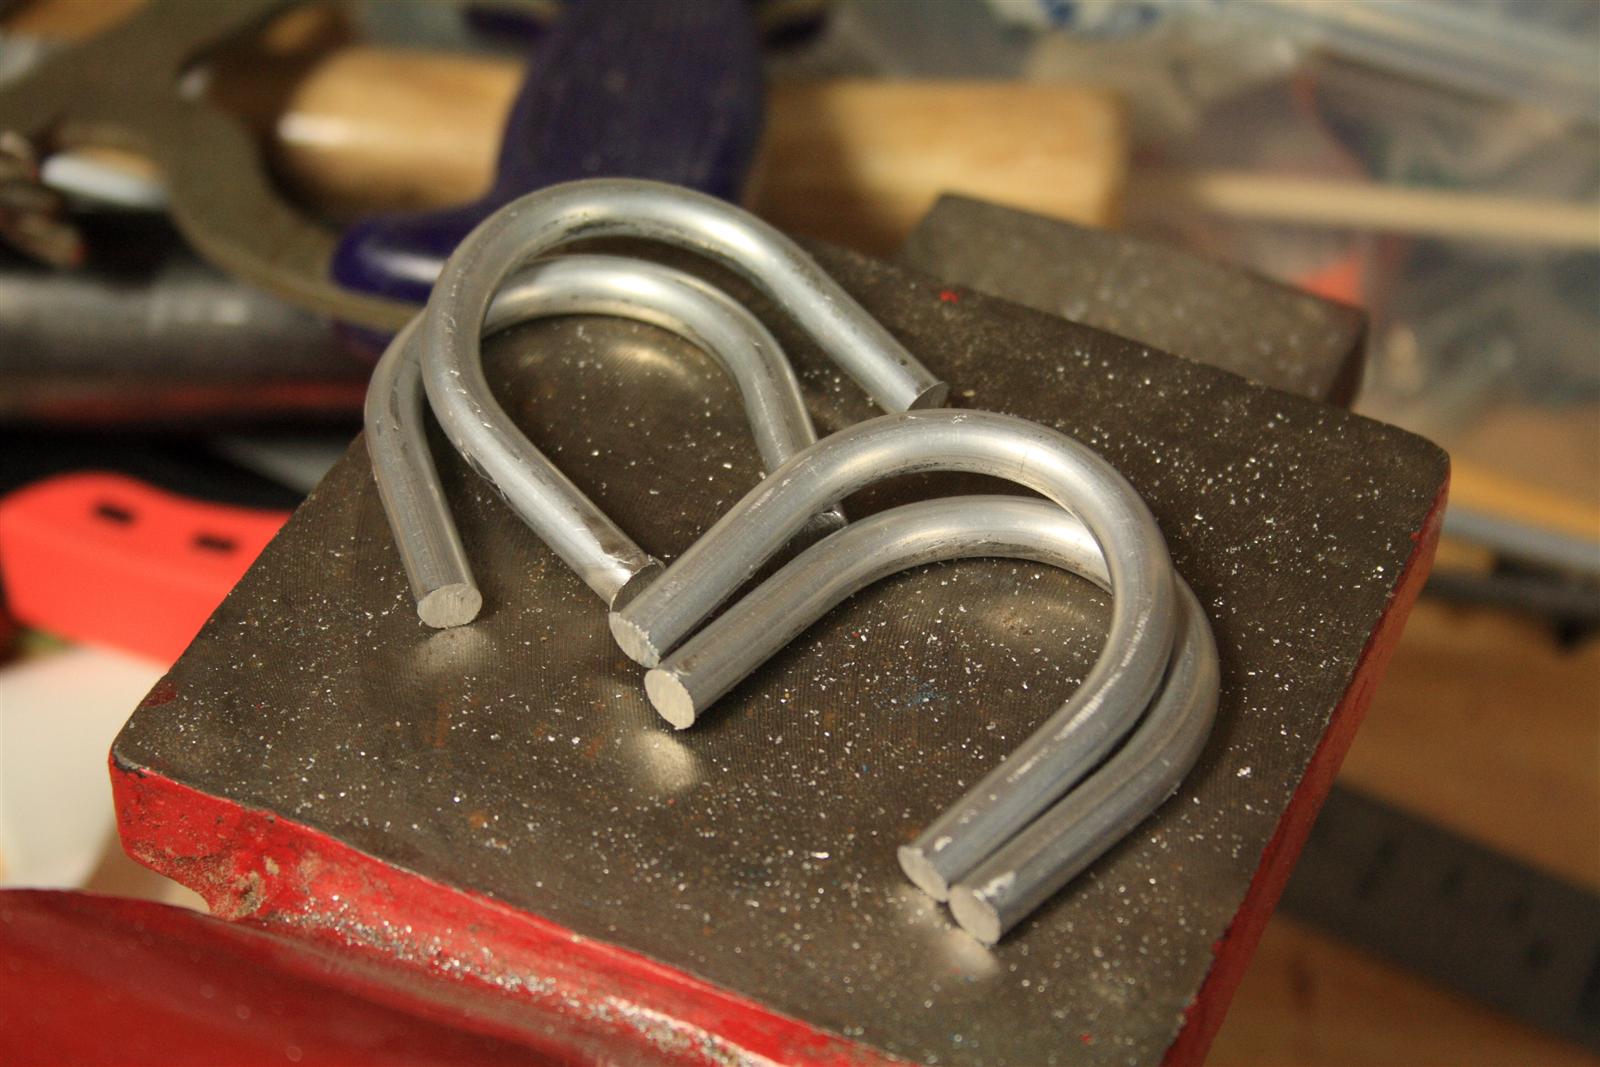
Made some U shaped guards for the tubes
07.12.2009
ordered some '3003' 16gauge 24"x24" aluminum sheet metal from Metals Depot ($16 + $10 shipping).
will cut out rack front/back panels from this.
08.11.2009
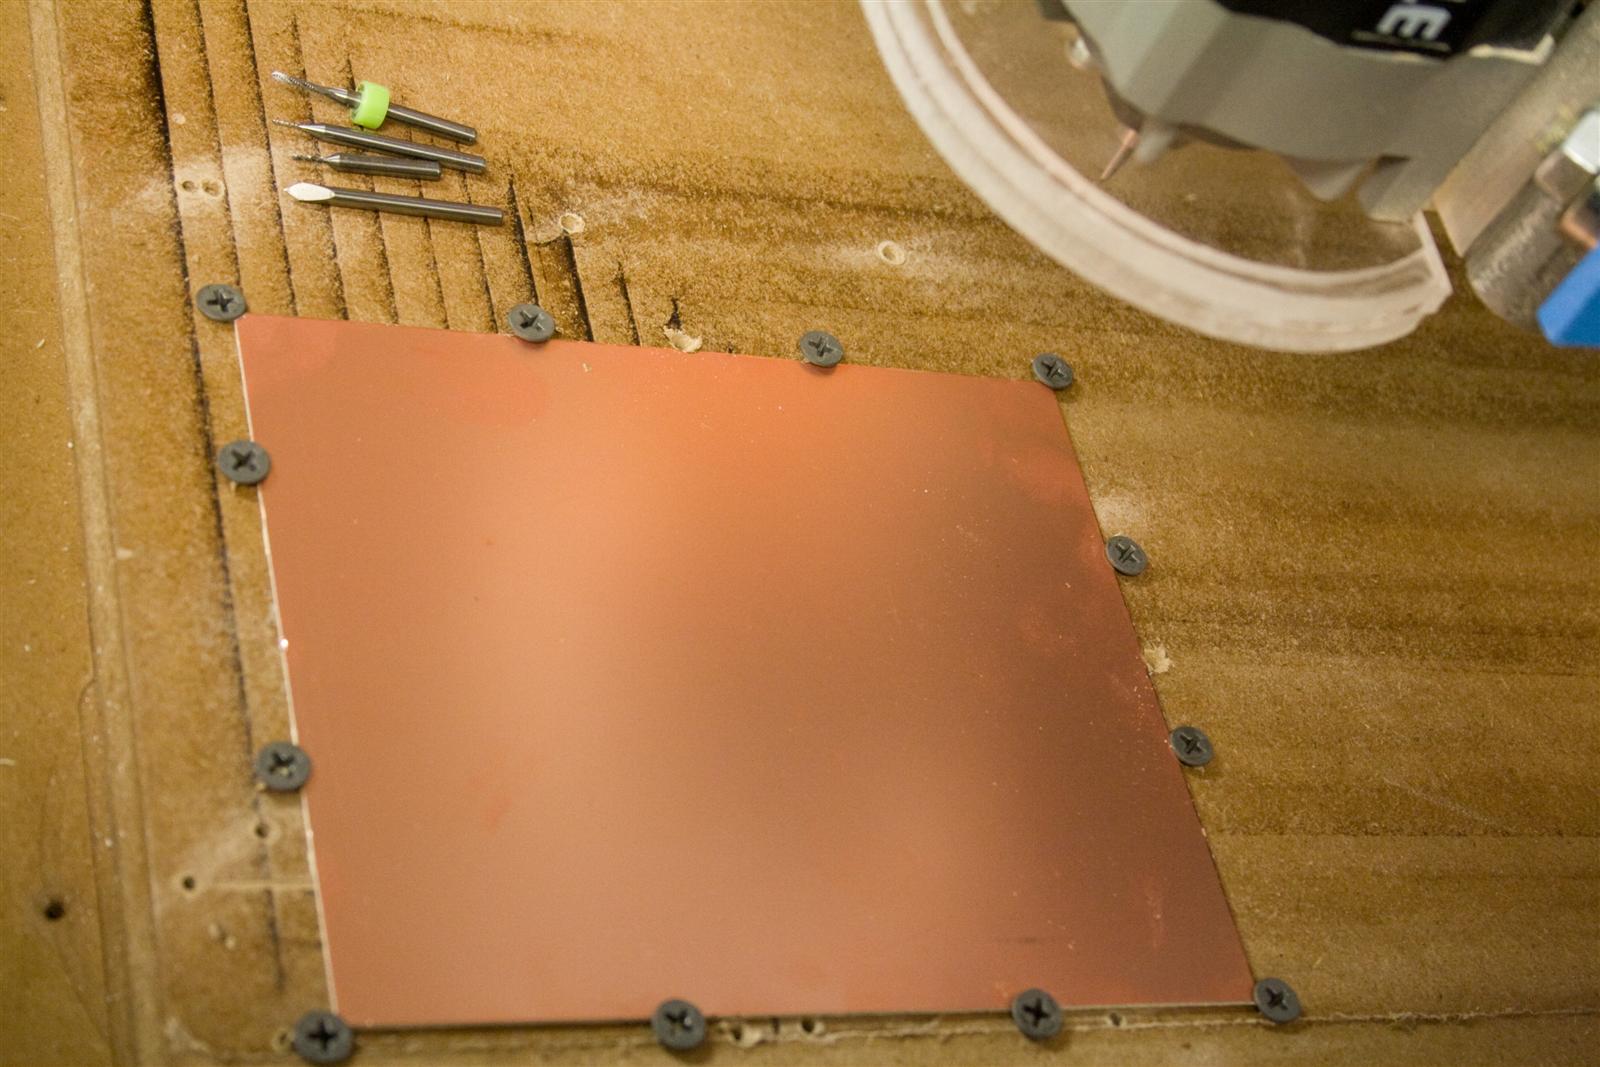
powder coat trial, and pcb milling trial...
3 tries to get pcb right...
08.22.2009
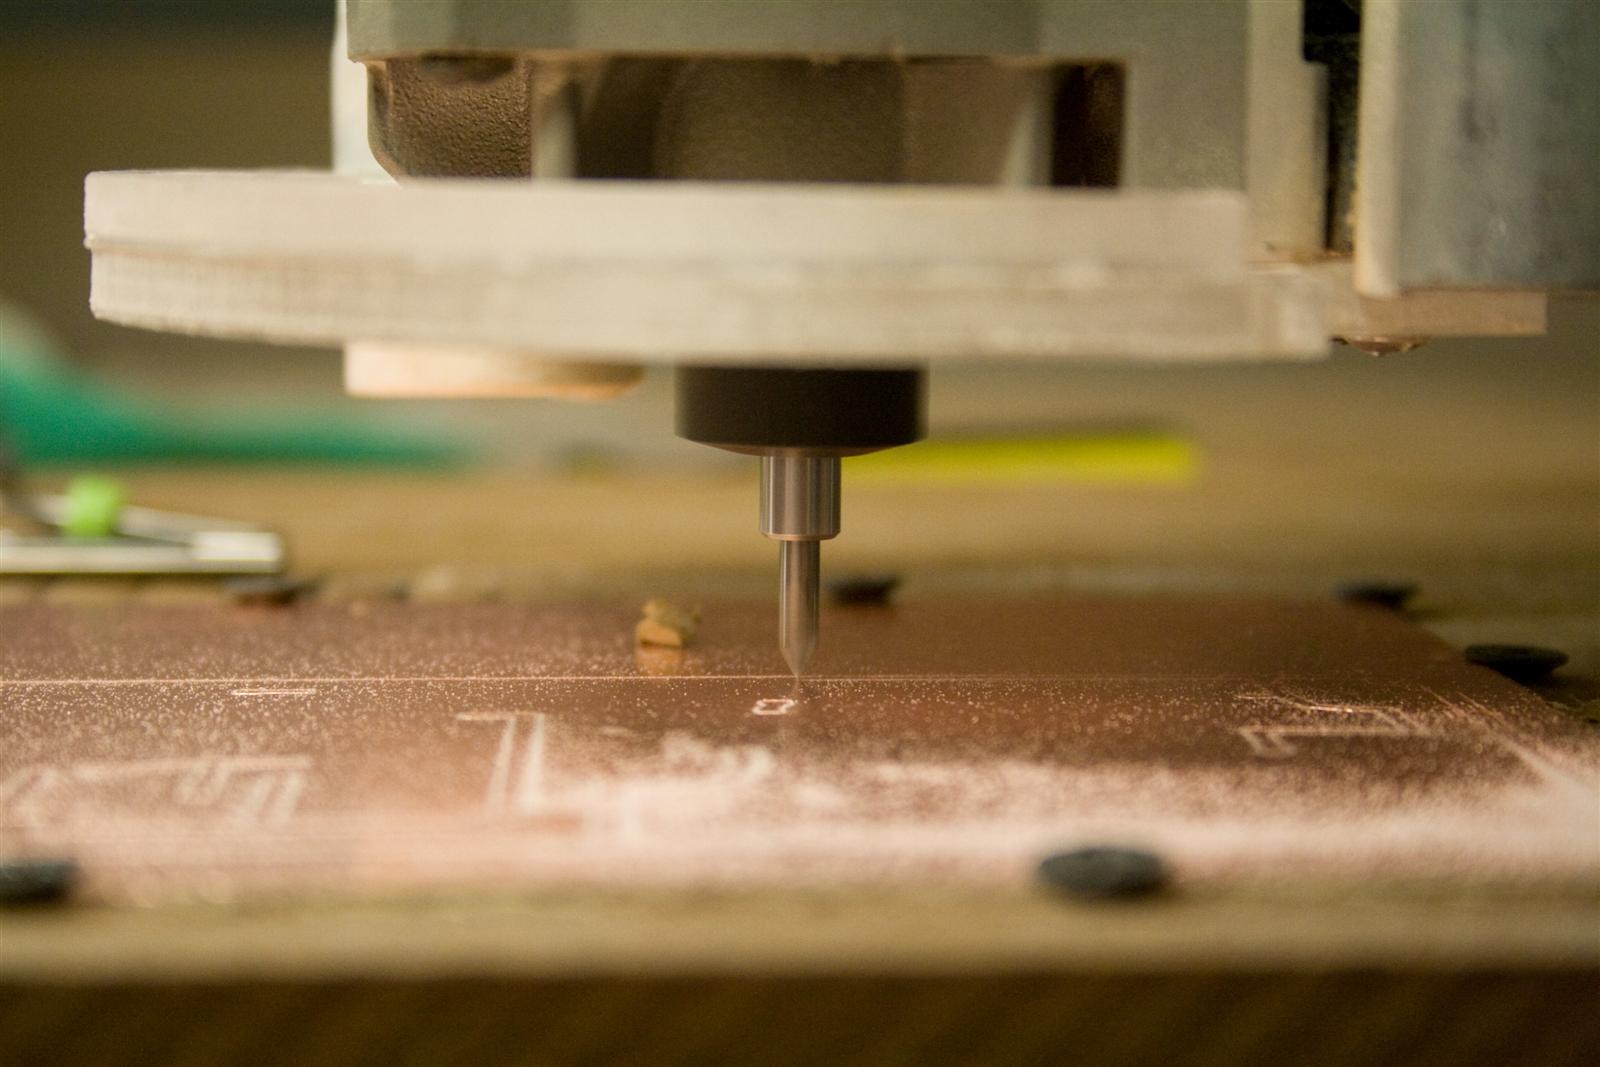
figured out a method to auto calibrate my Z depth, this helps me get consistent results when engraving the PCB from one run to the net... I attach a continuity checker, then single step the Z axis down until I hear a beep. pretty easy.
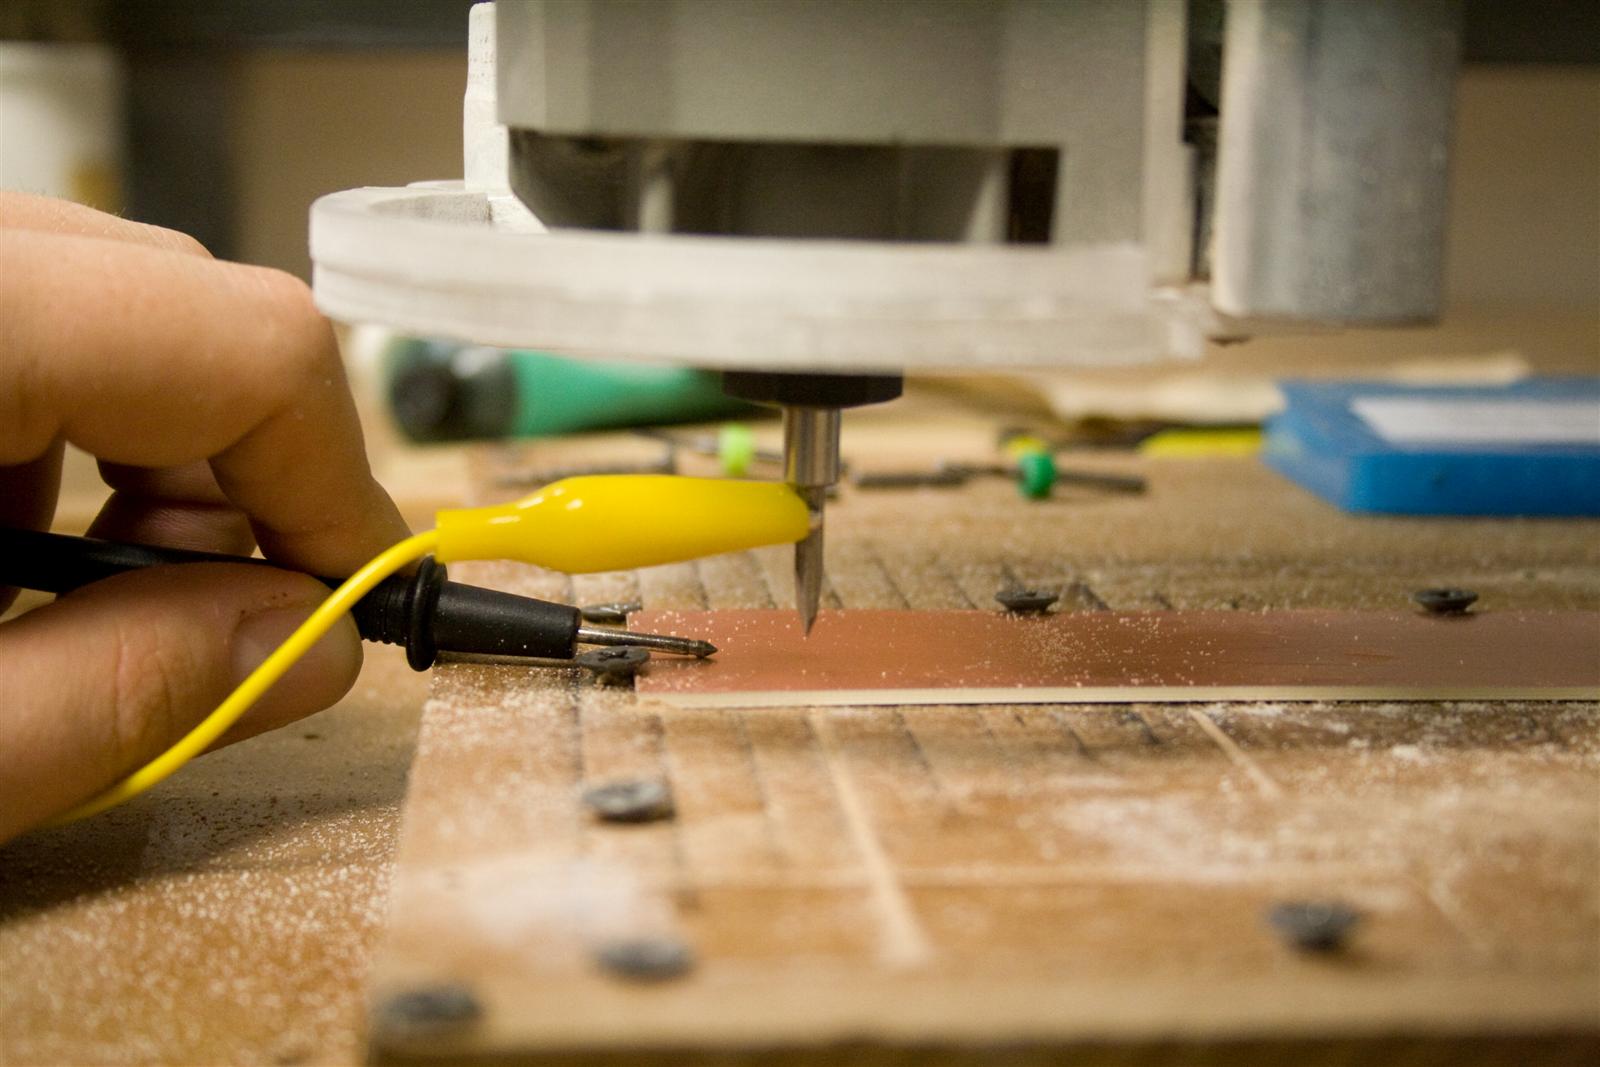

CNC auto Z depth calibration
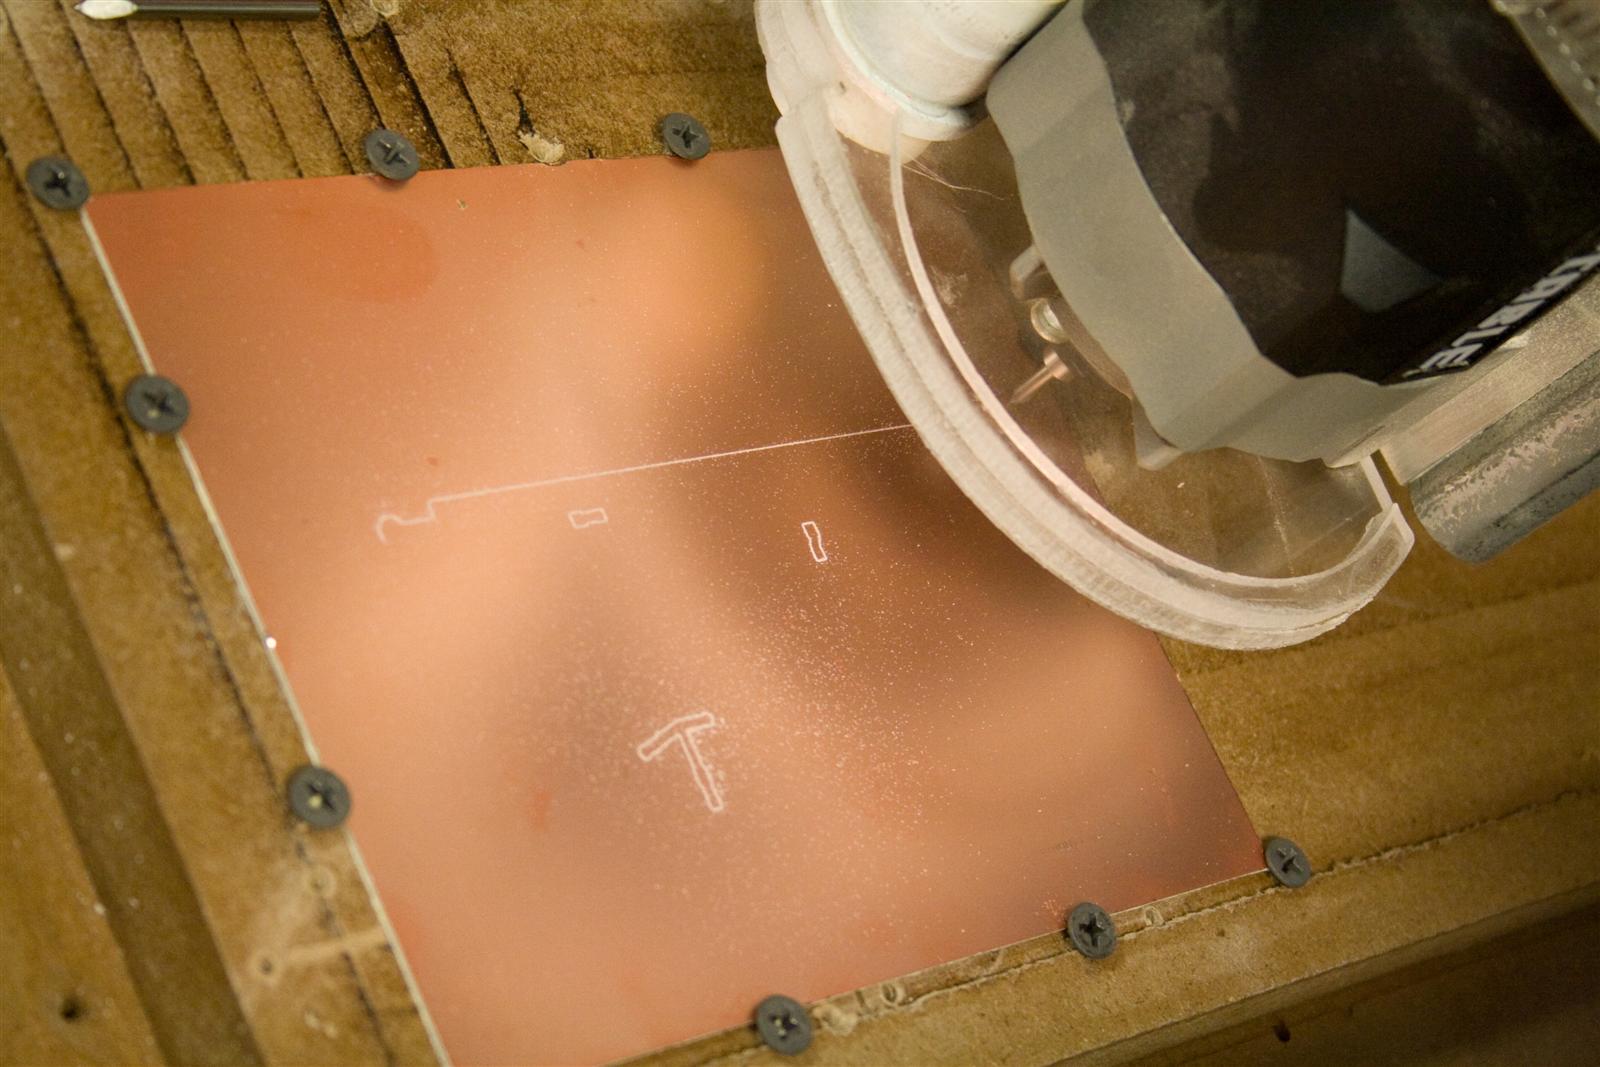
more work on my test piece... this time the milling is much more even.

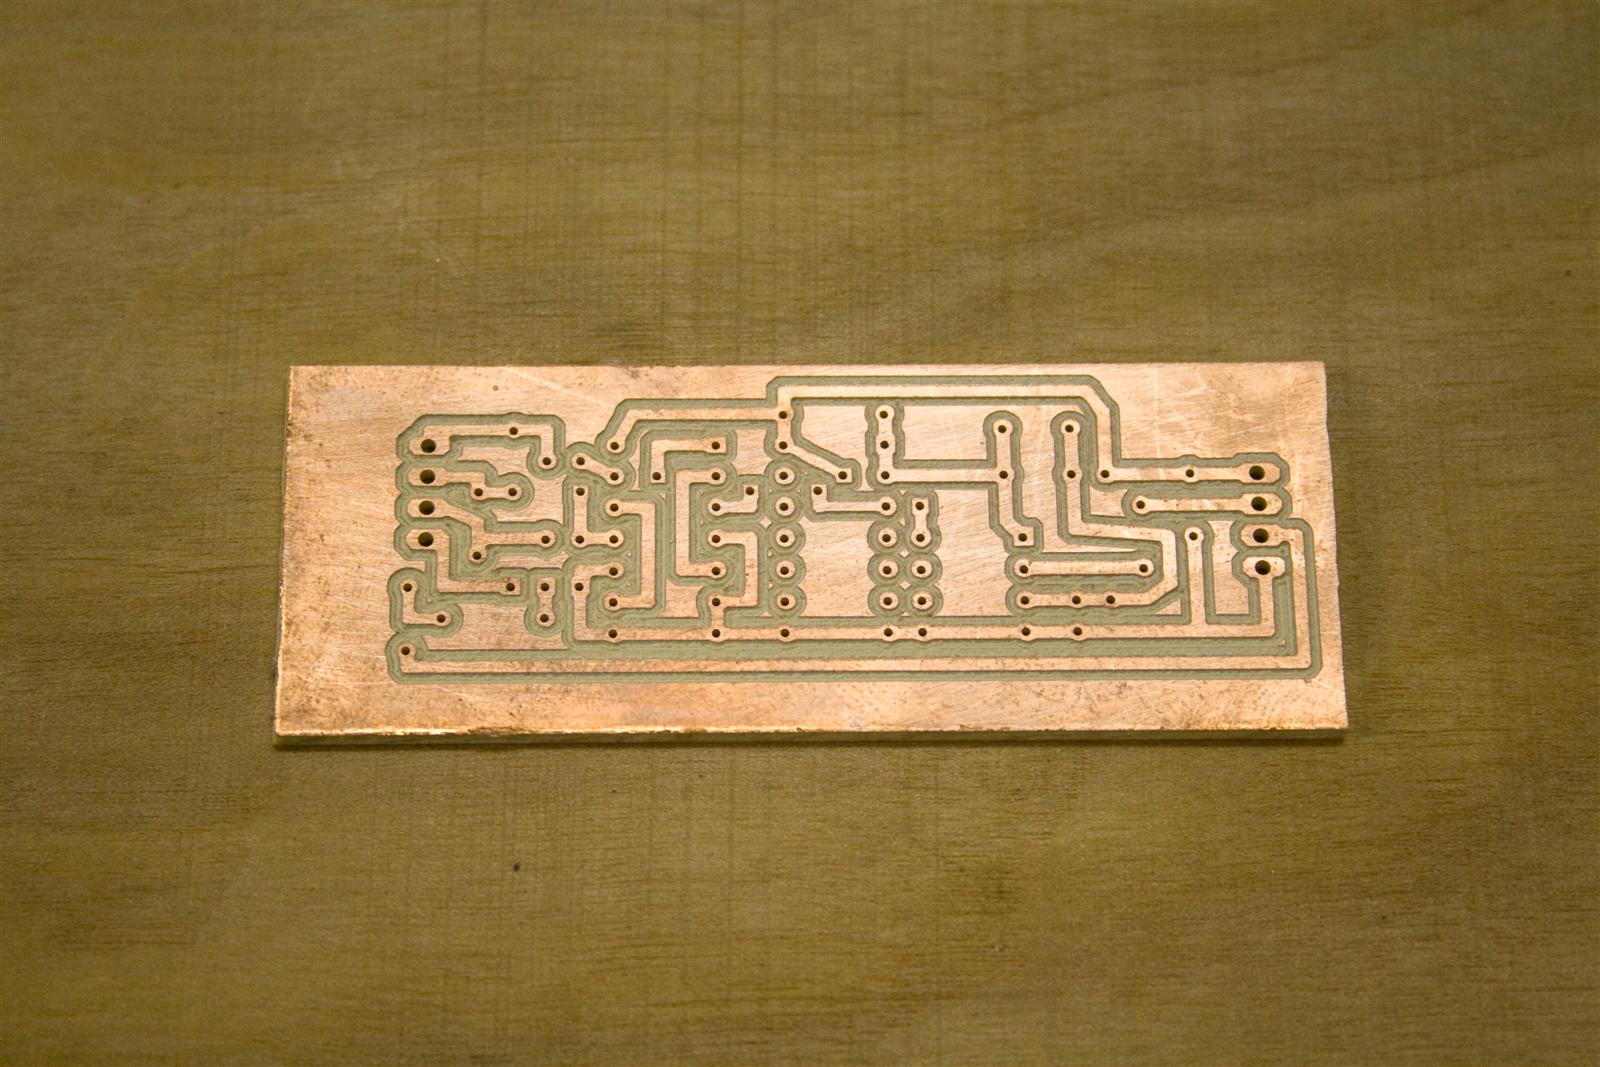
4th try looks the best...
08.25.2009
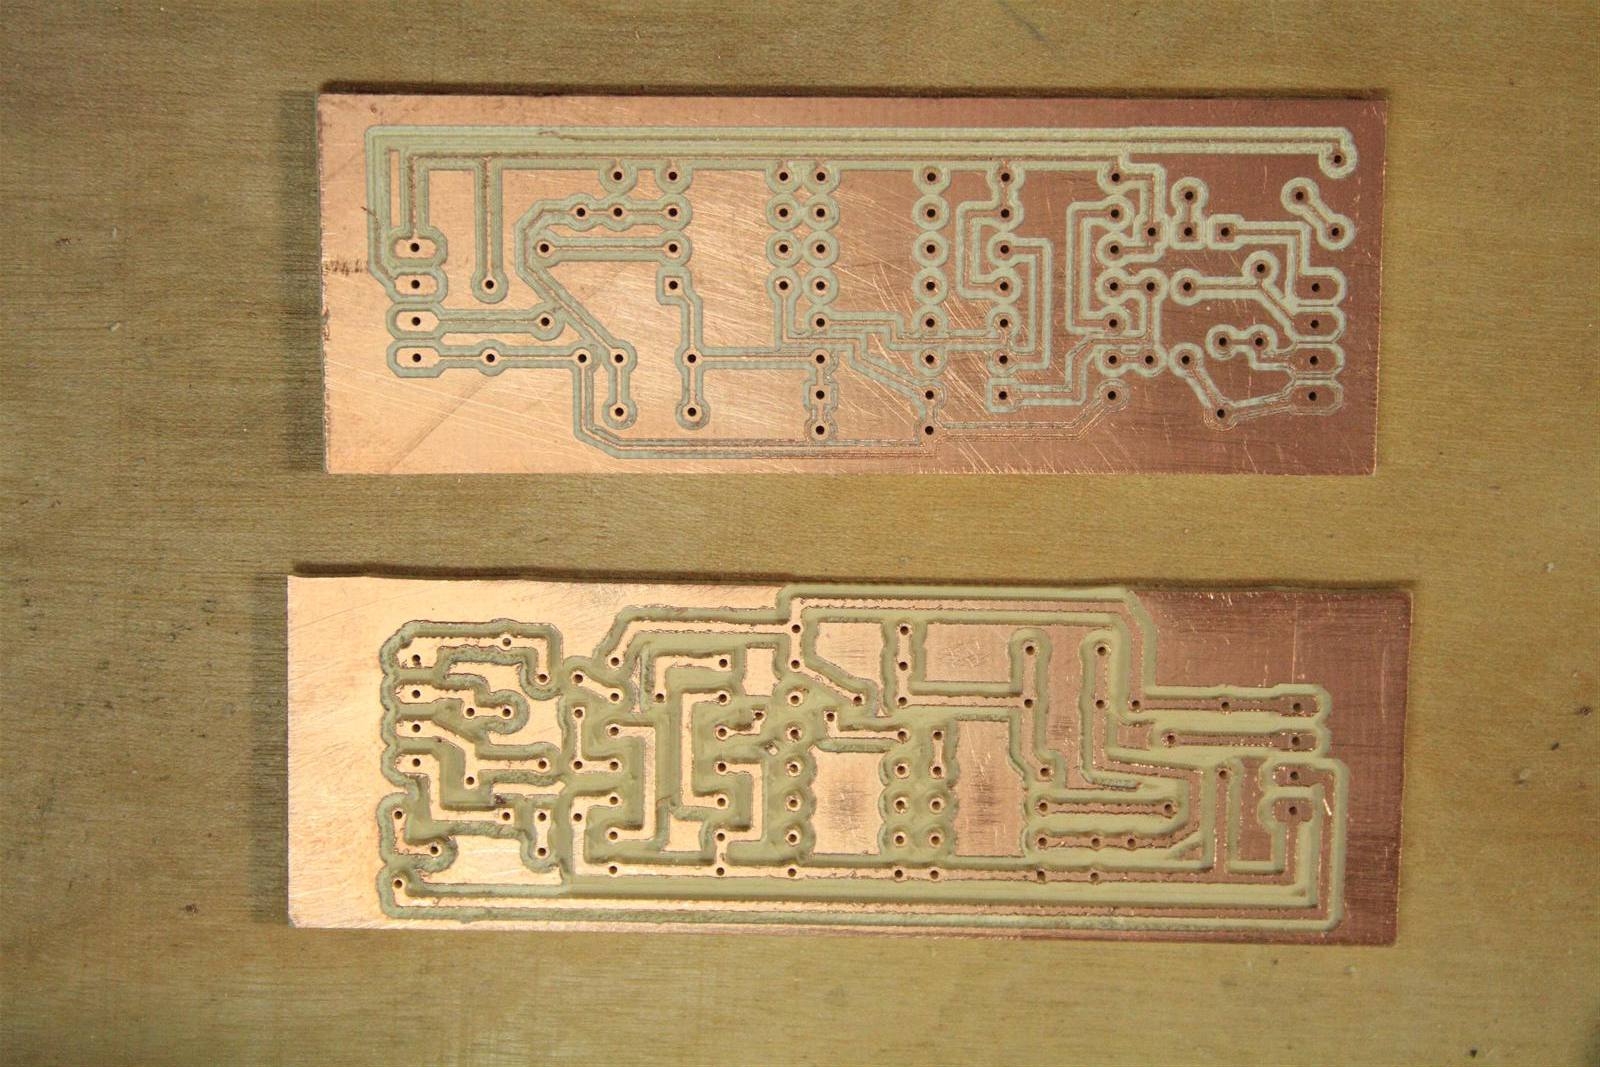
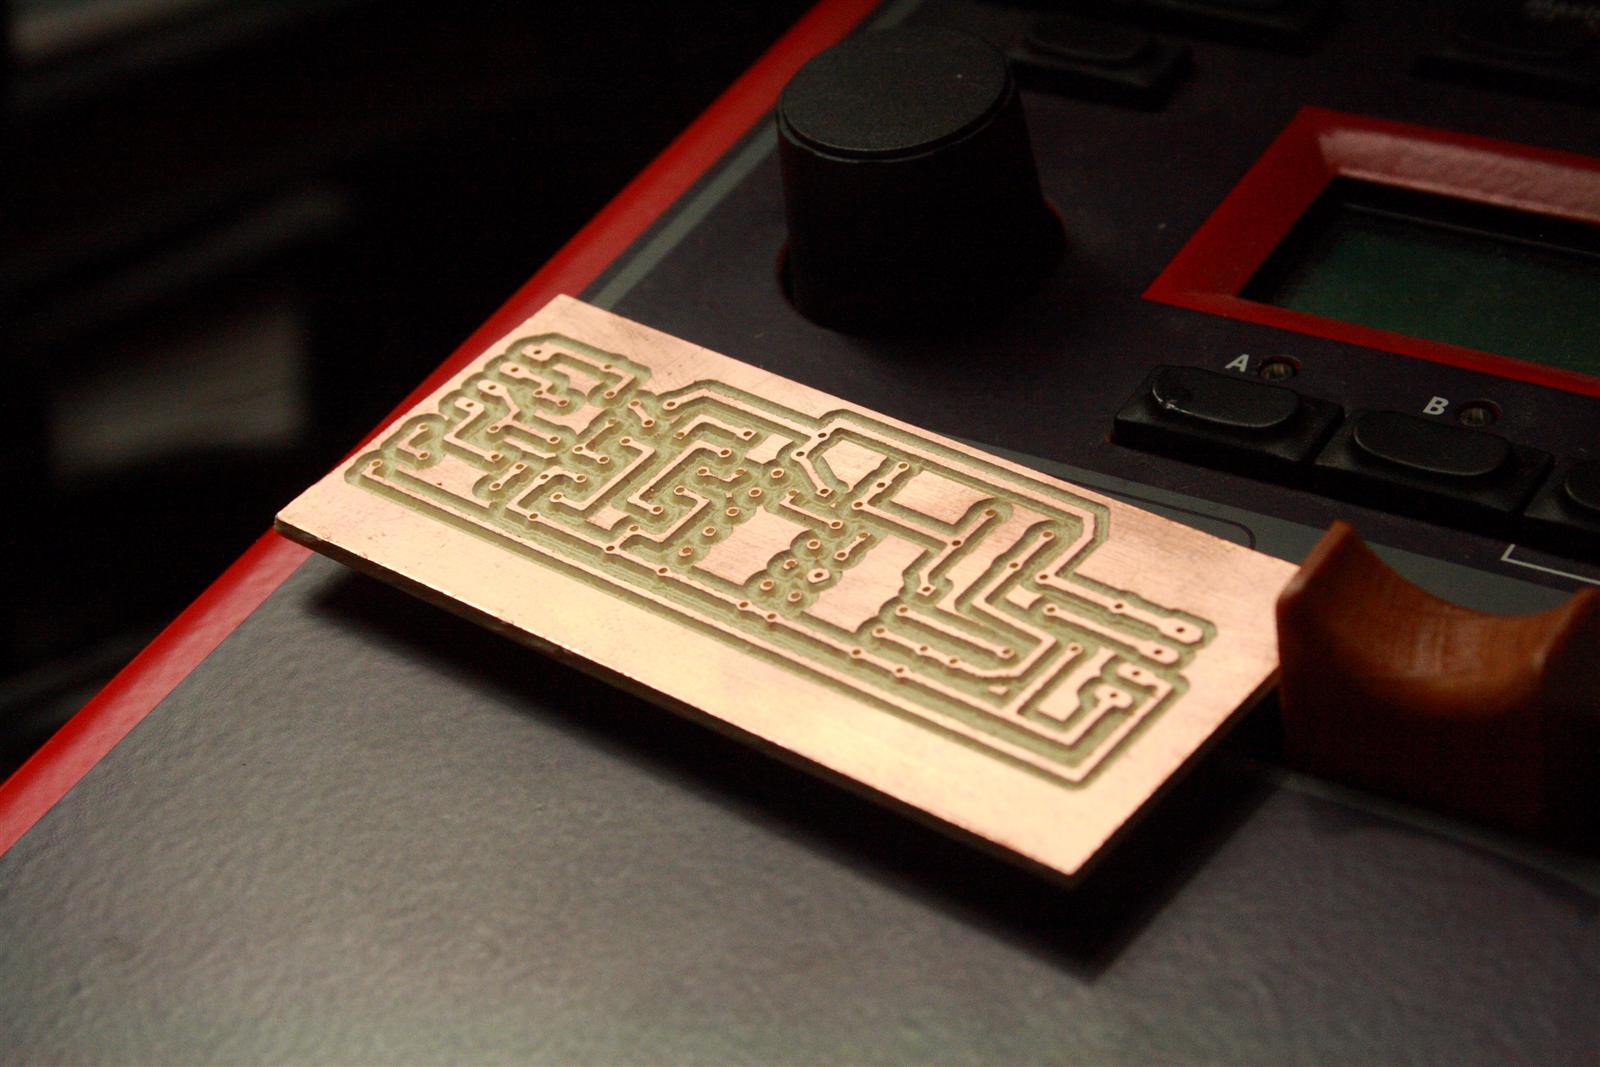
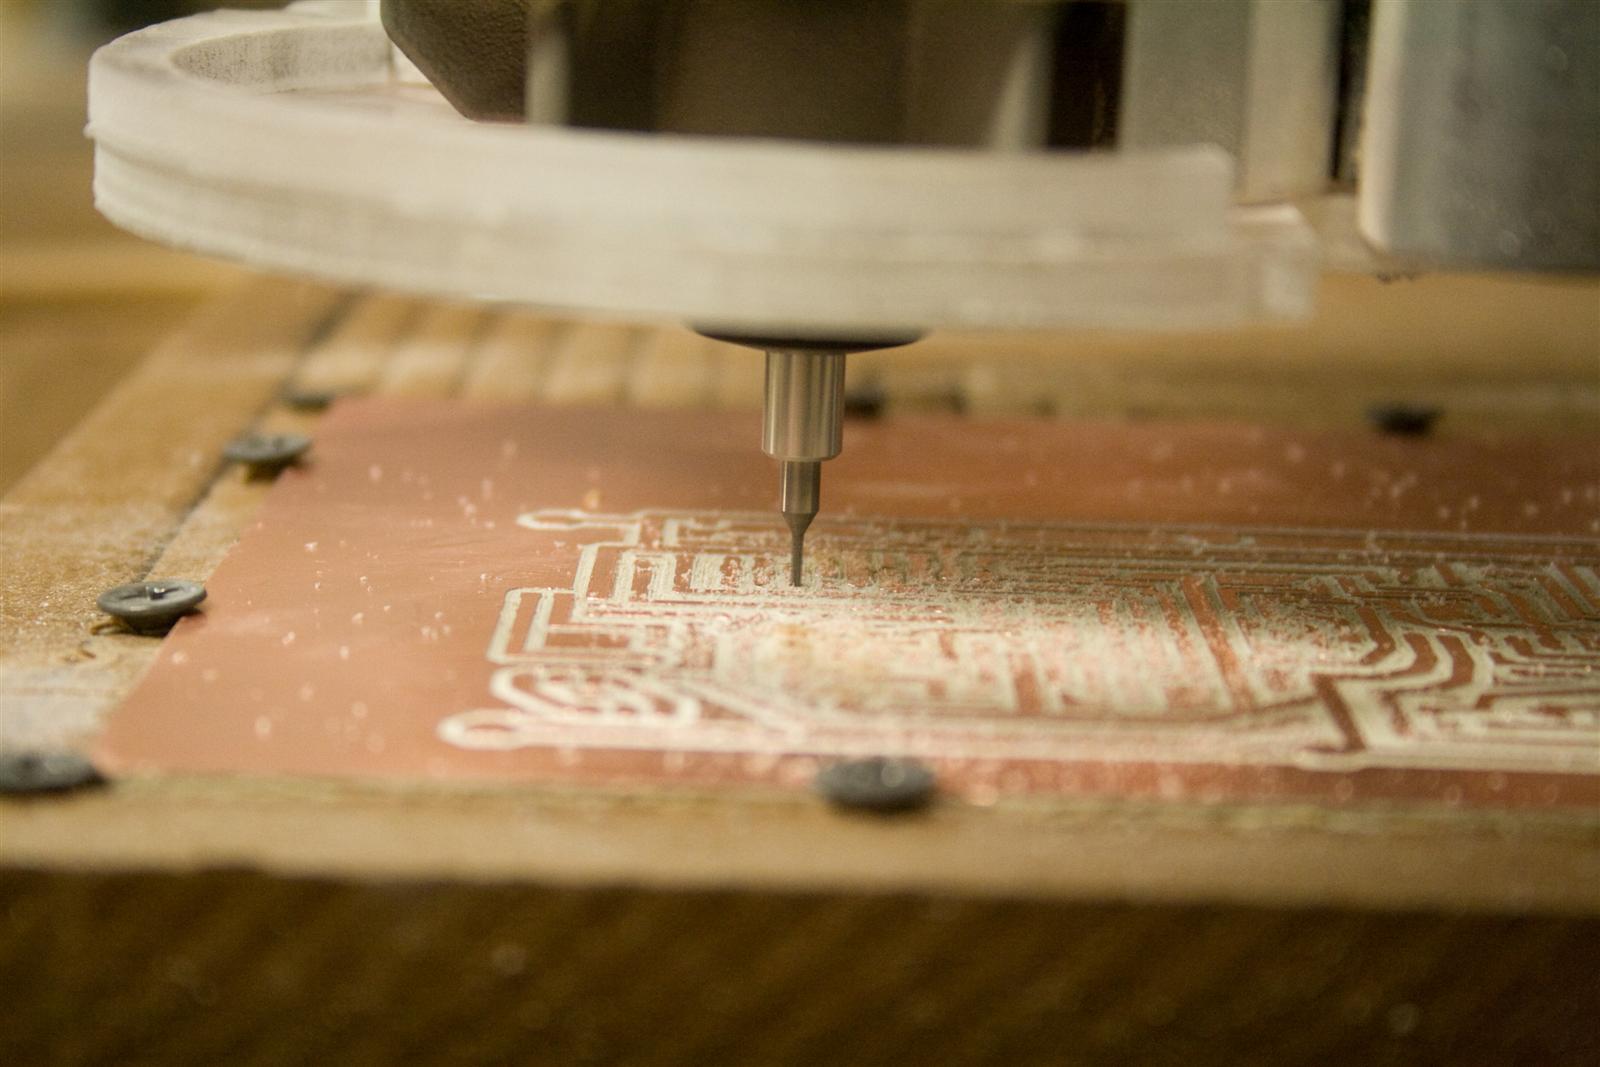
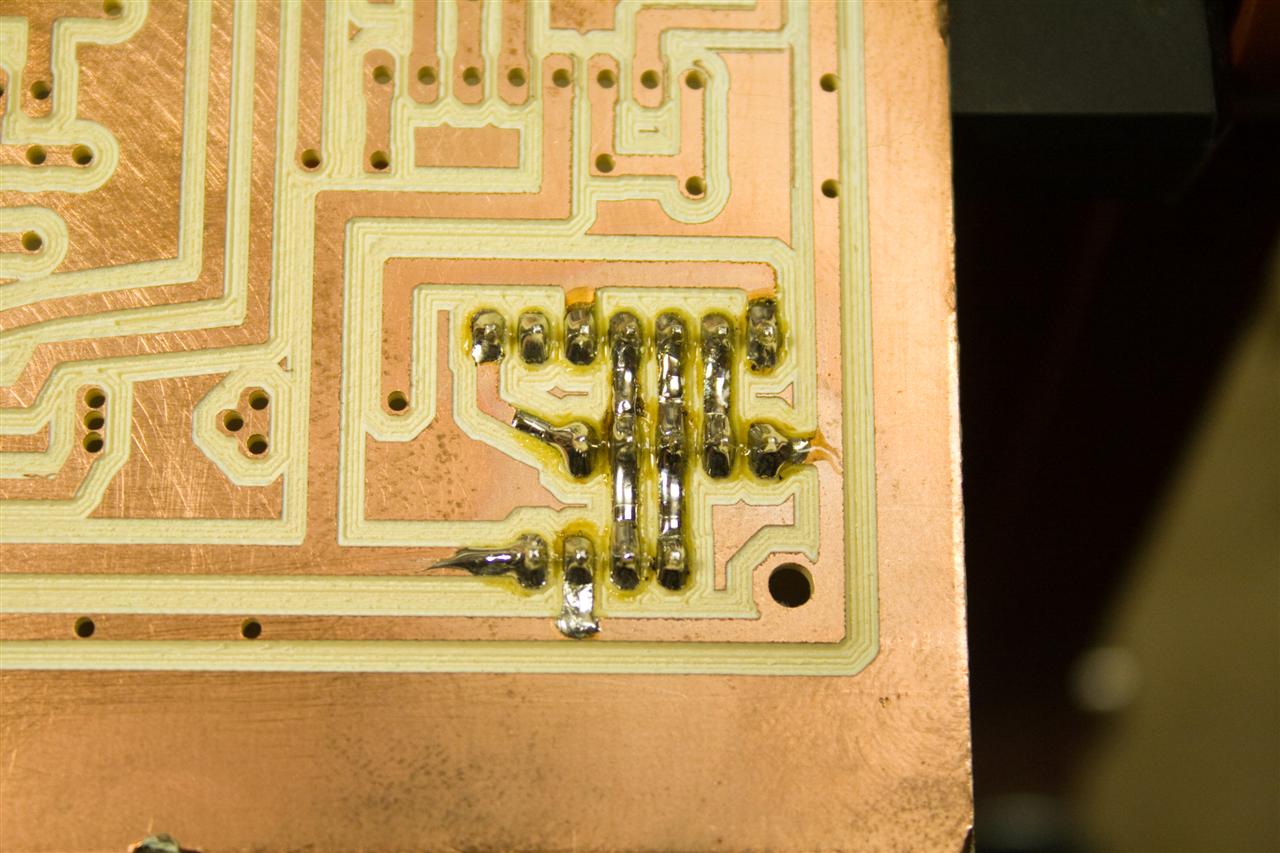
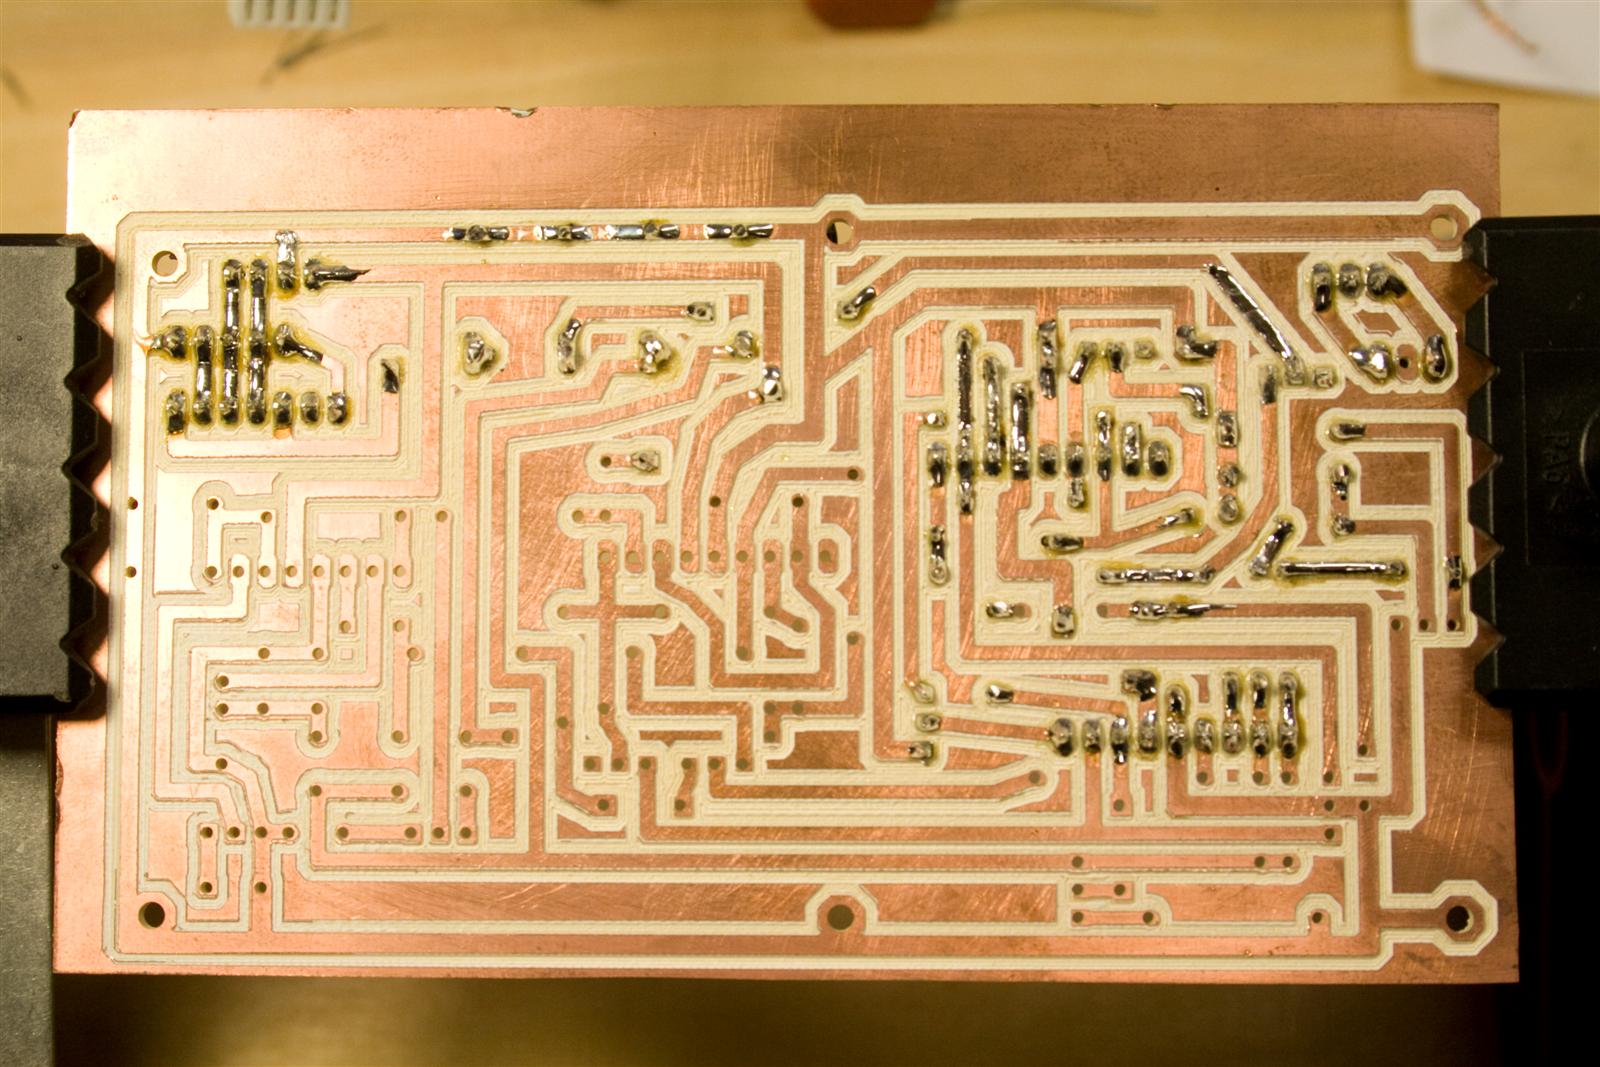
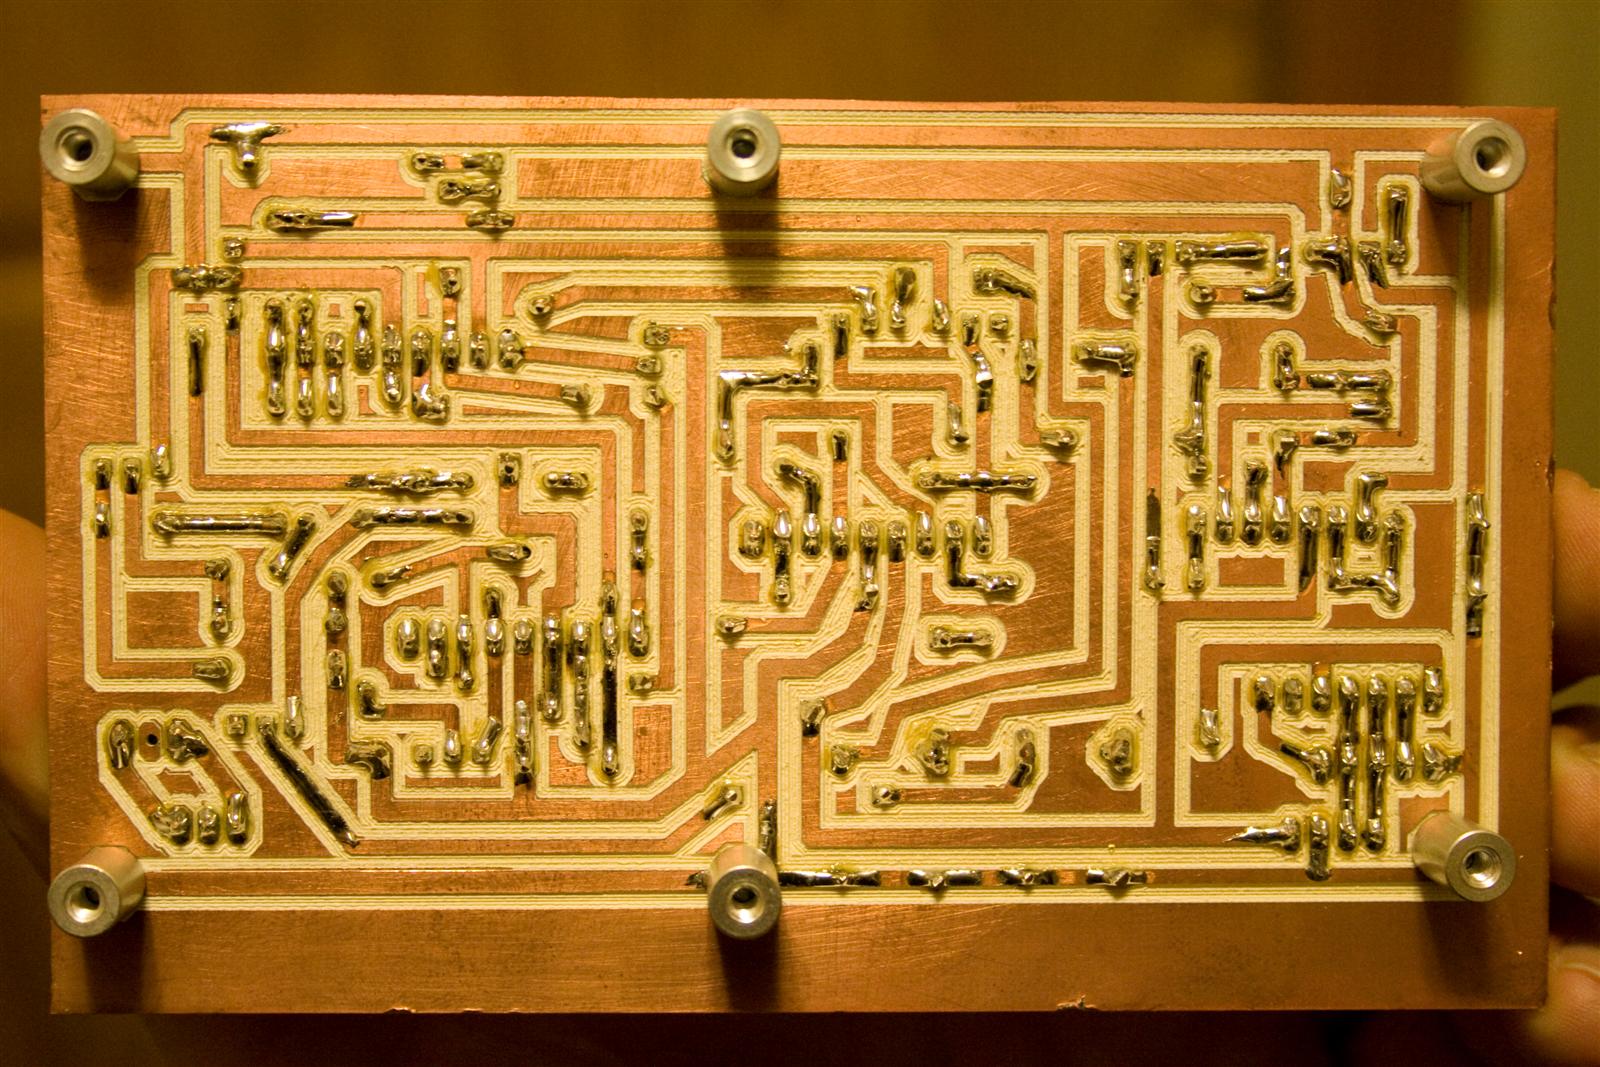
engraved the full ts-21 PCB... turned out good, but I need to power it up to know for sure how it will handle the high voltage and current... (I did design tracewidth and spacing for the voltage and current loads... but... )... fingers crossed.
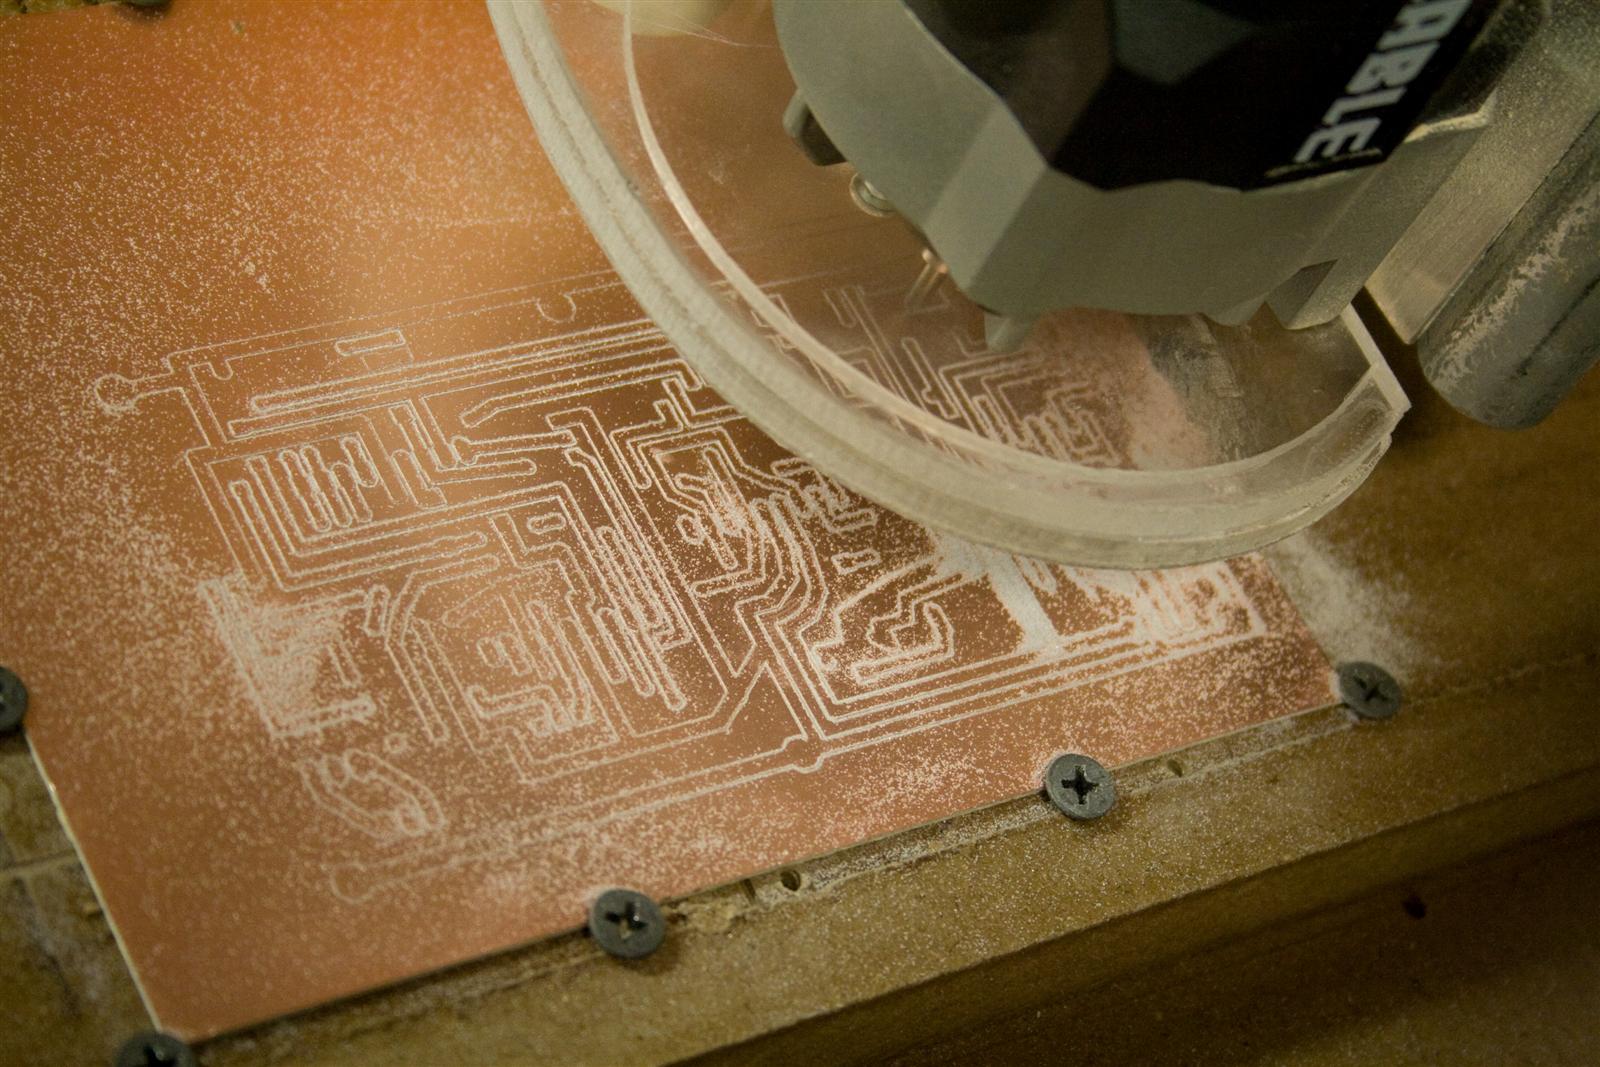
engraving
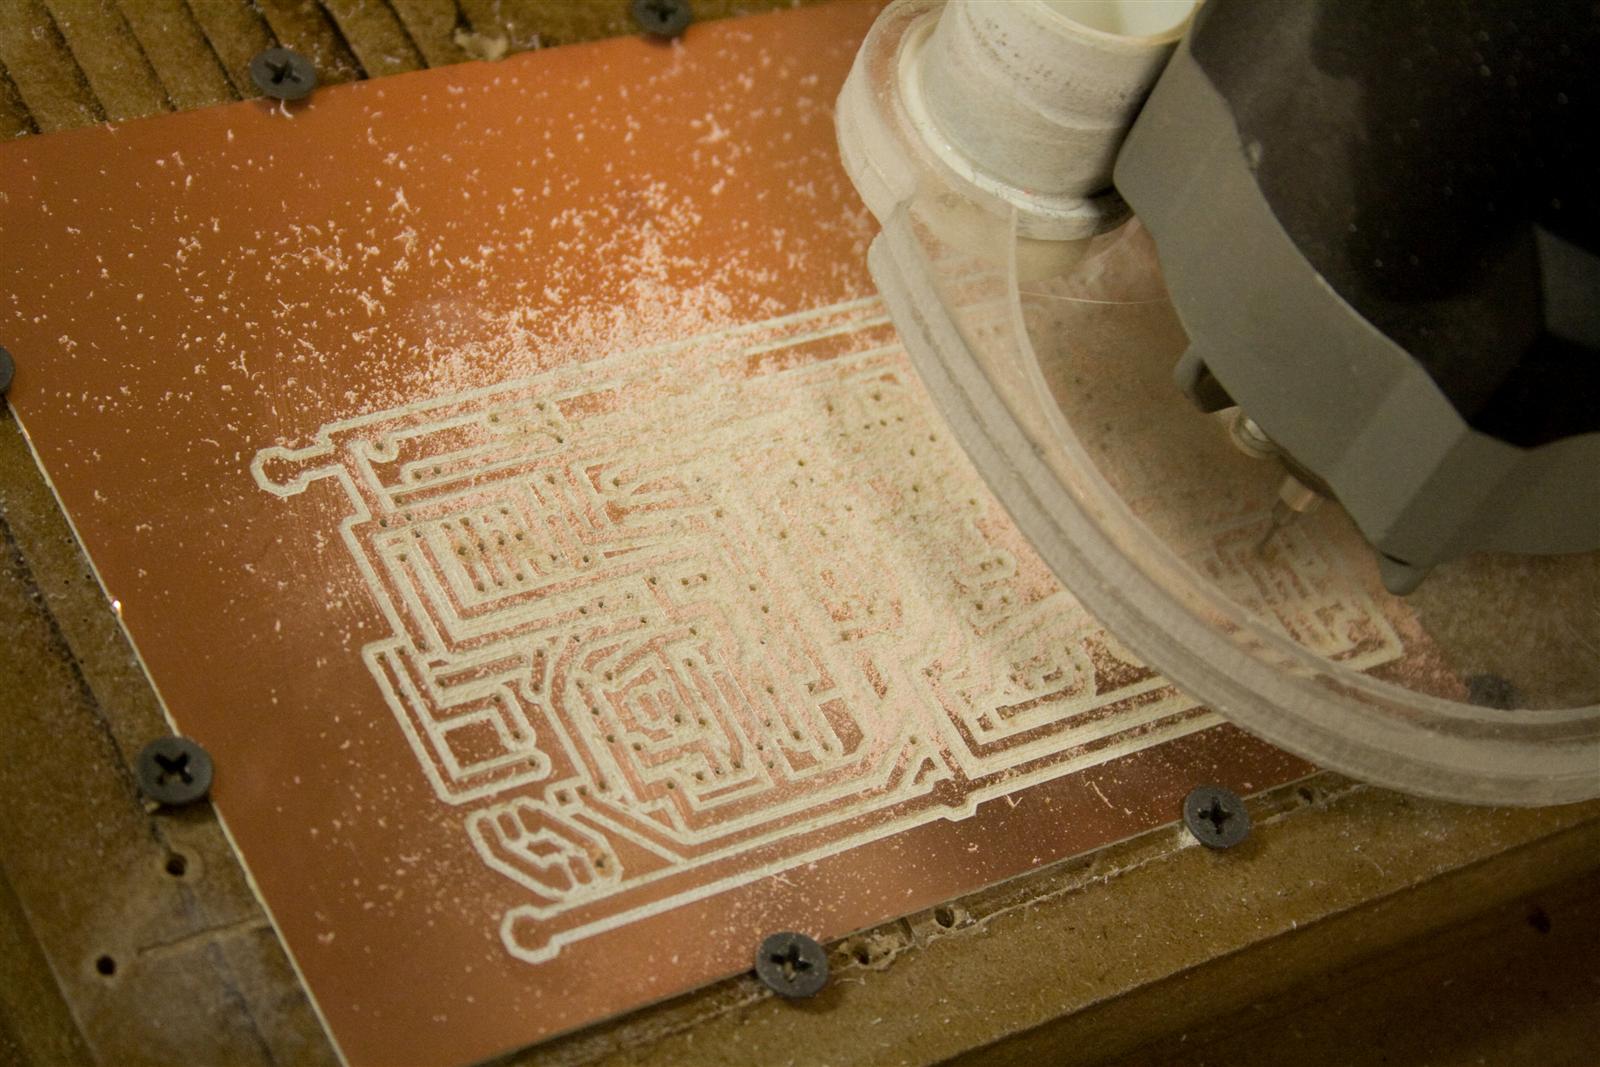
drilling
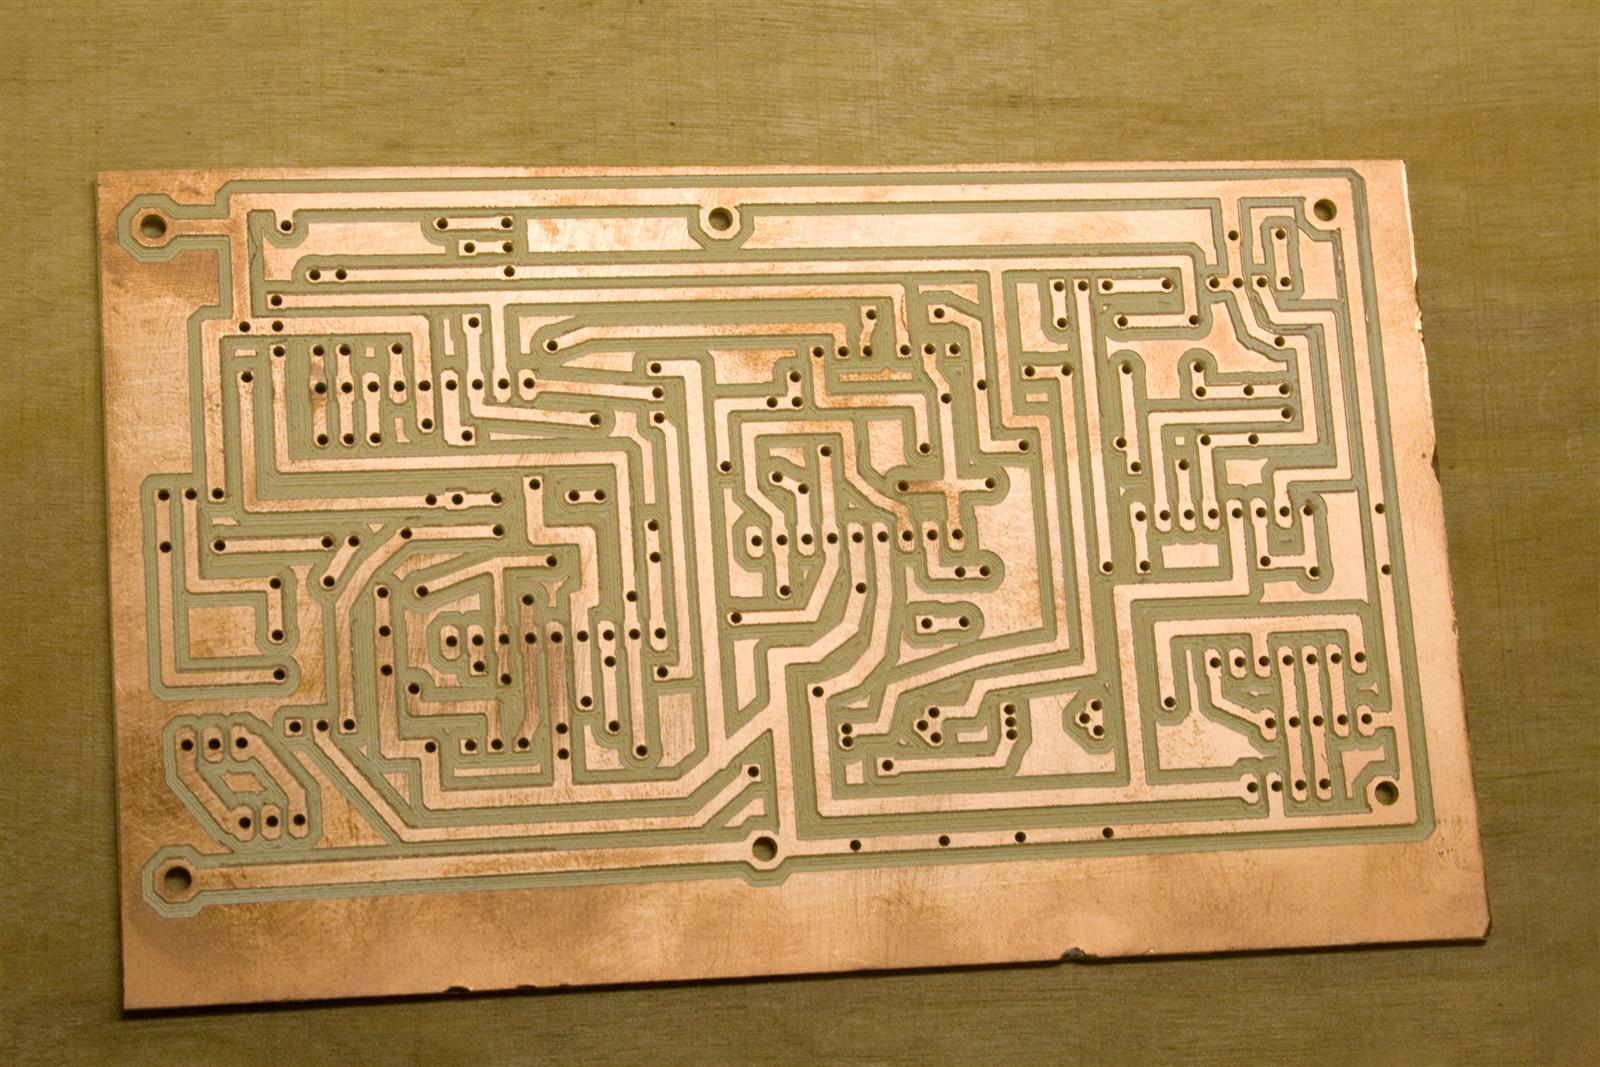
6" x 3" PCB, took about 1 hr to mill and drill.
09.15.2009
[1hr] - created tool paths for the front/back panels.
[1hr] - designed a plate to mount the tubes.
![]()
![]()
![]()
Toolpath for front, back, and tube-mounting plates
09.27.2009
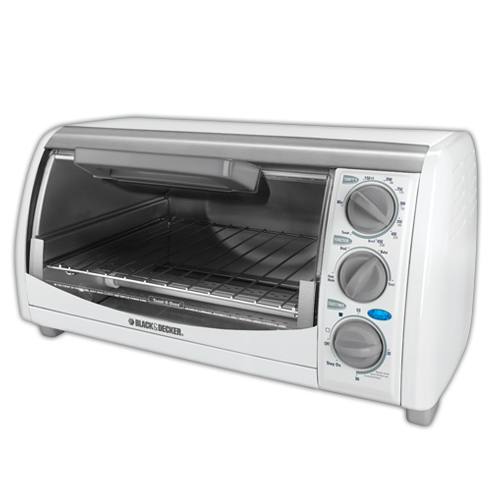
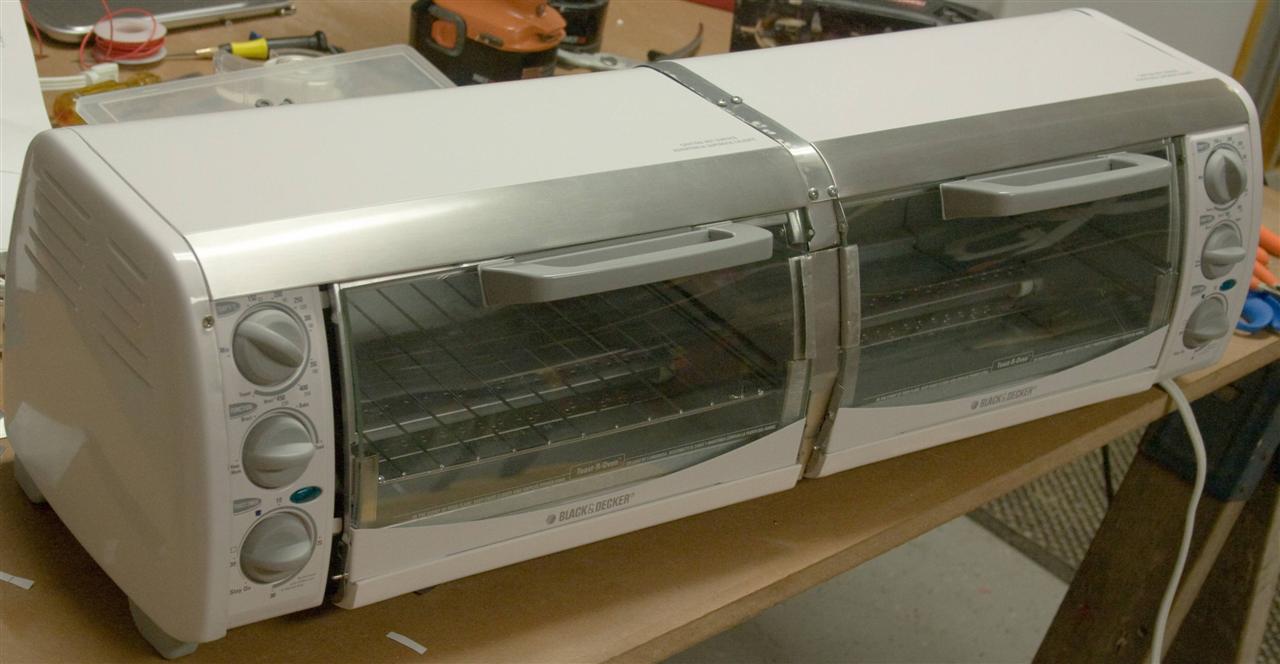
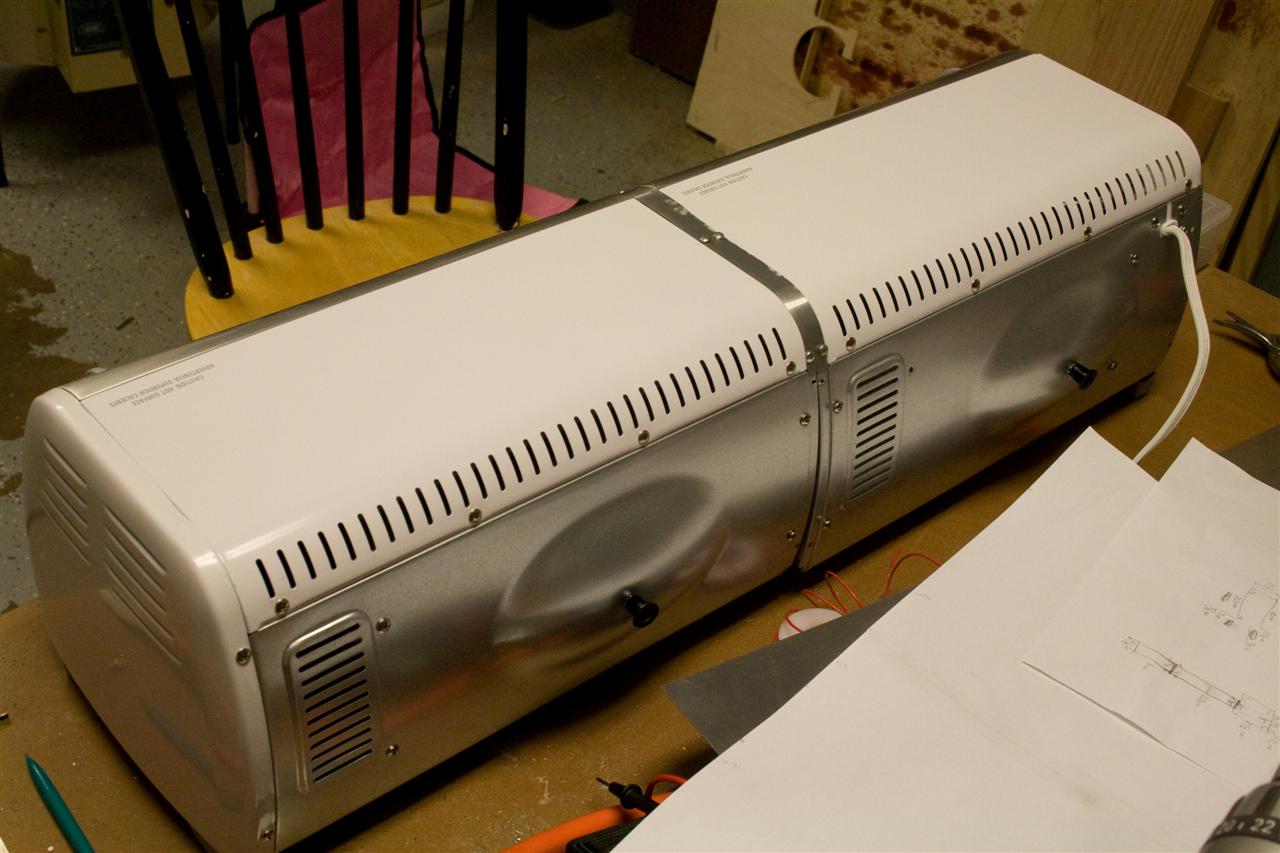
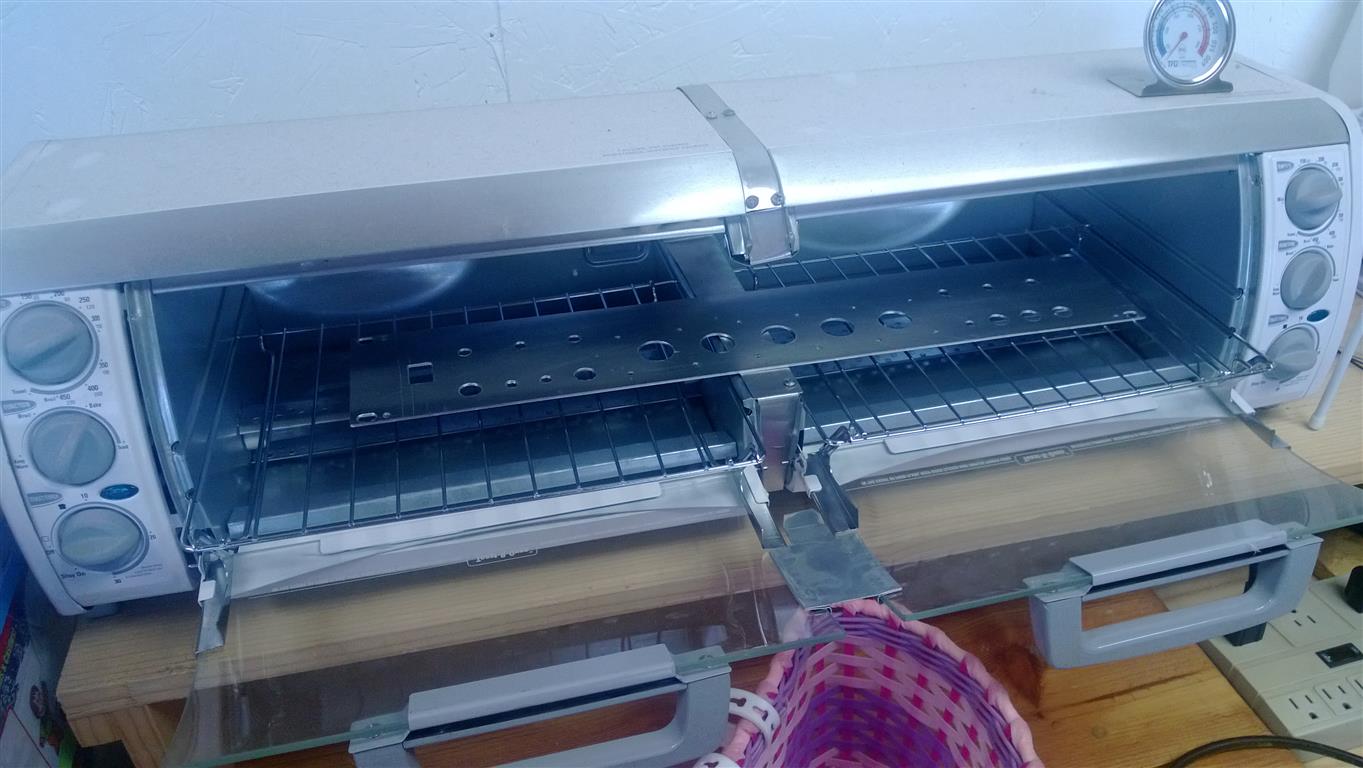
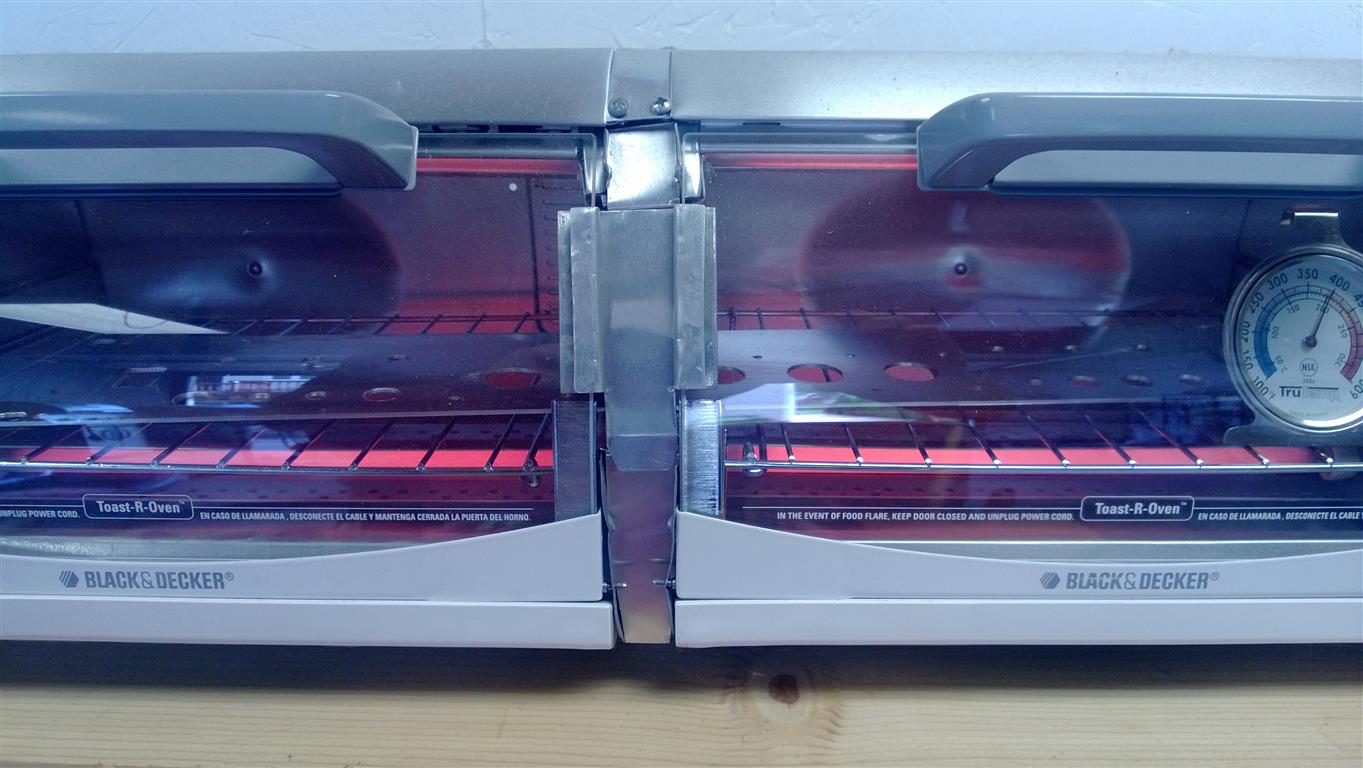
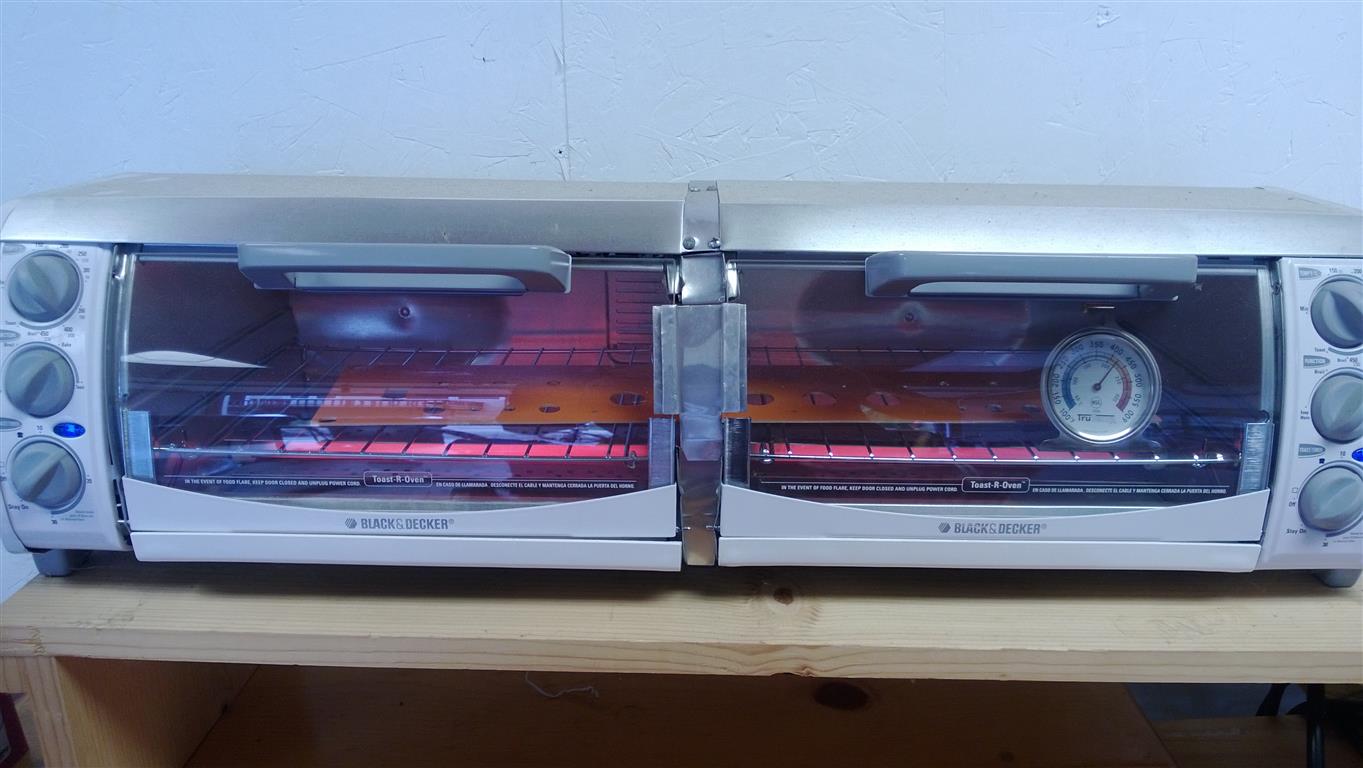
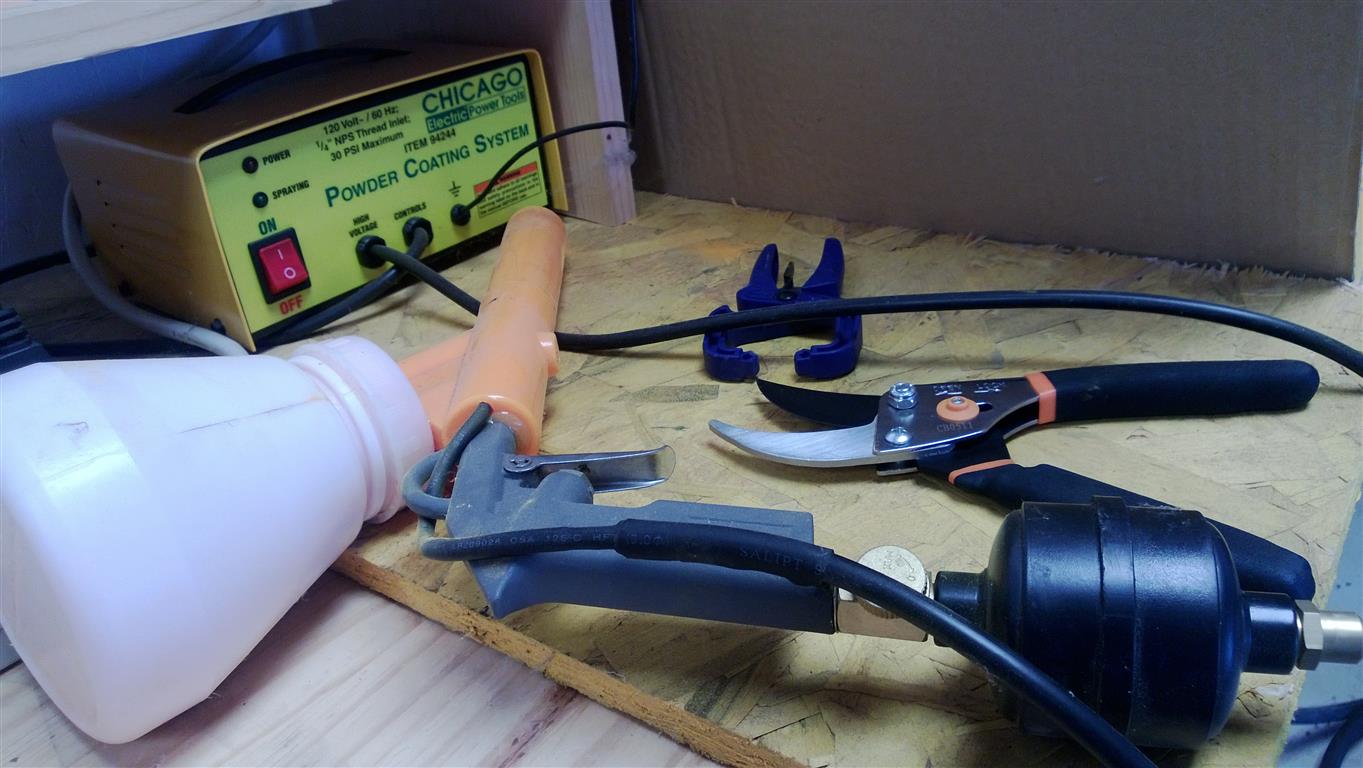
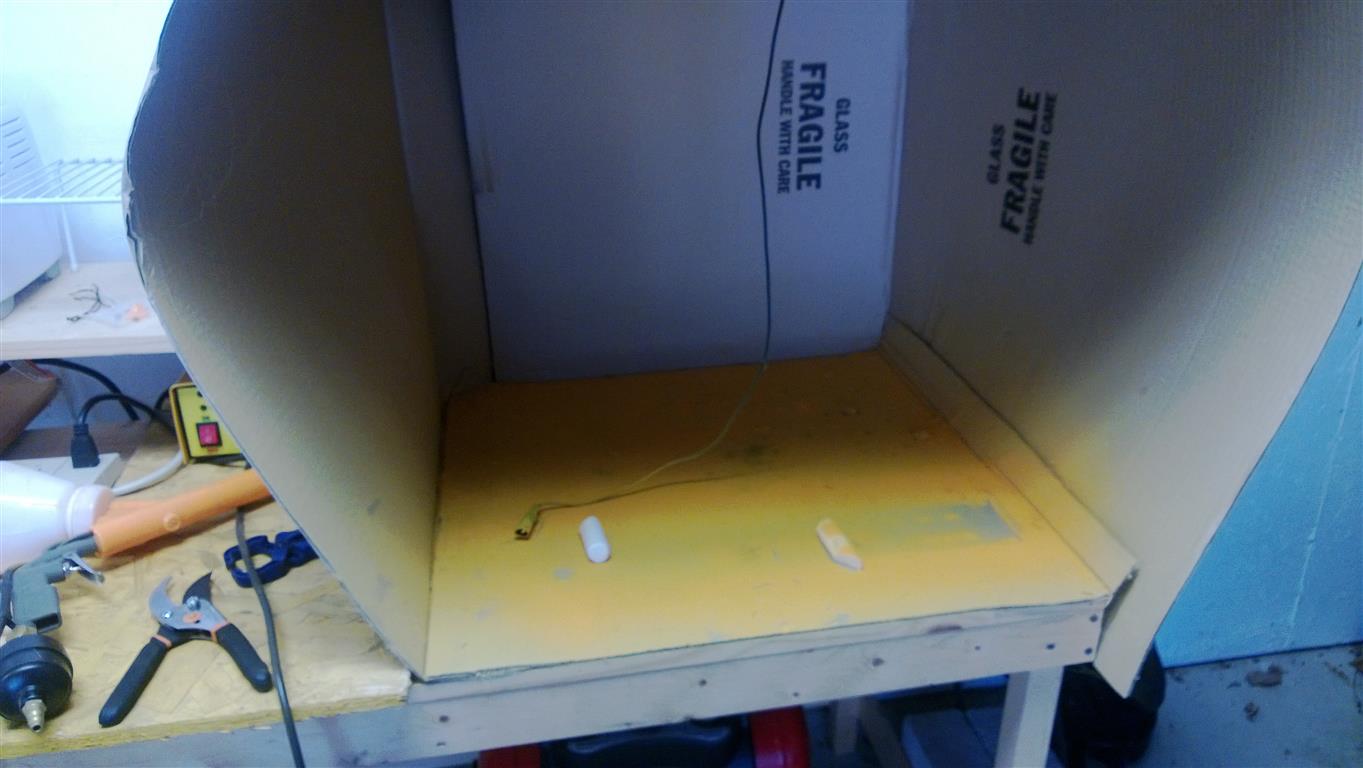
getting ready for powdercoating :: (aka "lets have some toaster l'oven") to powder coat the front and back panels for the hellfire modulator, I will need an oven to cure the dry powder coating paint... I wont be able to use the house oven because 1.) The house oven is gas and you can't use open flame with the powder (fumes?) and 2.) you can't have those fumes in an oven where you prepare food. so... I looked into getting a toaster oven. It's cheap (about $22 for one), small, etc... But no toaster oven is being sold larger than about 12" (for some reason being able to handle a "12in pizza" is a selling point to the toaster oven industry, well try accomodating 19" rack panels in the future, ok?). Since I'm doing 19" rack panels, not pizza, I decided to make my own jumbo toaster oven by frankensteining 2 of them together - end to end.
tonight I finished this task, and I have to say it turned out better than it probably should have.
altogether, this took a sunday afternoon, and a couple additional 1hr sessions to wrap it all up.
READY FOR IT? OK... SCROLL DOWN
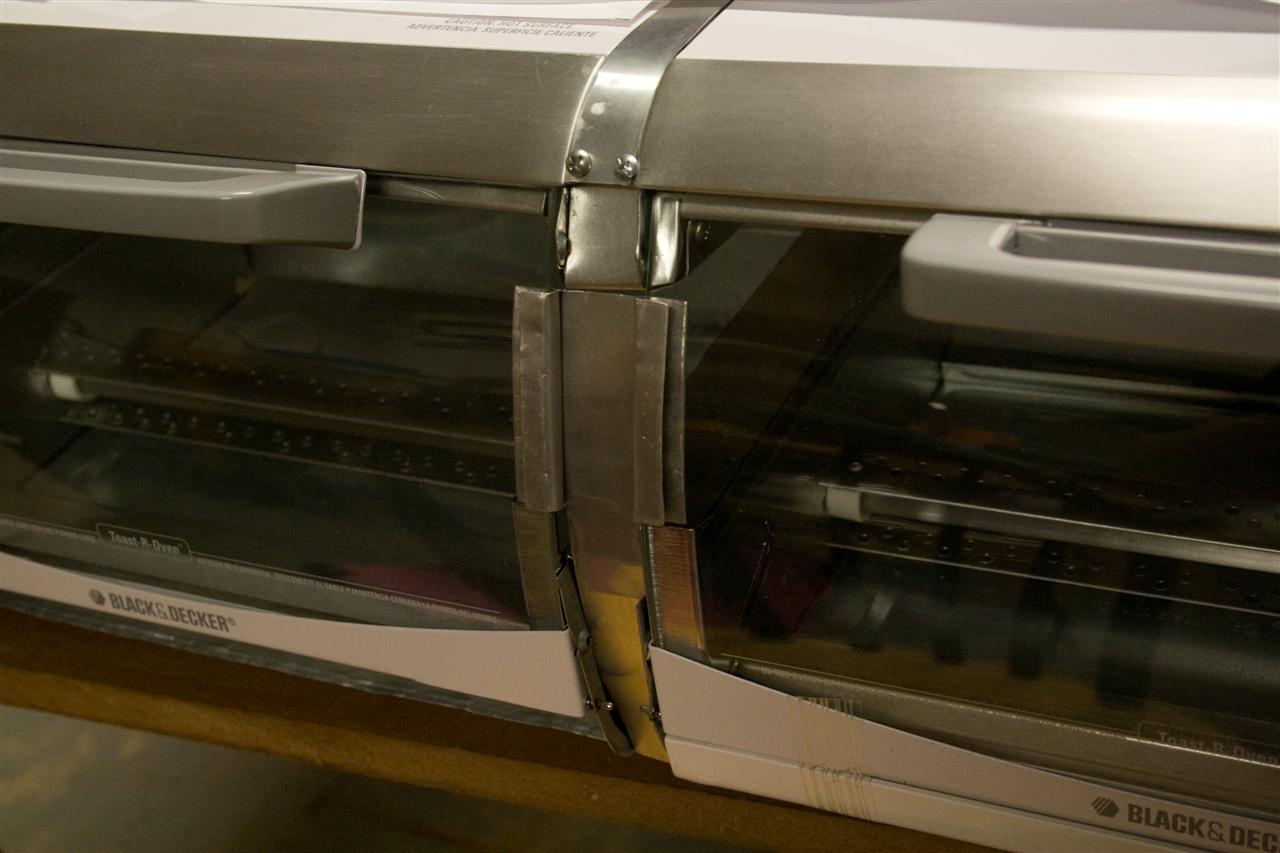
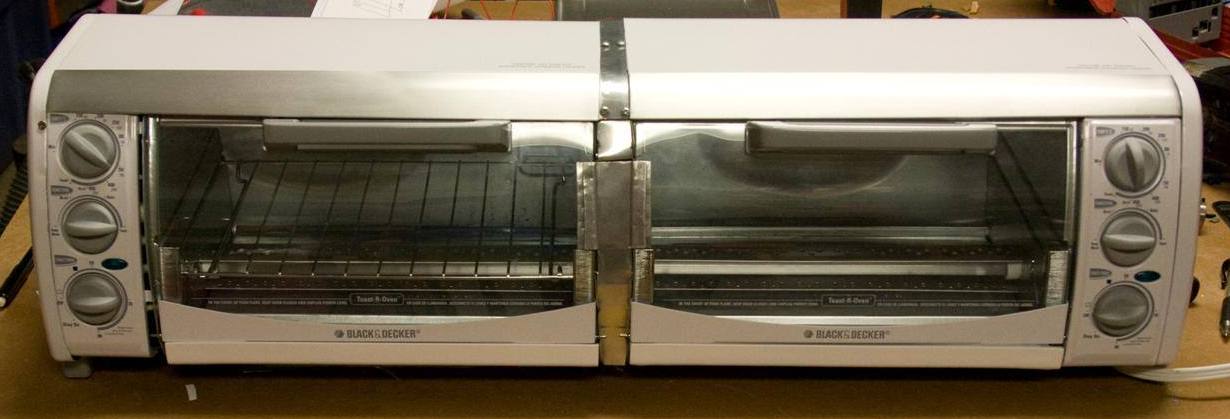
![]()
introducing the black&decker double wide jumbo toaster oven
(disclaimer: this will void your warrenty, do not try at home, these are not for sale)

worklog...
09.20.2009 3-6pm, +3 more 1 hr sessions the following week:
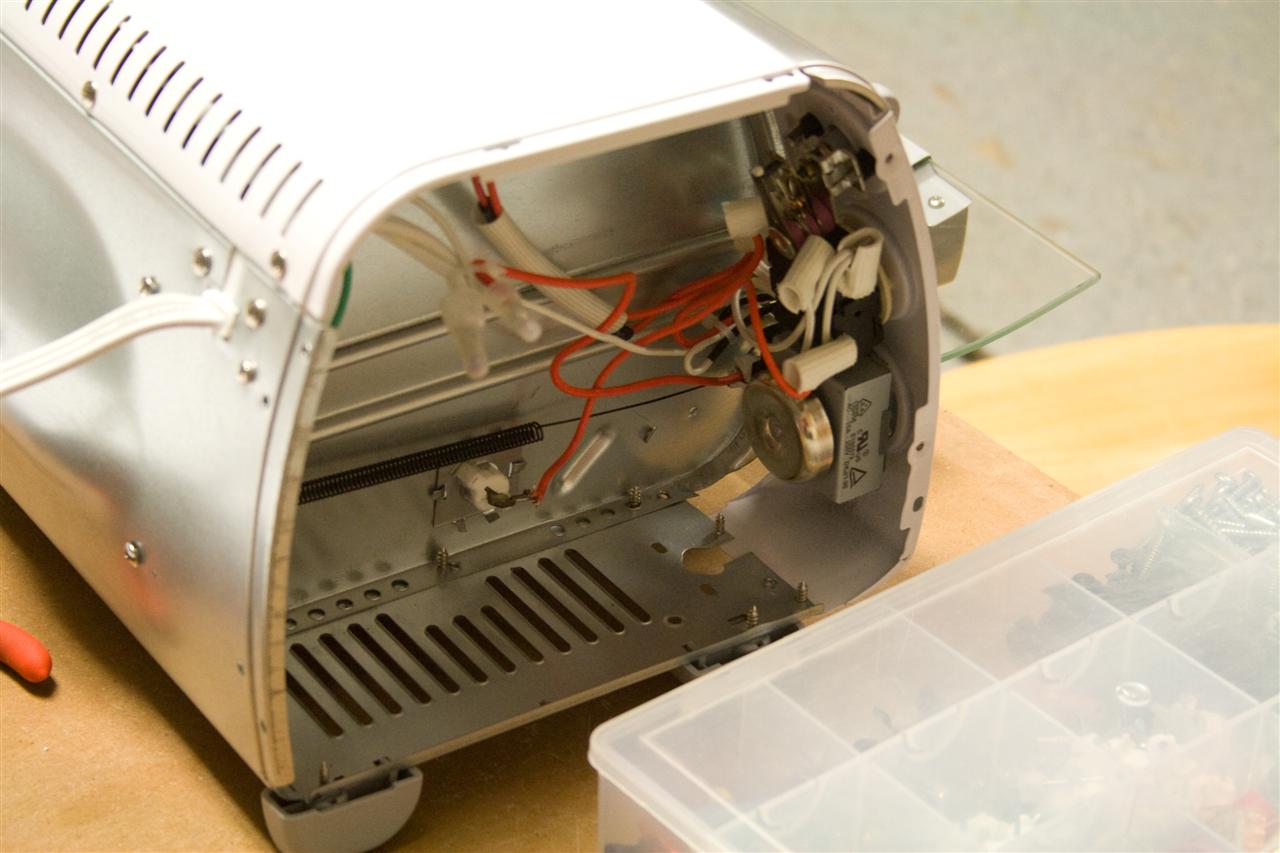
I moved the controls over to the left side
|
|
- reroute wiring
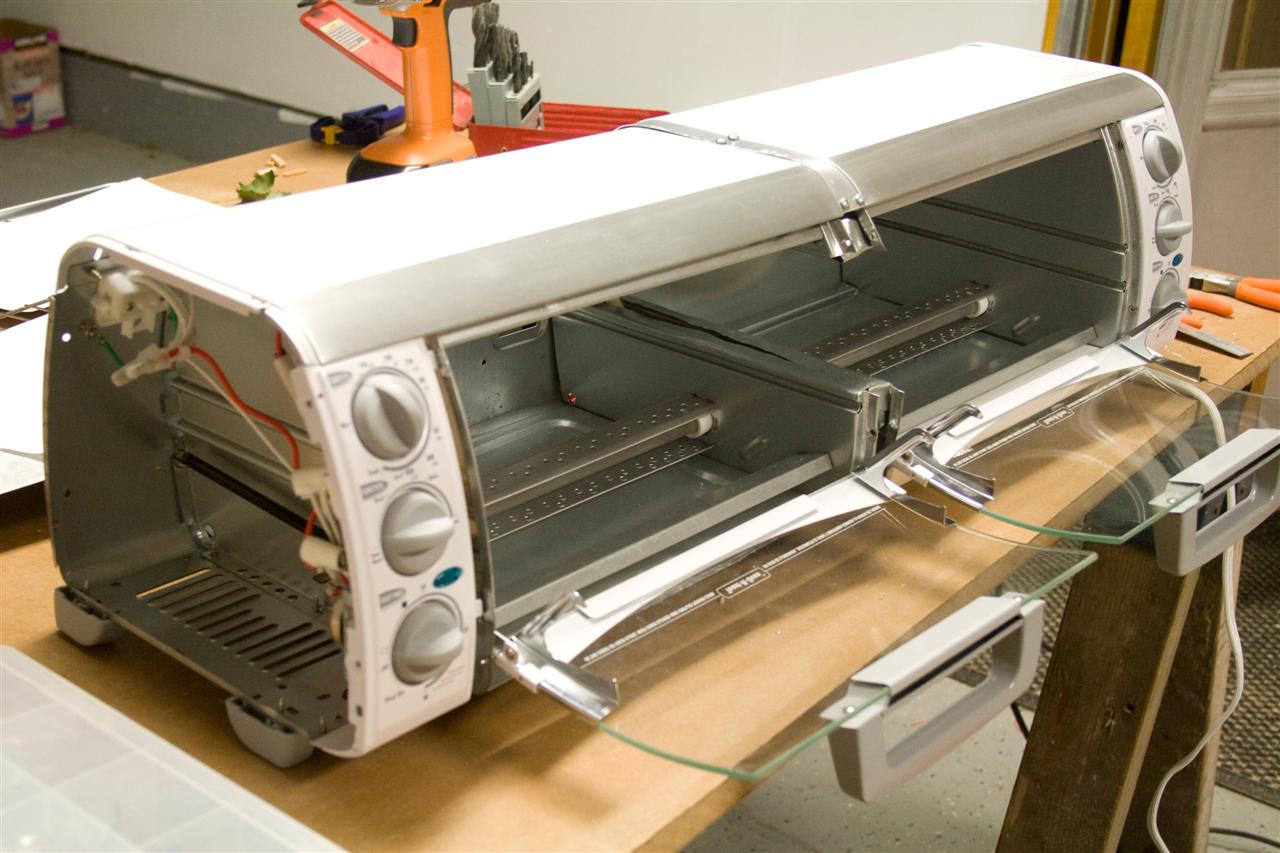
- cut "C" shape hole in each newly exposed side wall
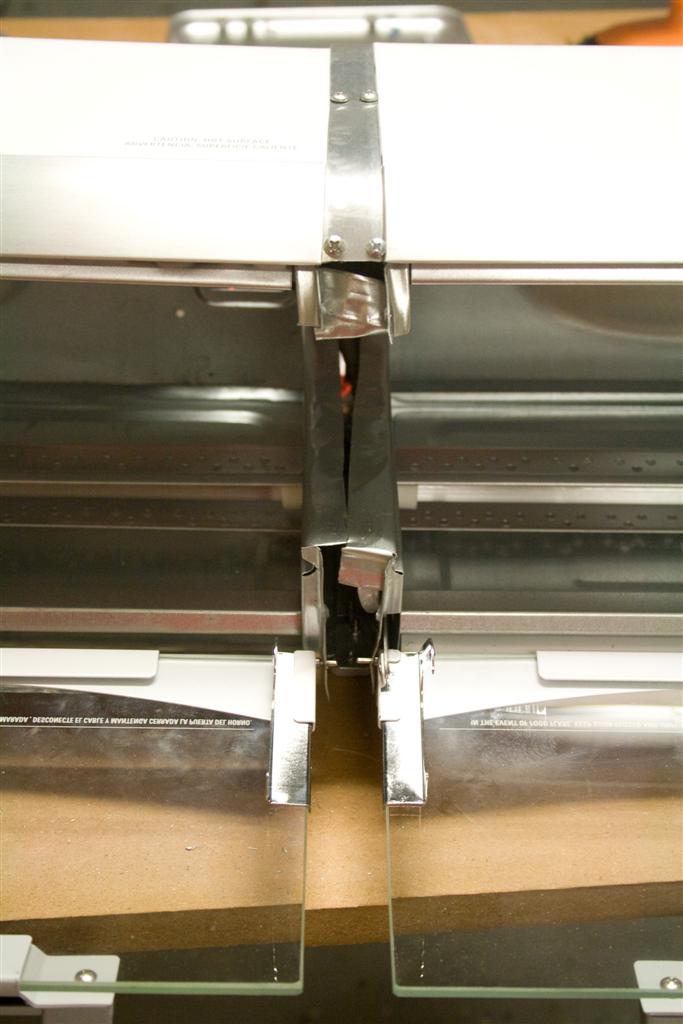
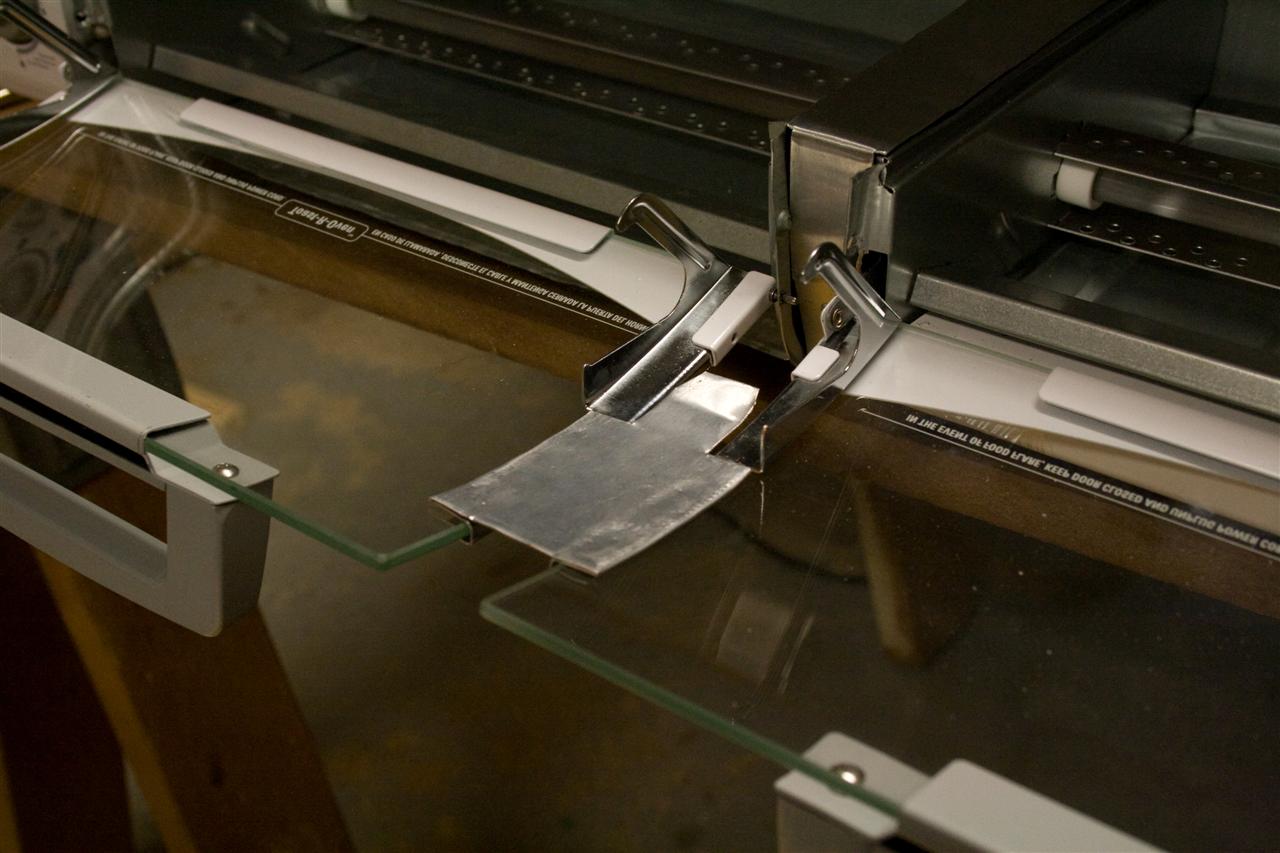
- join each oven together with a narrow strip of sheet metal
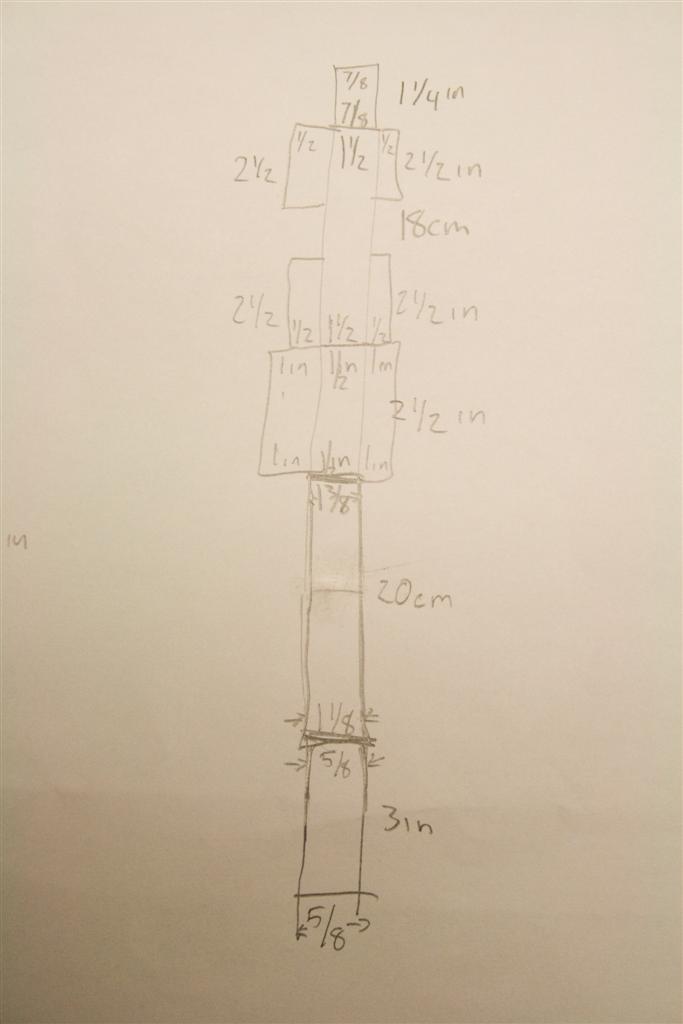
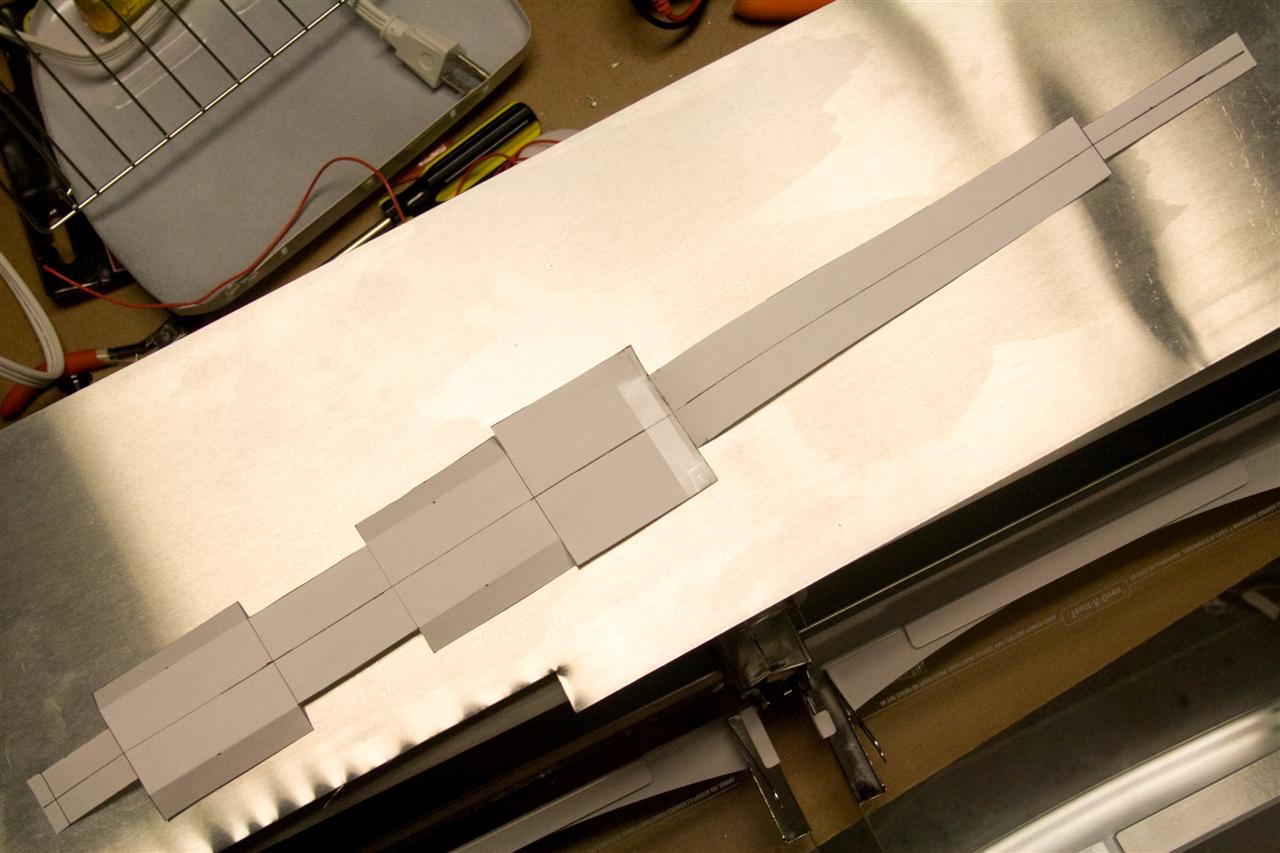
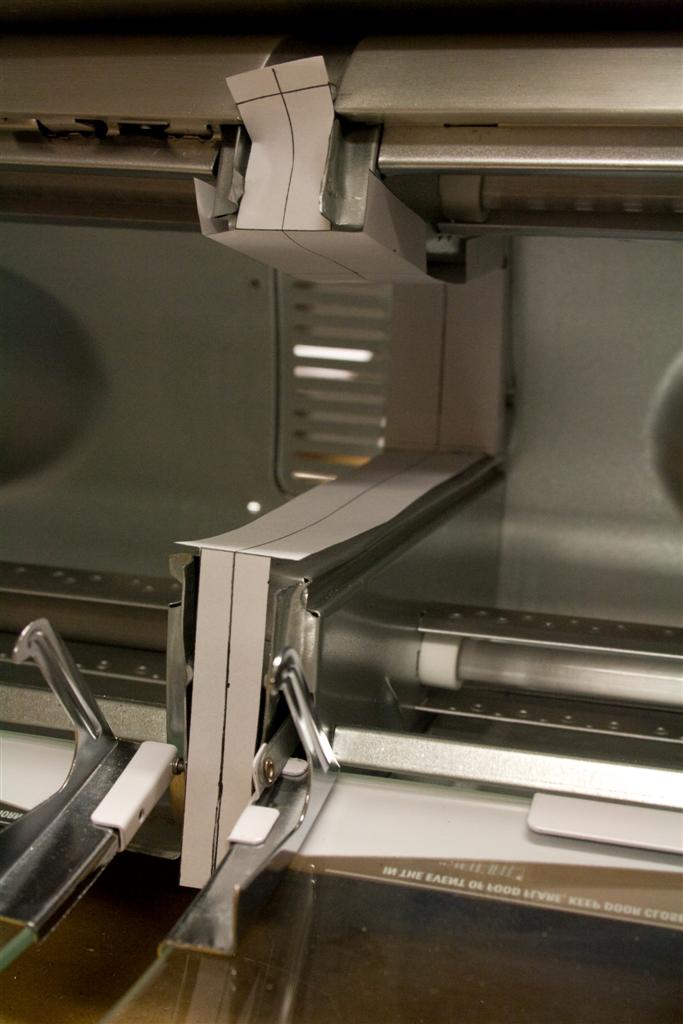
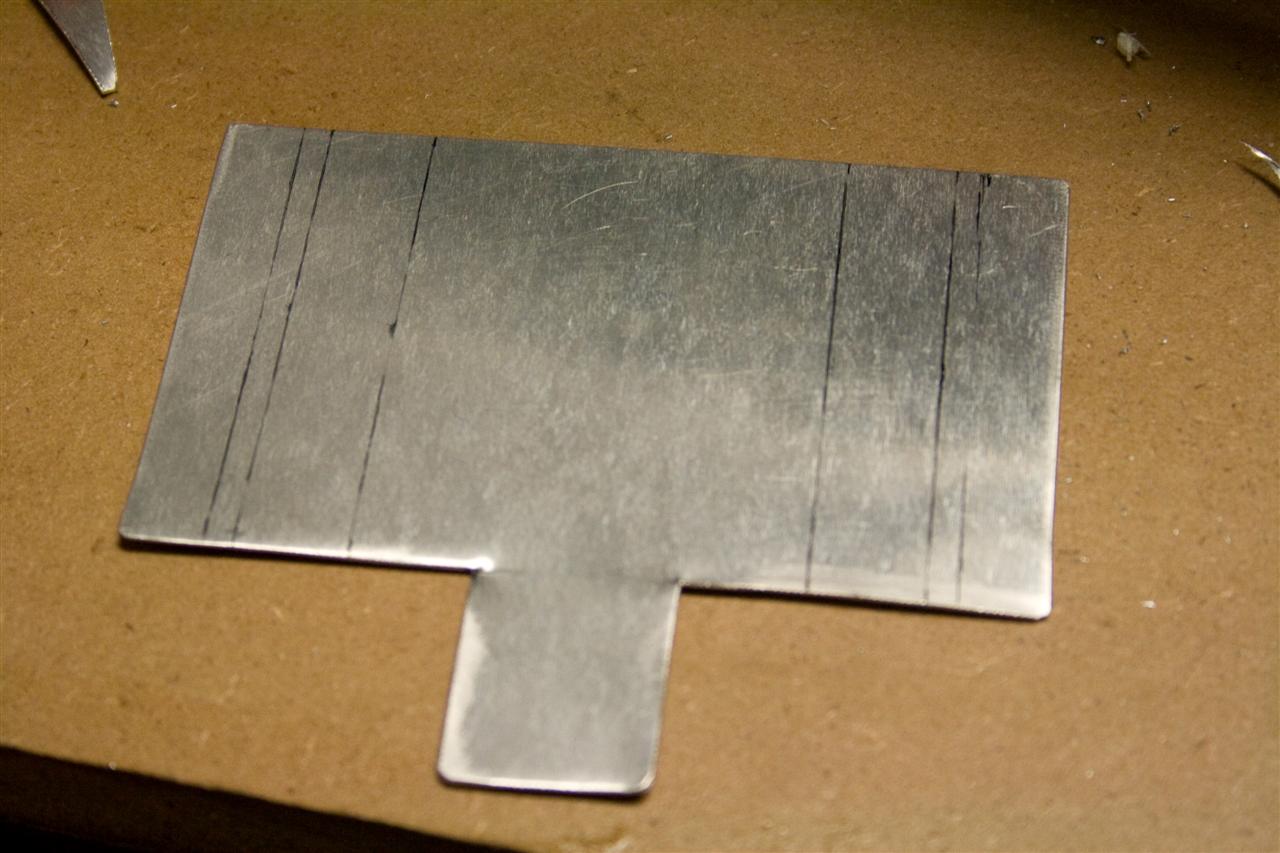
make a template for covering the seam...
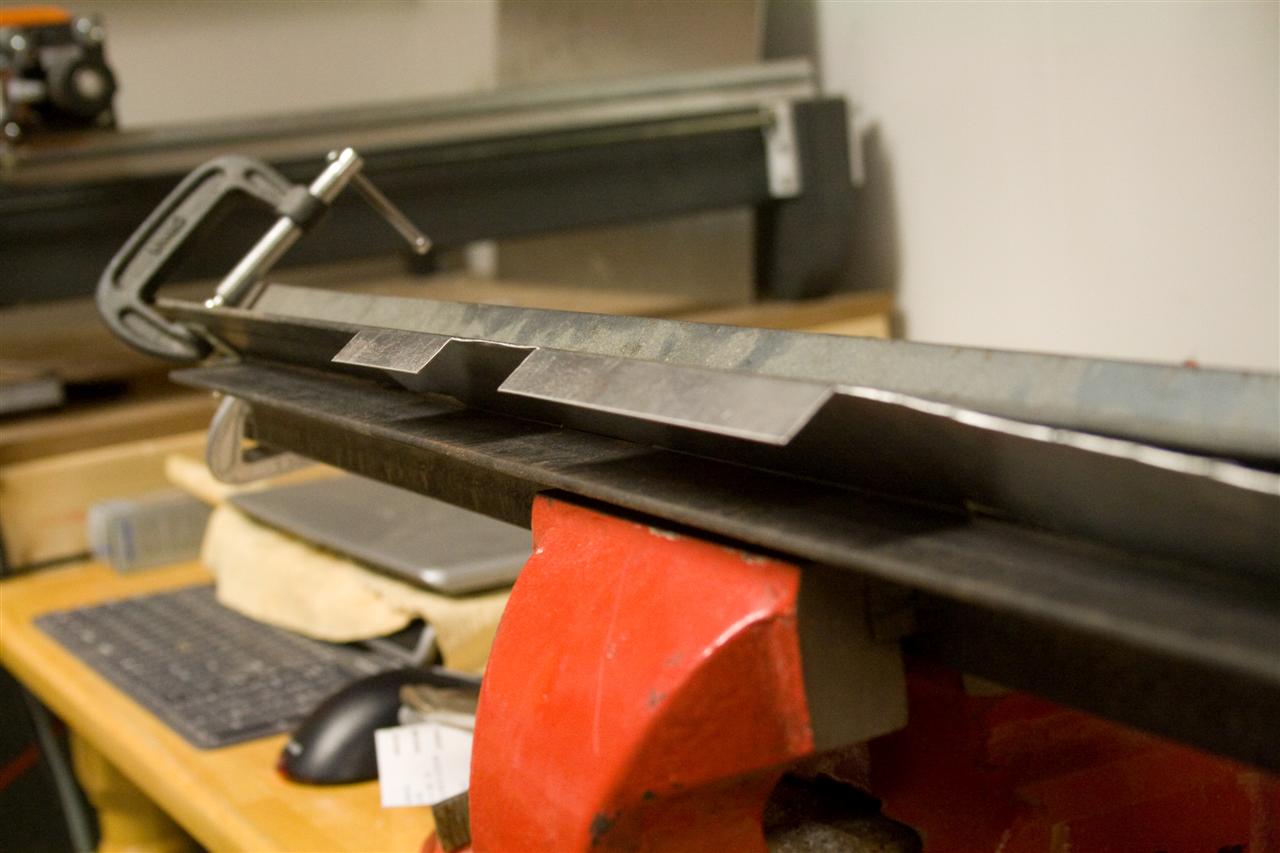
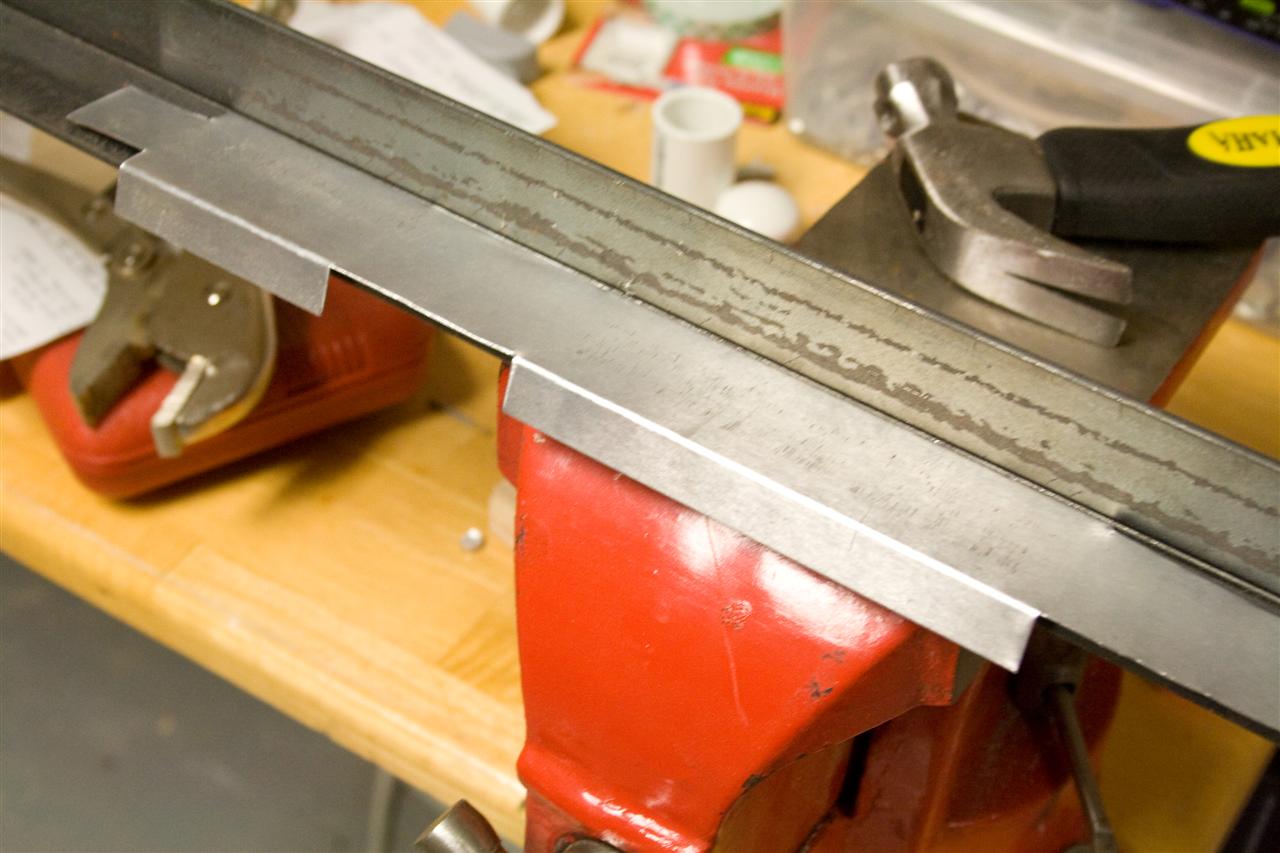
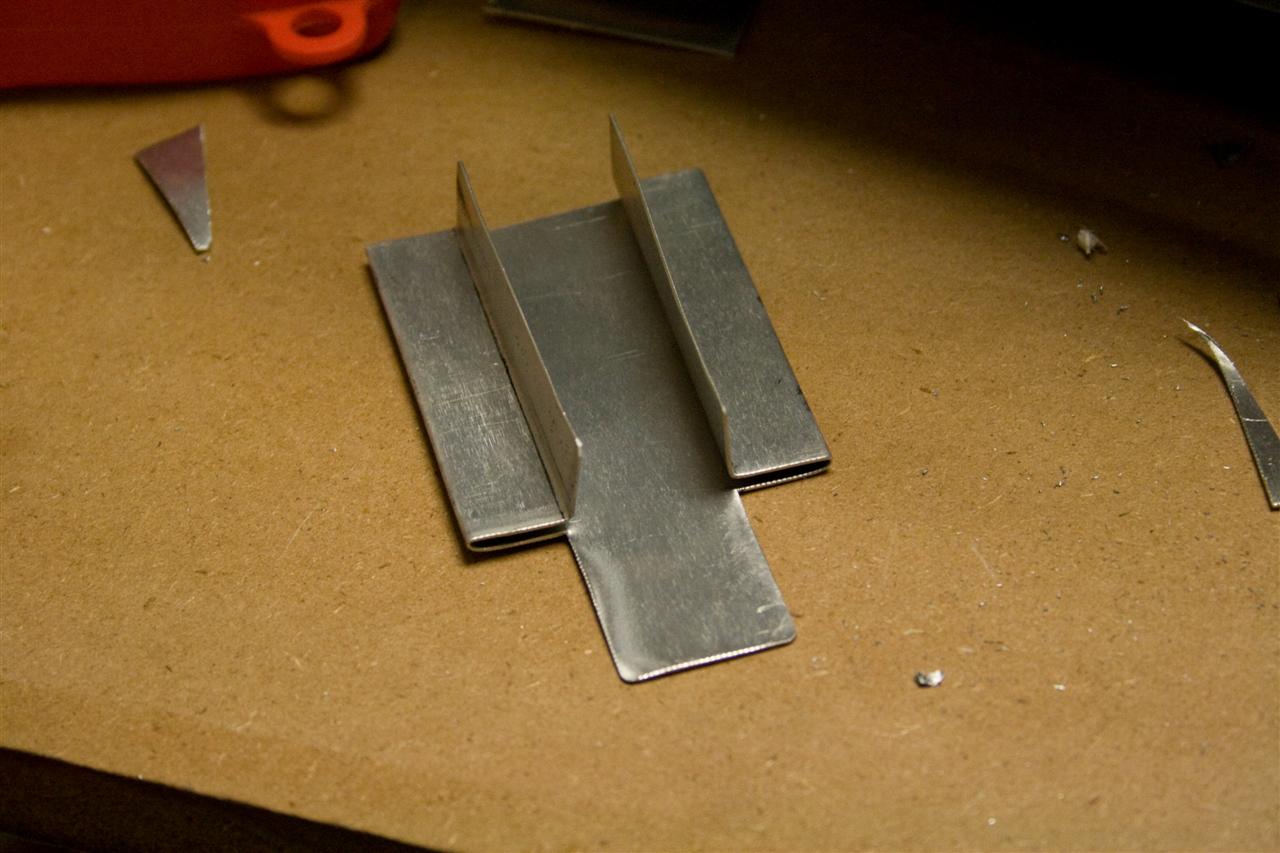
..then covered the seam with some smooth sheet metal
(bent the metal using my DIY metal folding 'brake')
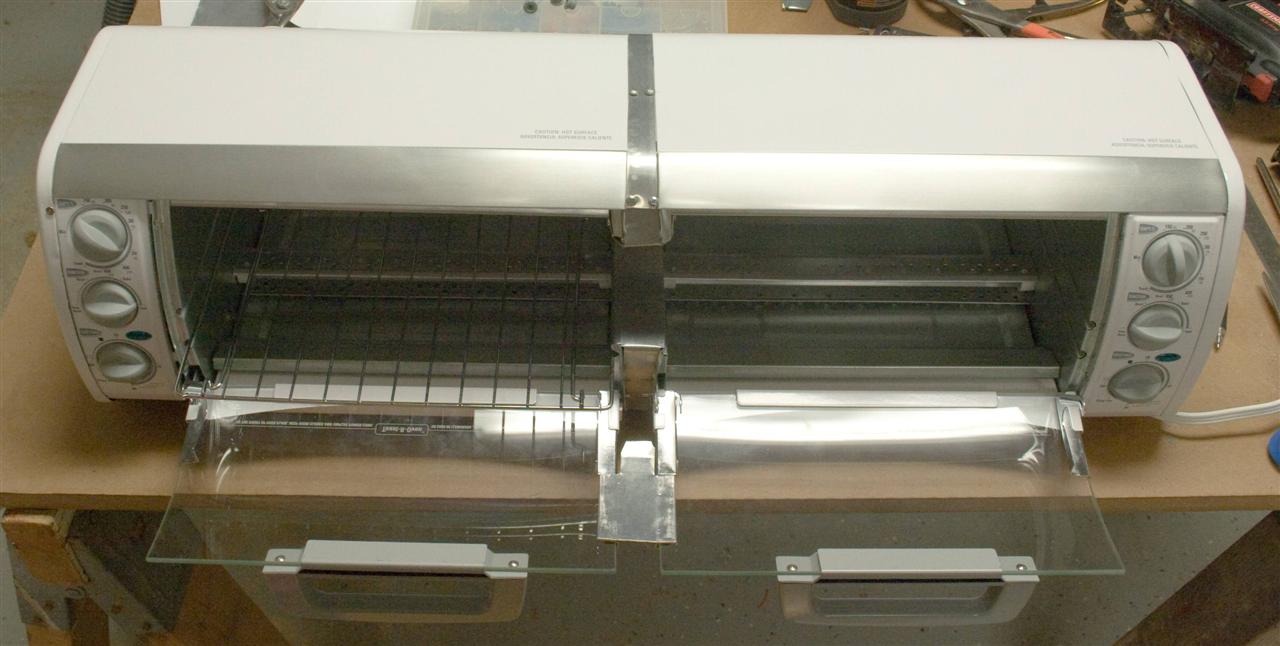
Make the door(s) open as if they were one
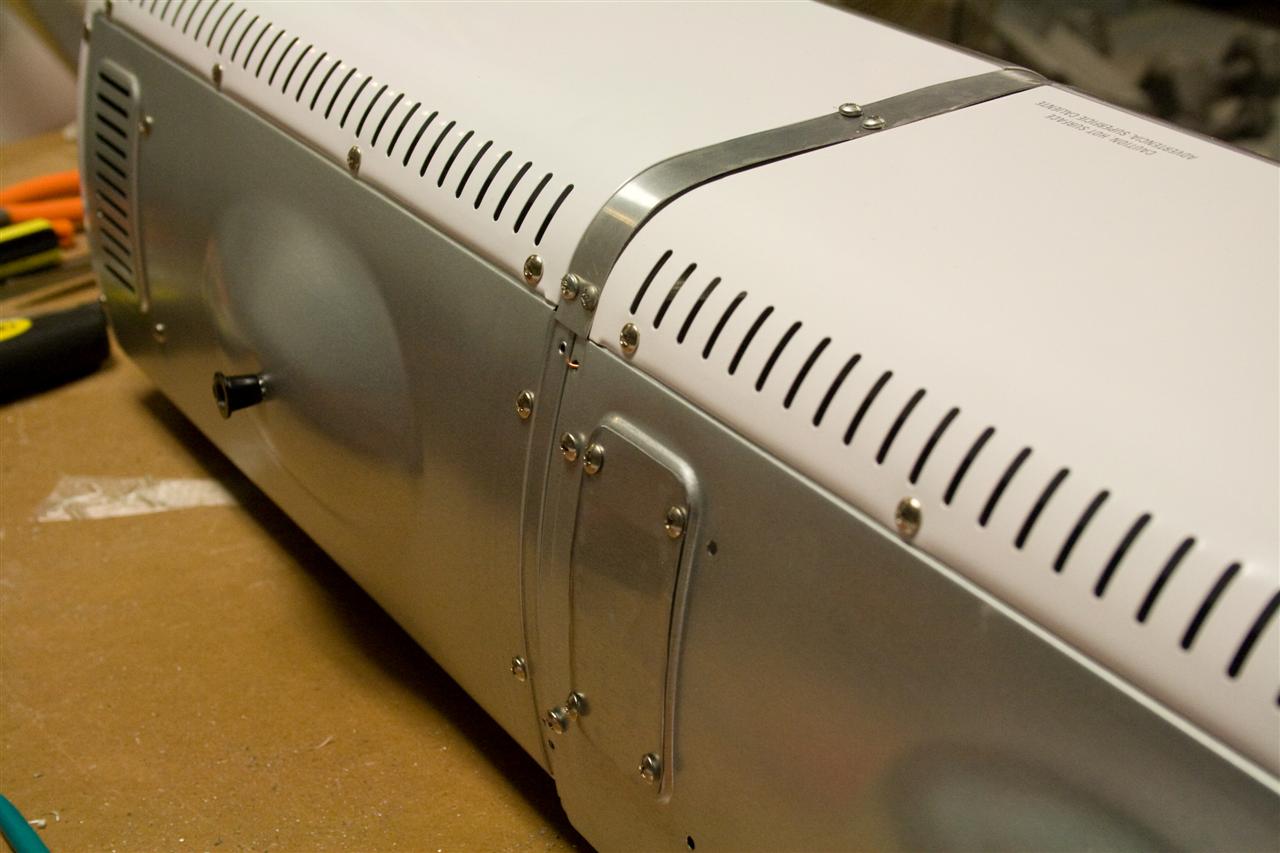
Cover the vent that was exposed after swapping sides with the control panel
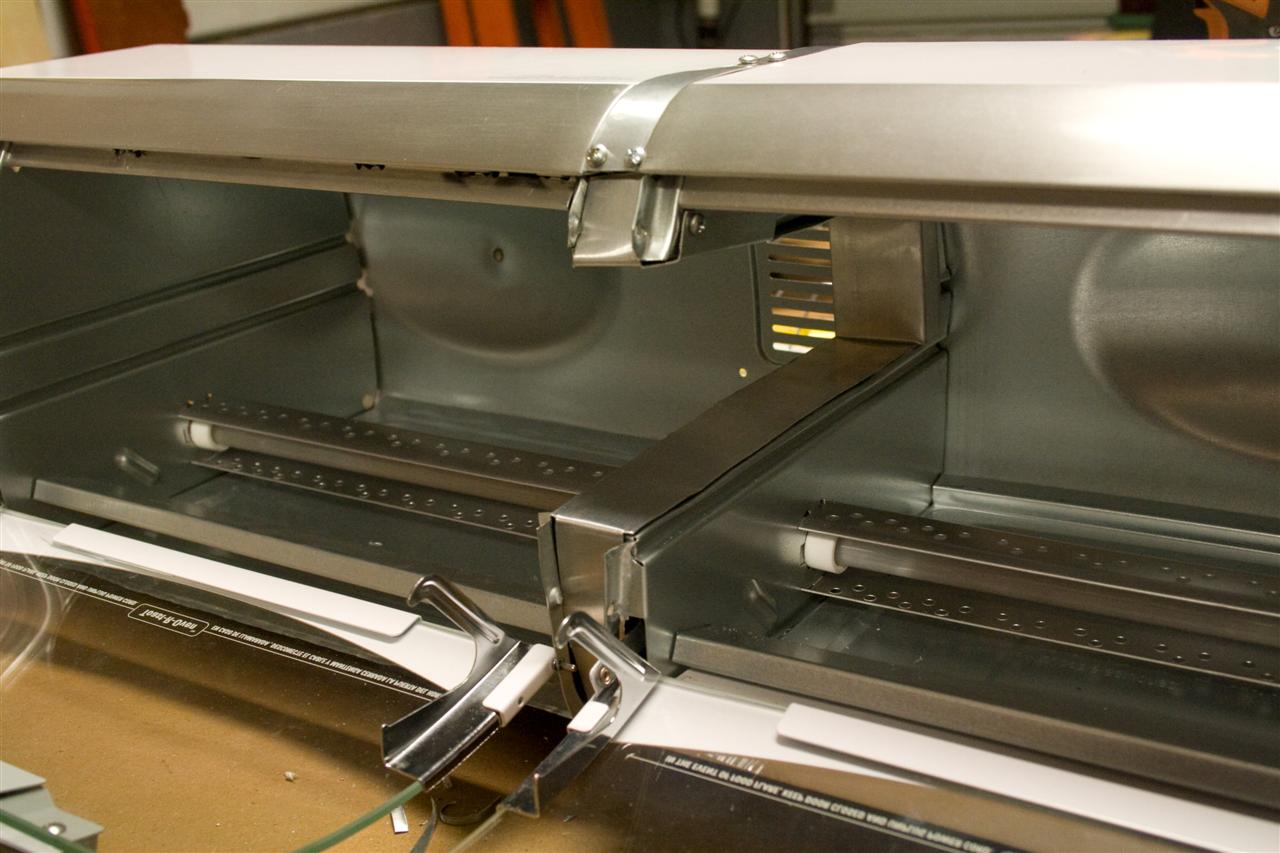
done:
![]()
![]()
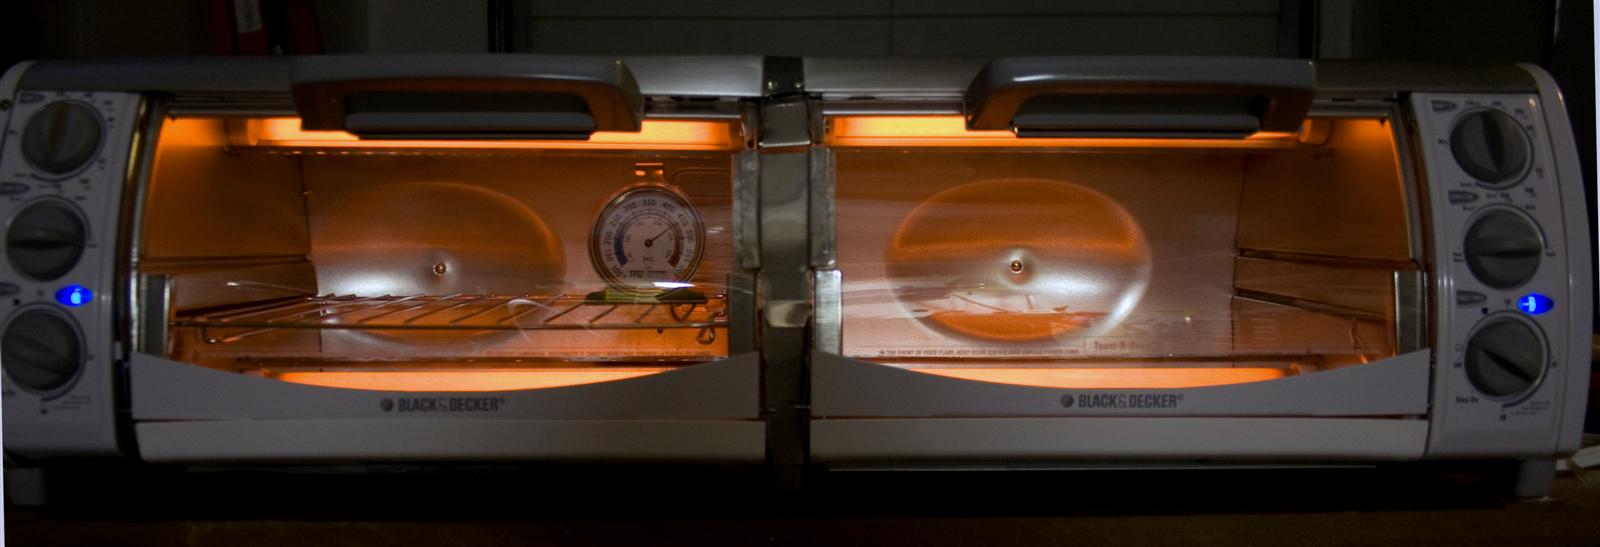
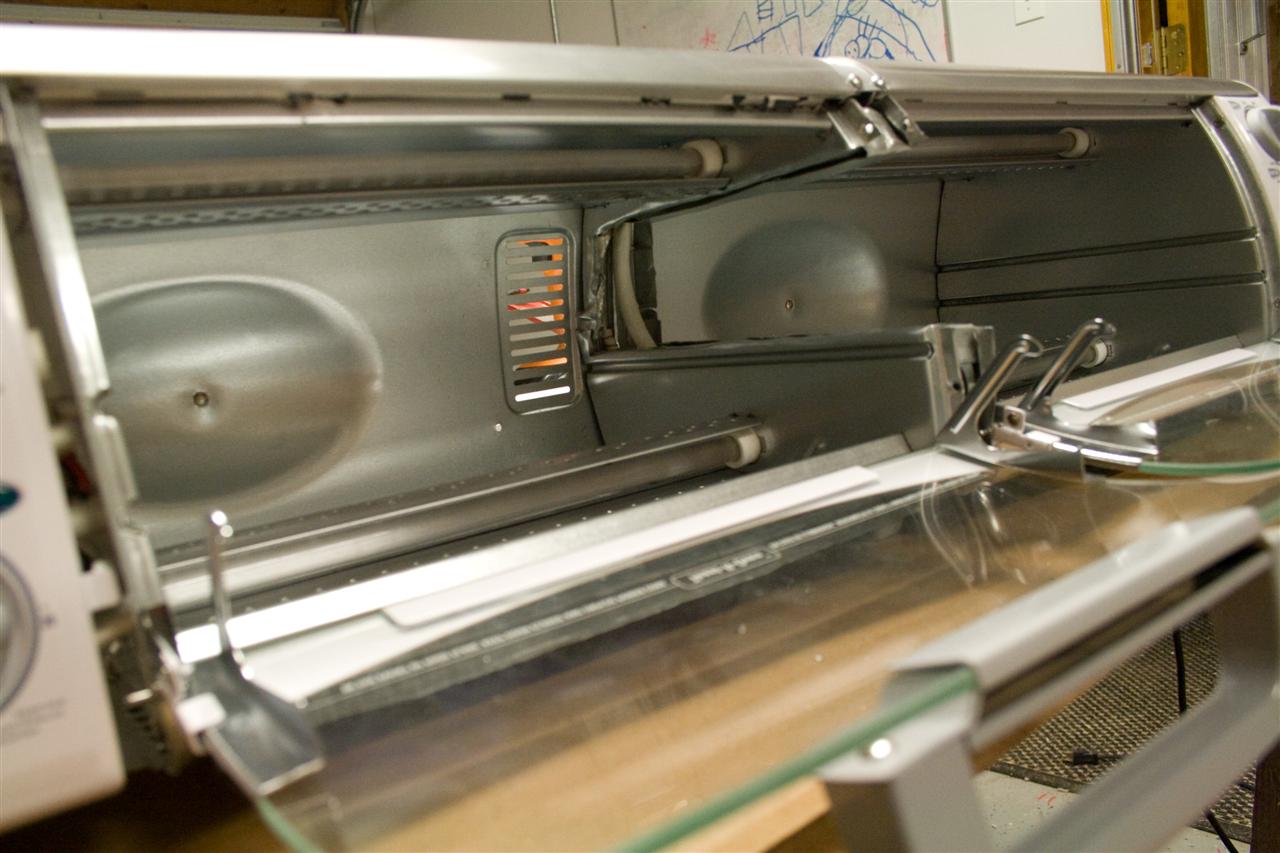
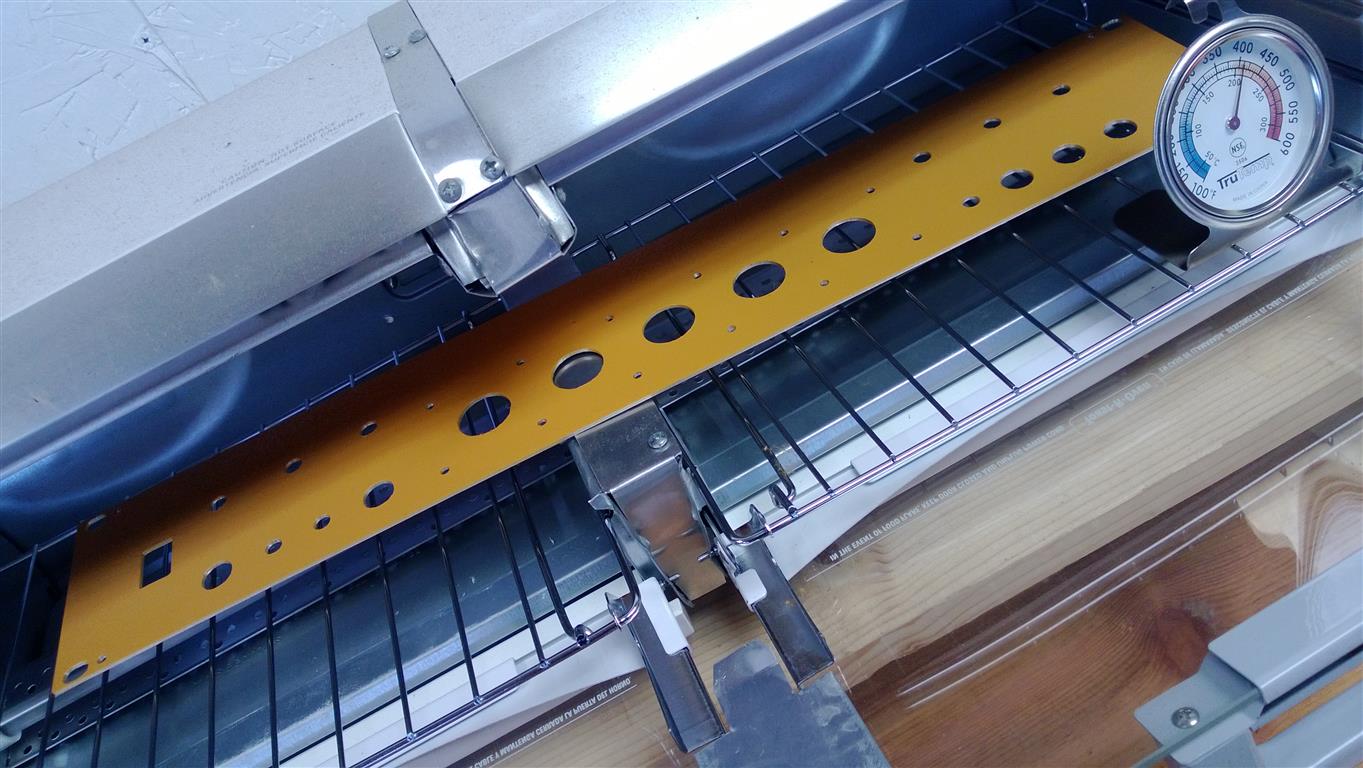
Dialed in 450degF & "toast" settings,
oven reached 450deg in 7 minutes...
reached 500 as I turned it off.
the inside is 23.5x8" and ~3" high
I think this is going to work (powdercoating needs 300-500degF)
09.29.2009
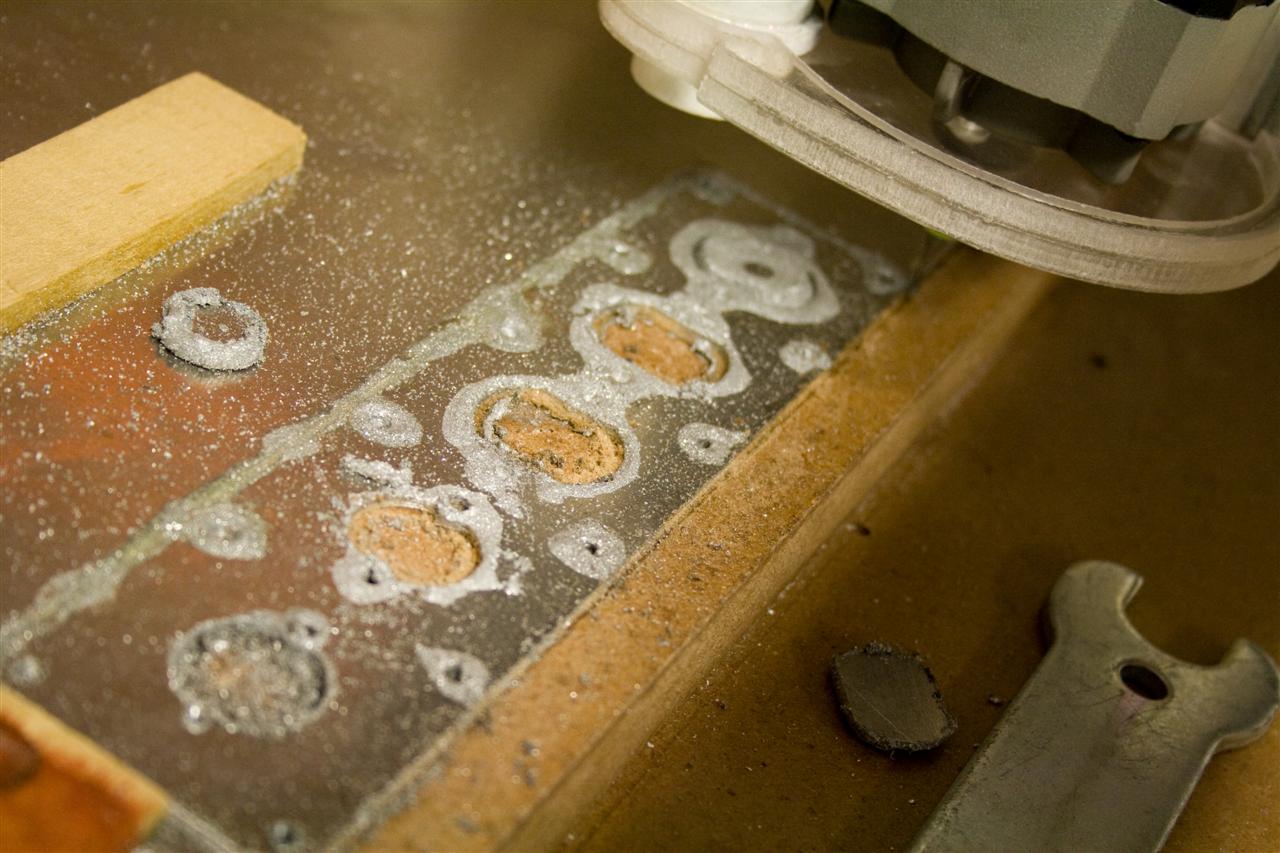
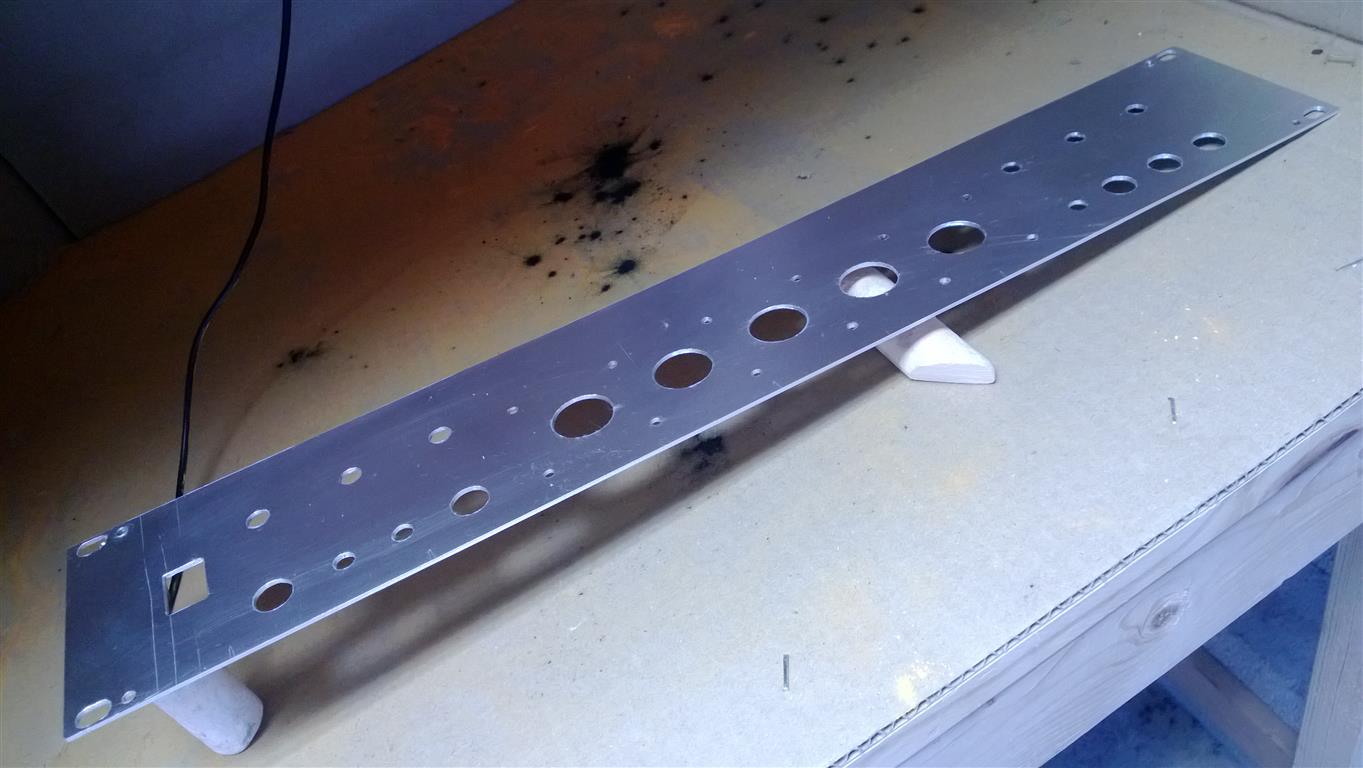
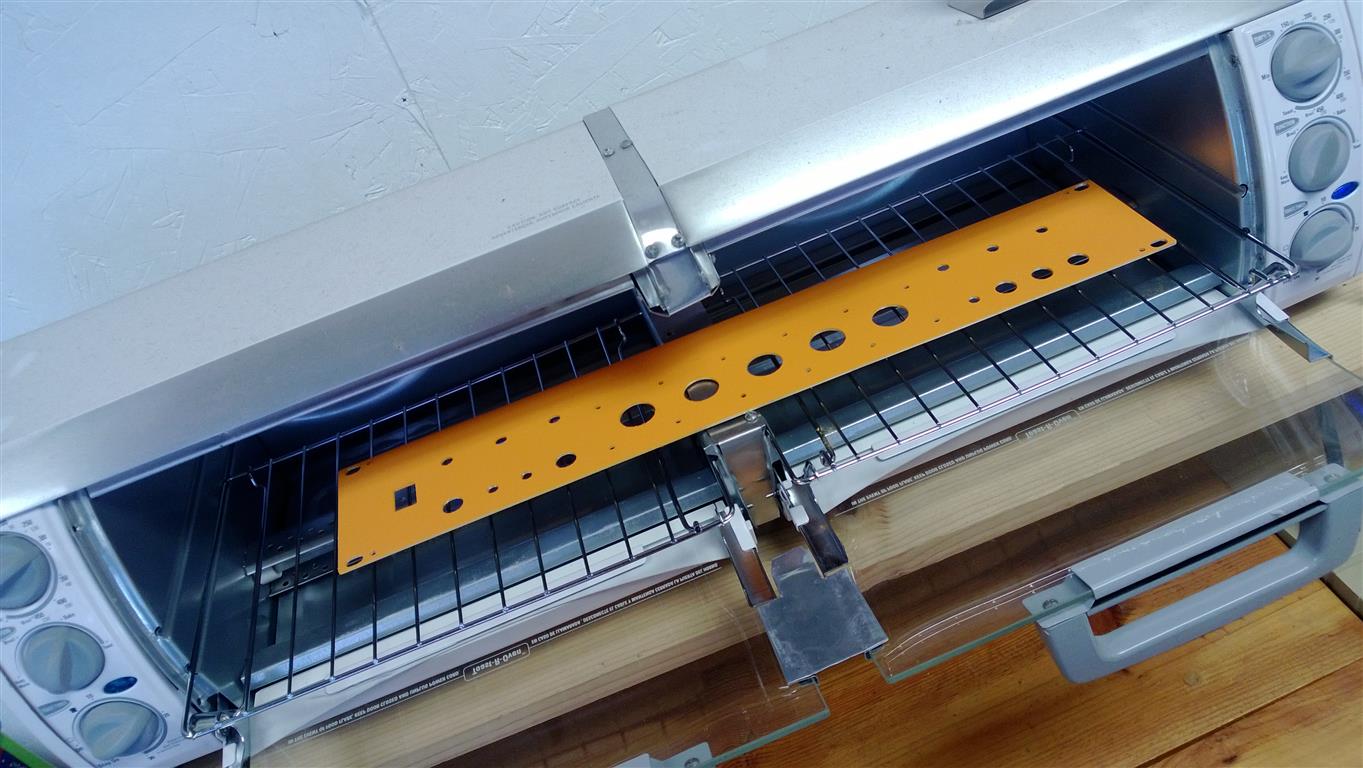
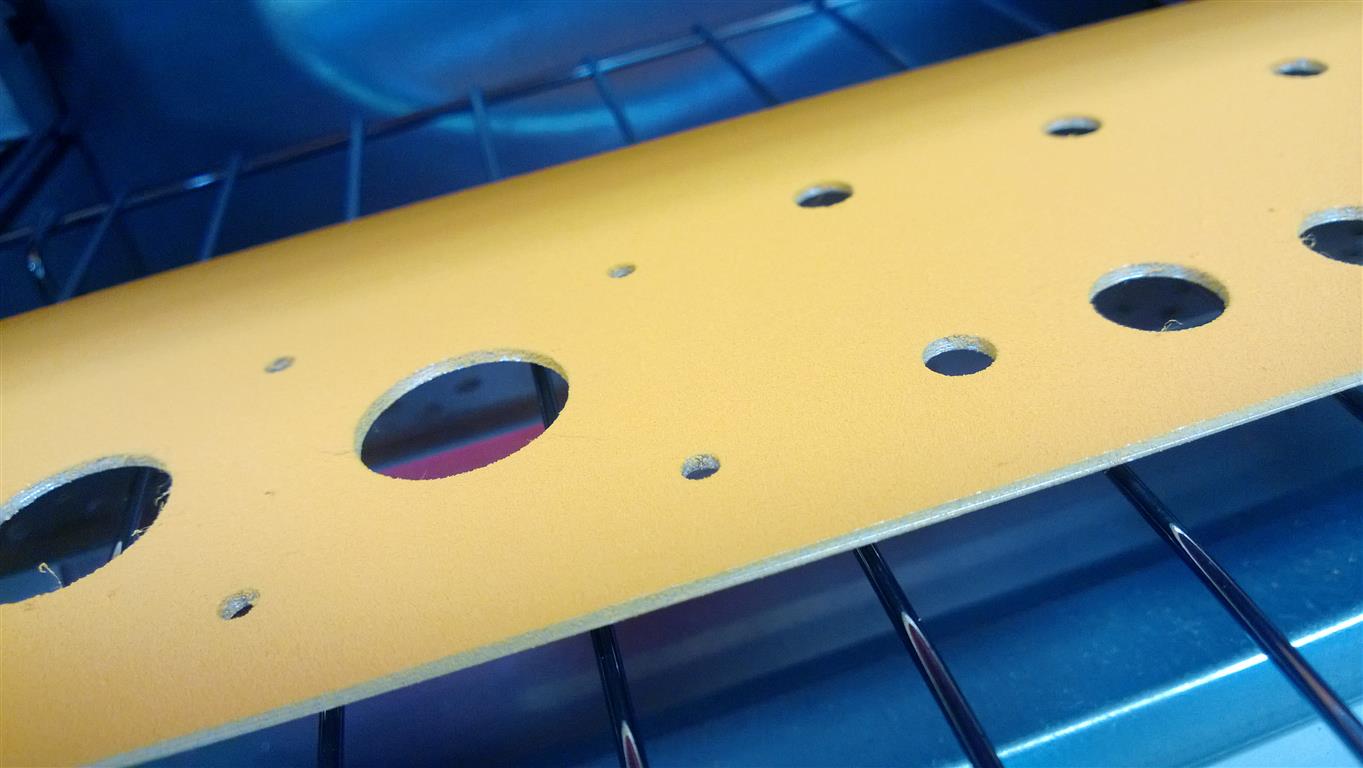
4:30-6pm made the mounting plate for the 5 tubes. this was my first time cutting aluminum with the CNC. I used a 1/16" end mill, and lots of oil. I began cutting dry, and that was a mistake. Cutting without oil produced tons of heat, scortching the wood under the aluminum, and needed to run 1/10 as fast to get any kind of quality results (which still weren't any good). I thought to add some oil to the cutting and it was like night and day. 10x speed up, no deflection of the end mill, no indication the router was working hard at all. So, because I neglected to use oil, the first hole was imperfectly shaped and heavily burred, needing additional work with a dremel to enlarge it and deburr... OTHERWISE... the holes that were CNC-cut using cutting oil turned out PERFECT. I was very impressed with how my CNC could cut a hard material like aluminum. The key is oil.
For future plates (I plan to make 1 more), my CAD design needs a slight tweek to fit the larger tube sockets without additional filing of the hole, but otherwise, I'm very happy with the result. The front and rear plates should turn out well.

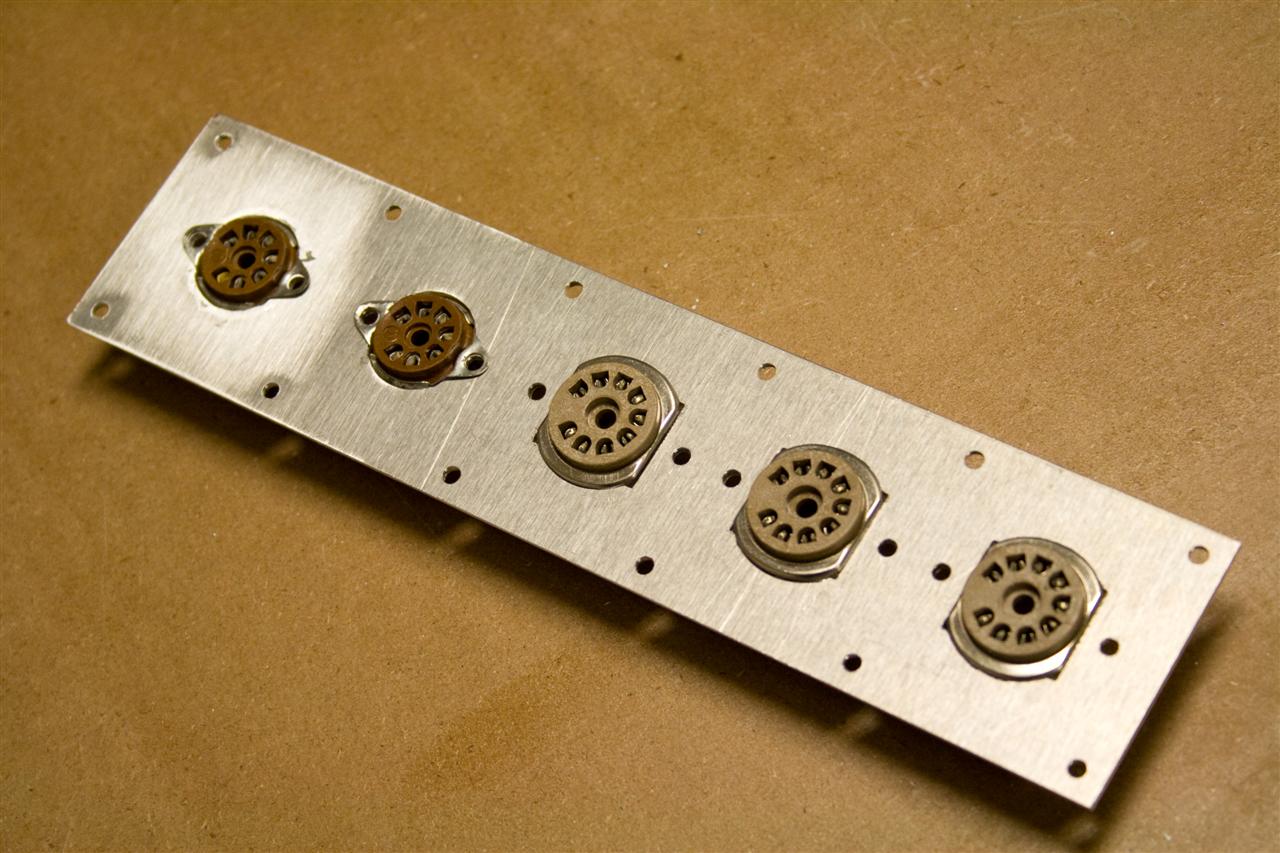
Tube mounting plate, 1/16" aluminum, cut by CNC
10.11.2009
4:30-9pm Cut 1 more tube mounting plate, it took 50 minutes, and this time I went full speed, with a well oiled surface. It went really well. I wonder if it could go faster...
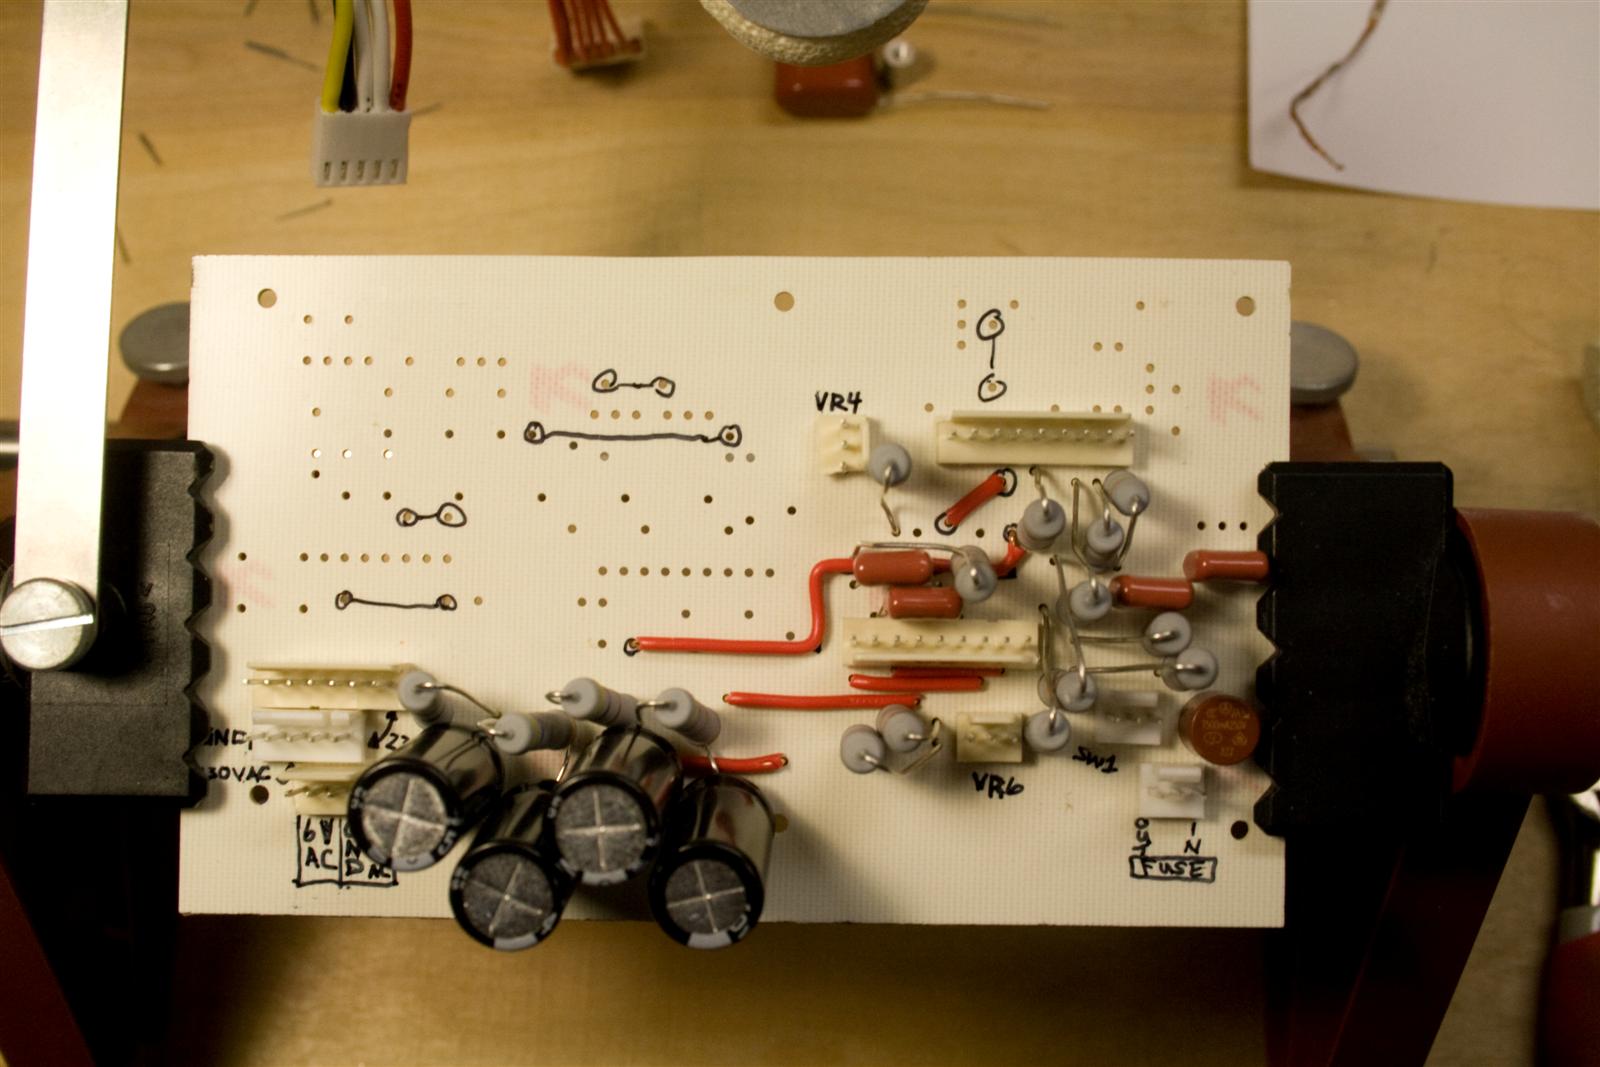
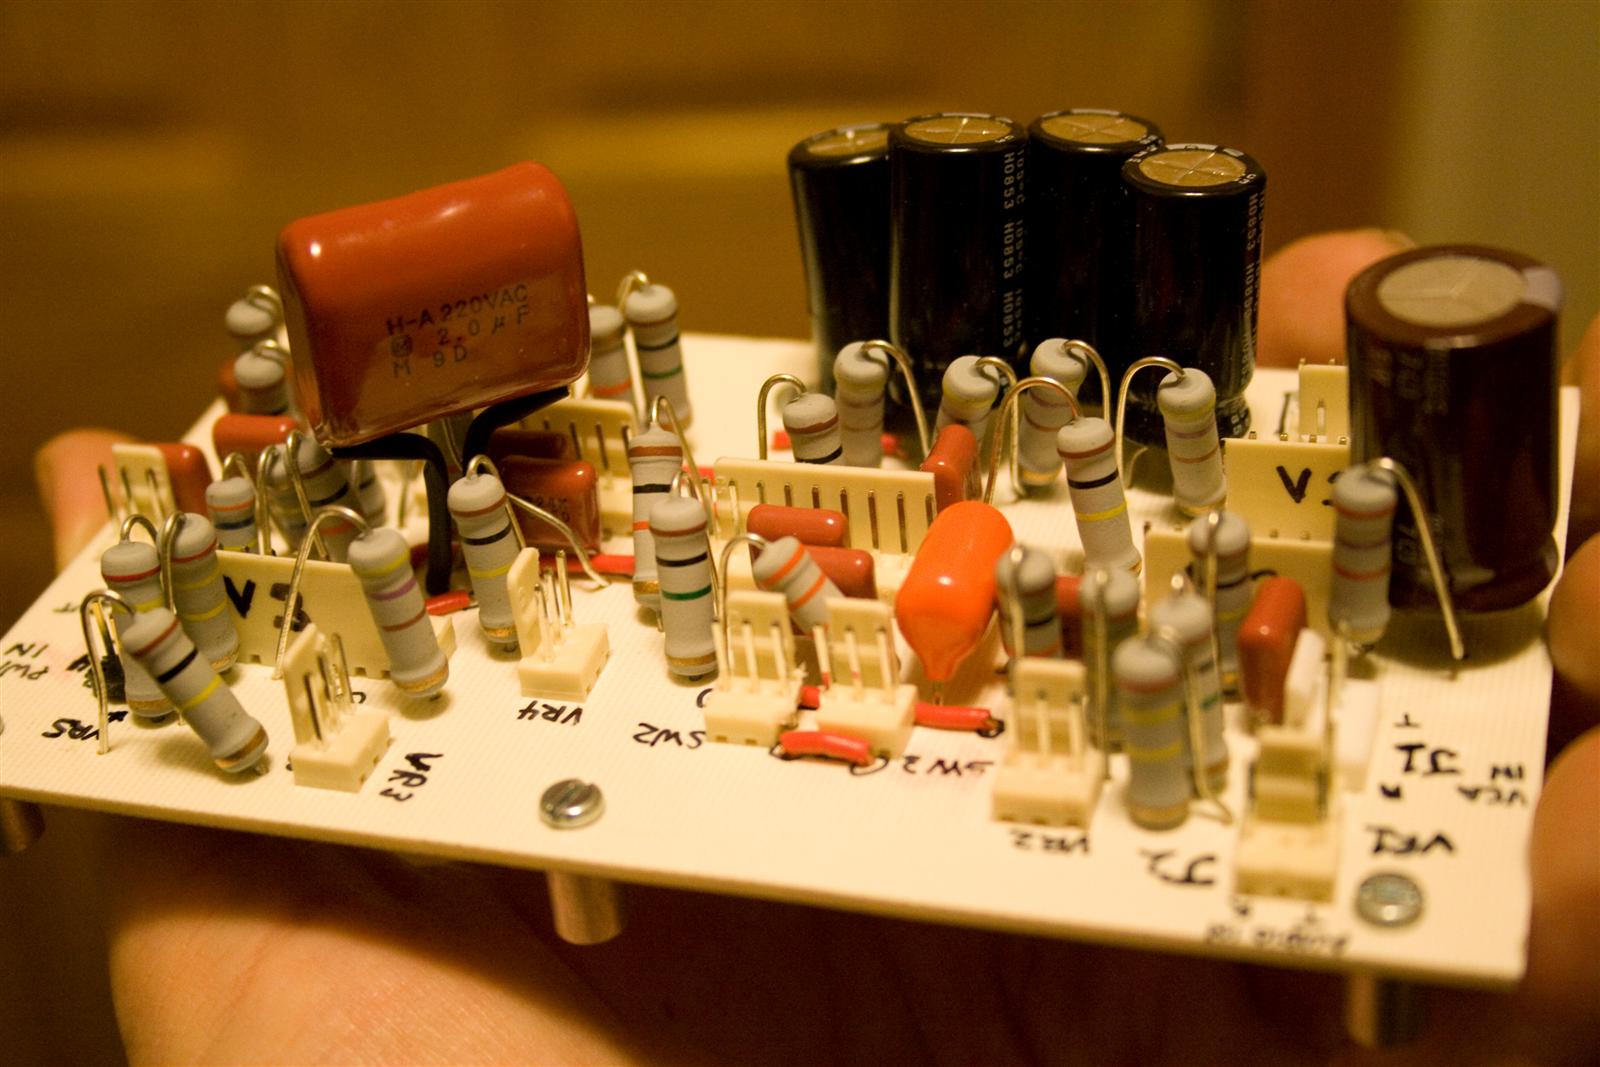
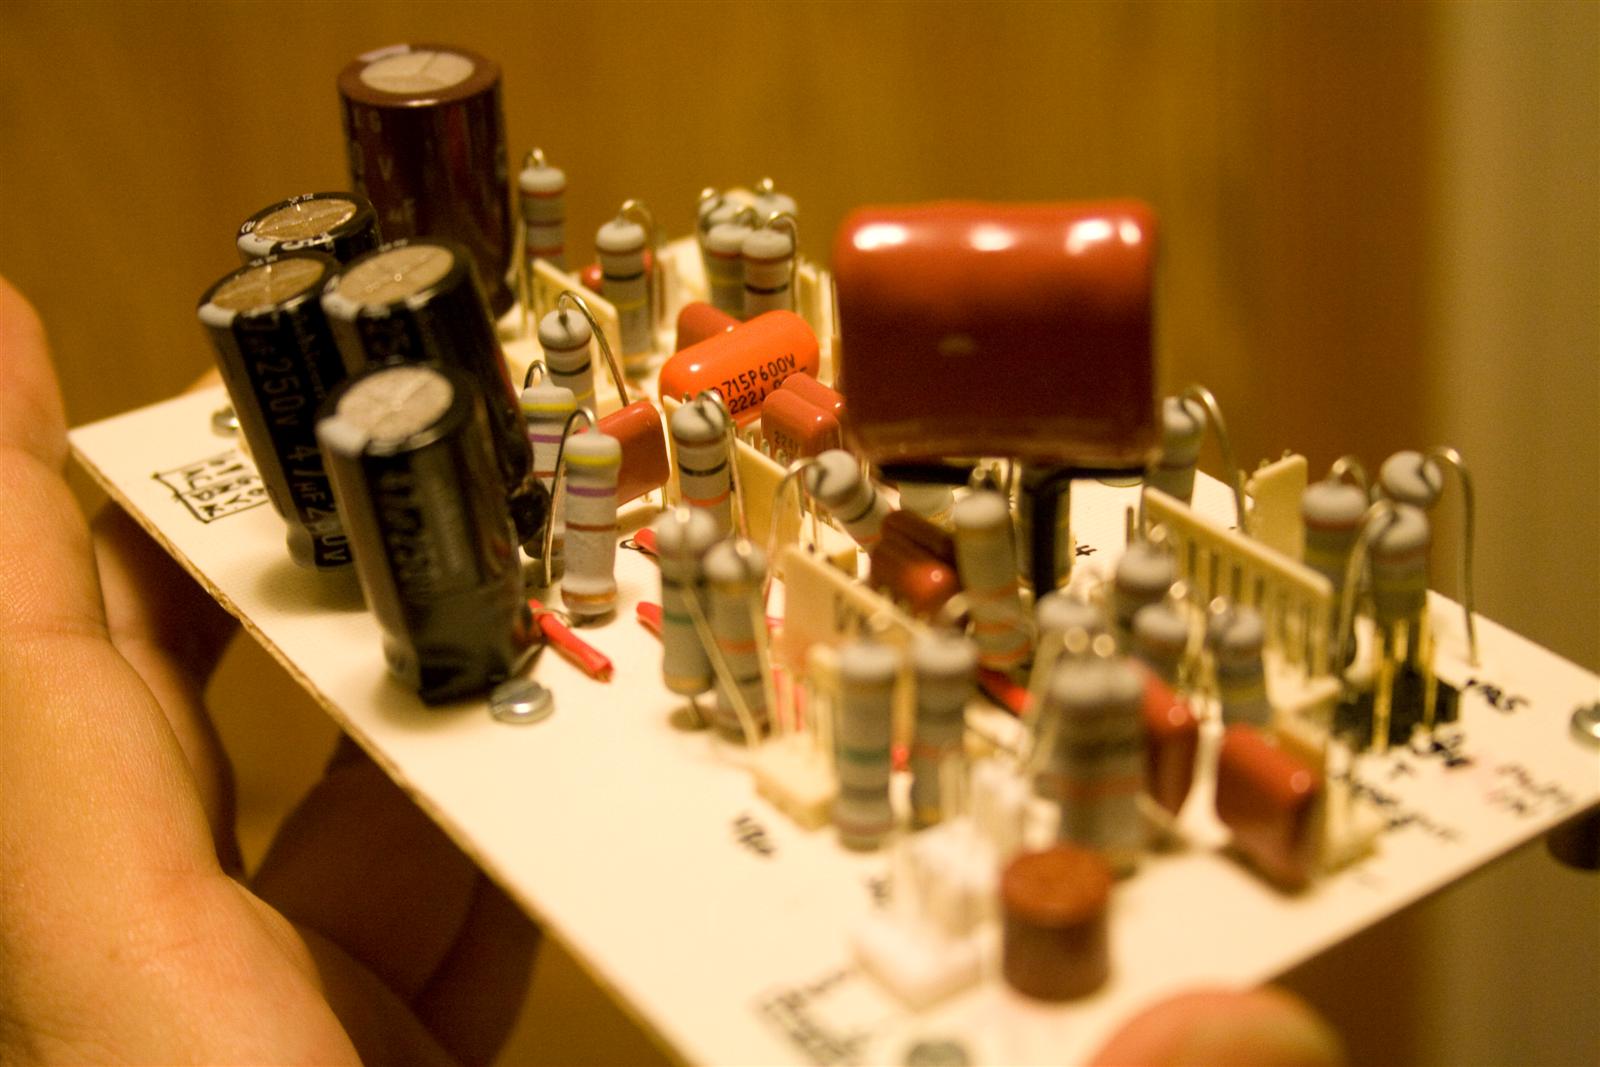
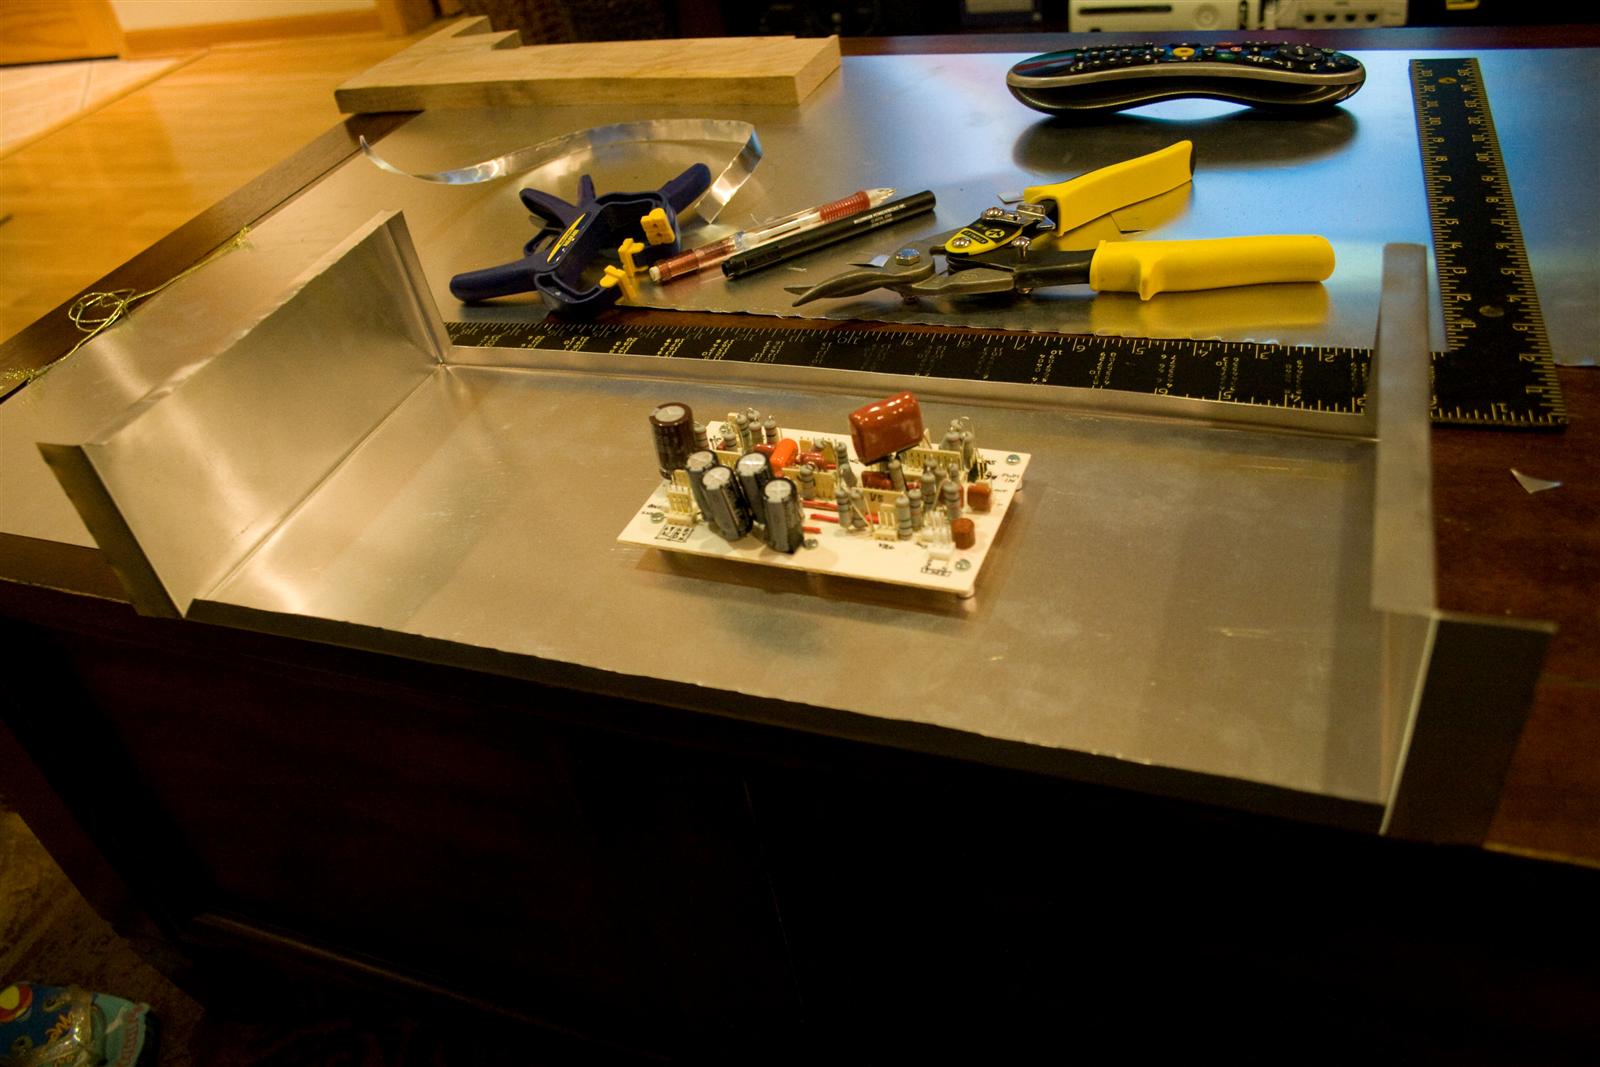
I set up the bench and am now ready to solder.
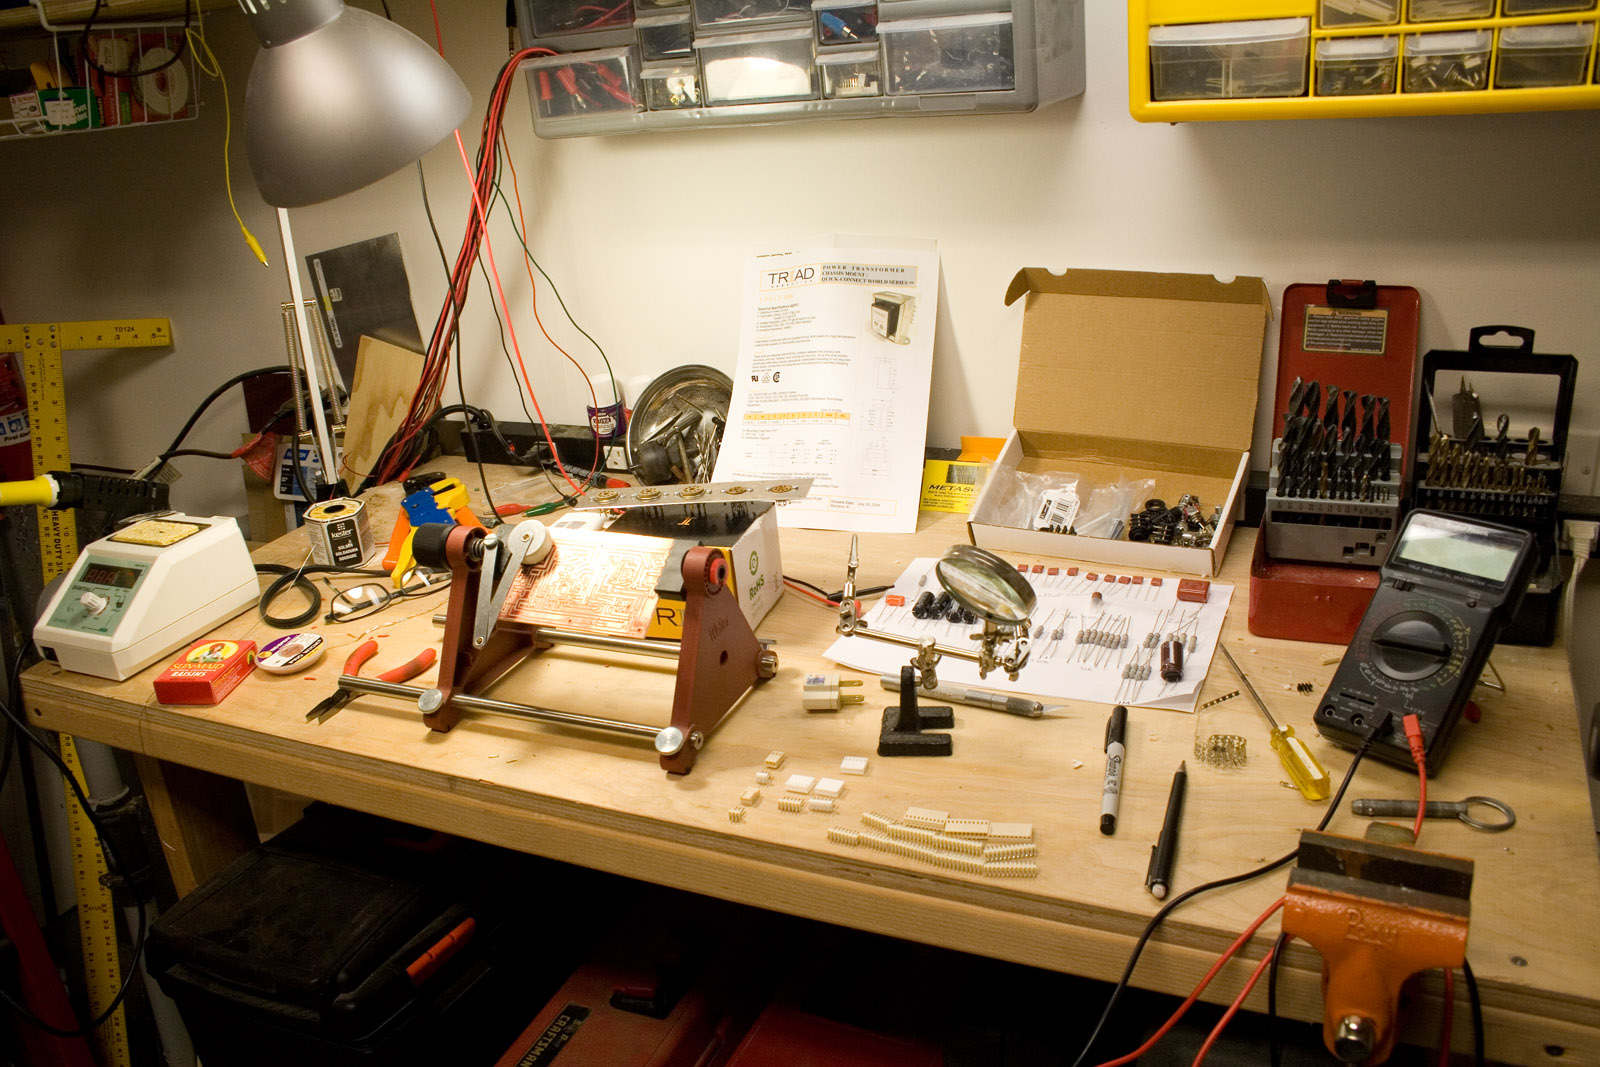
Ready to solder
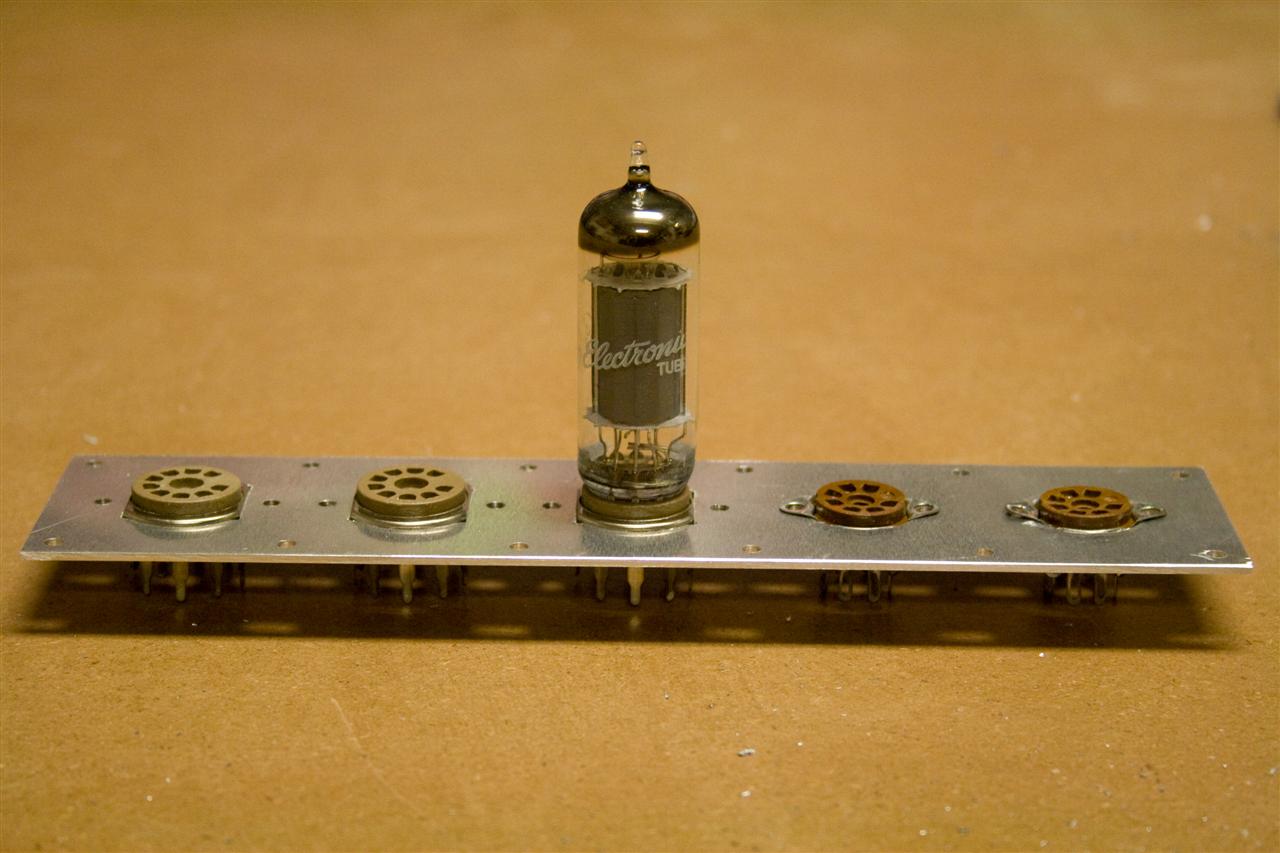
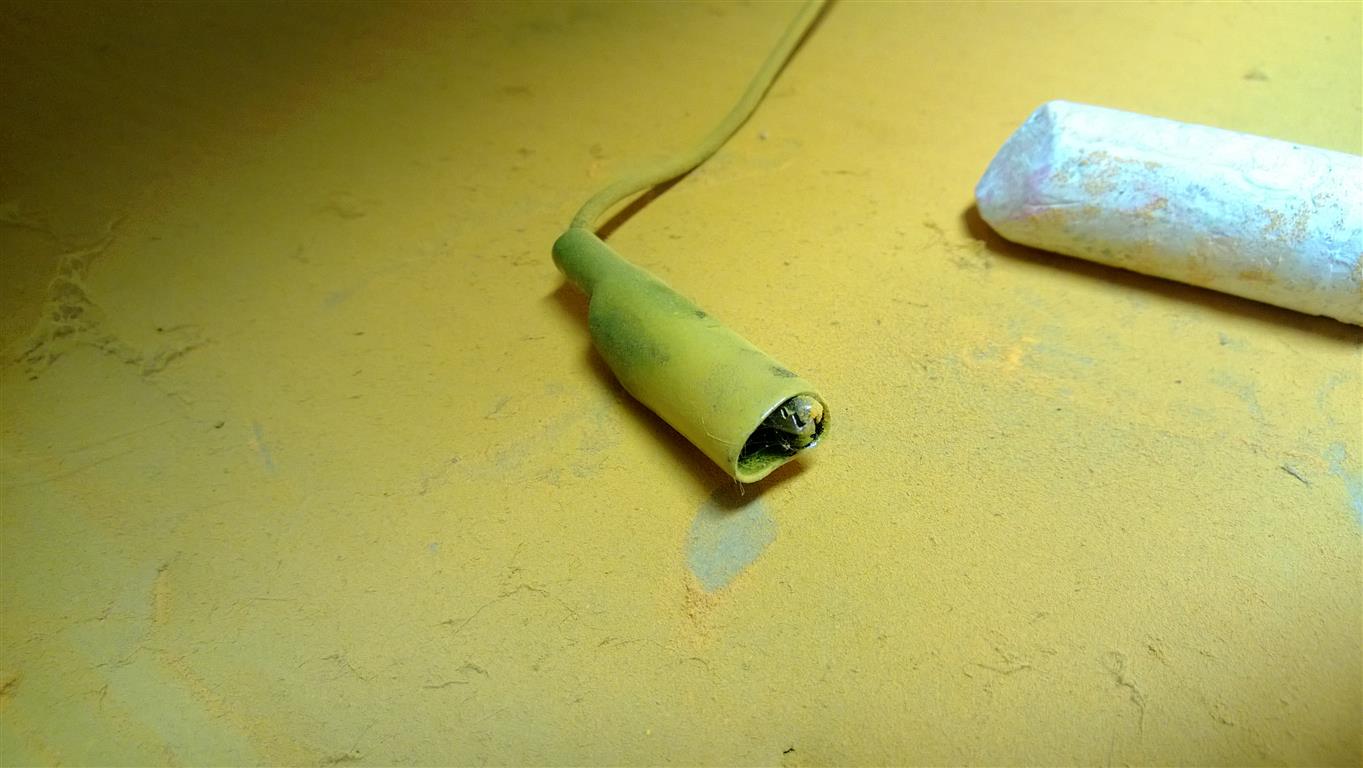
Hooked up the transformers, and 1 tube. Checking voltage at every step (and especially before powering up the tube). 1 tube is now glowing!
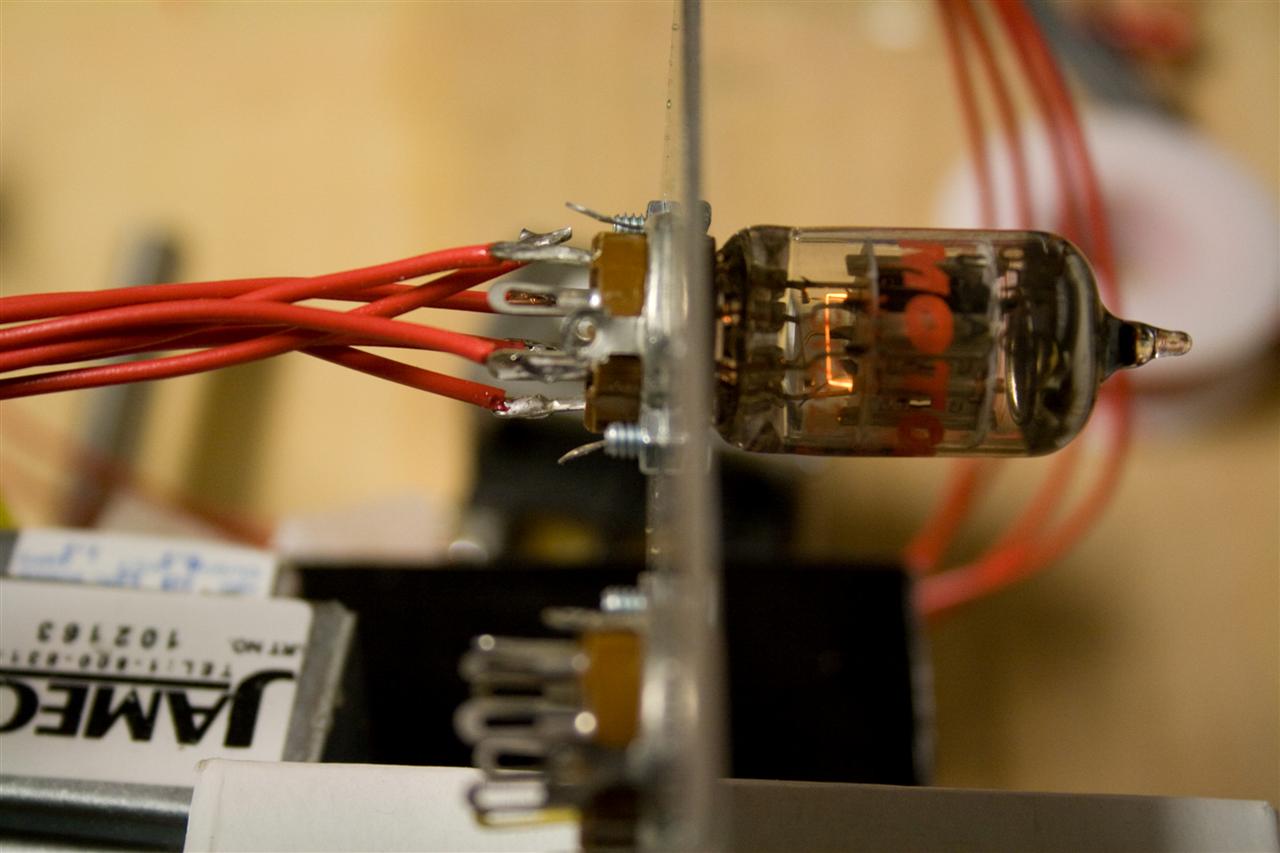
It glows!
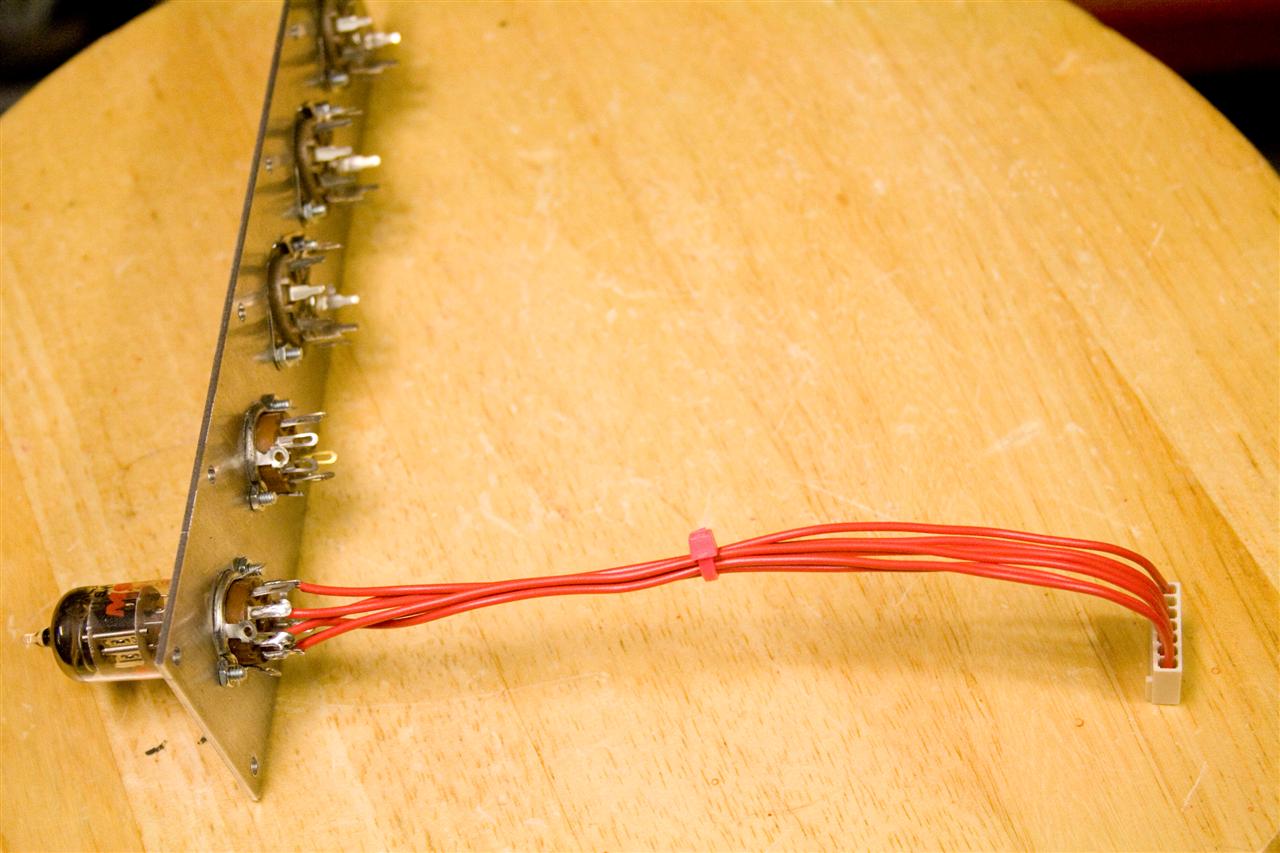
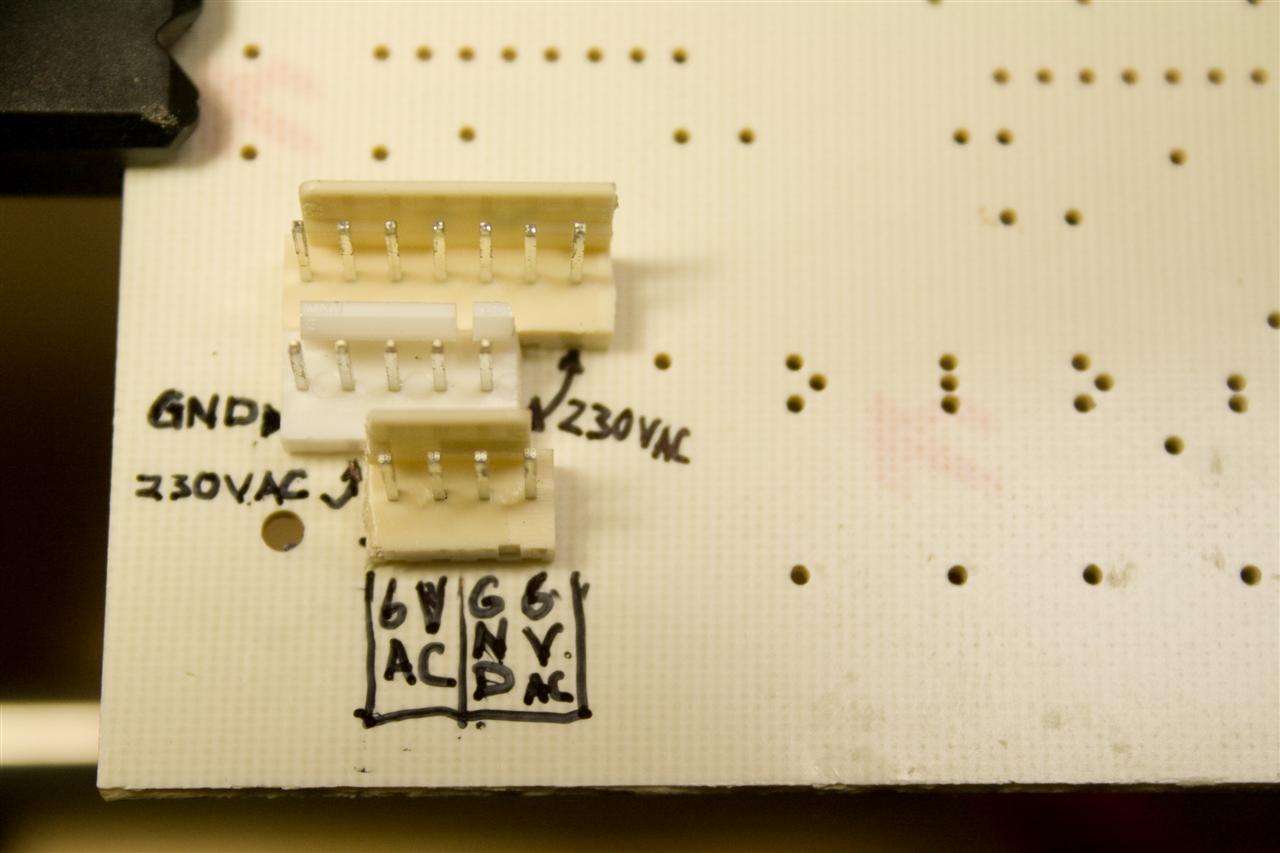
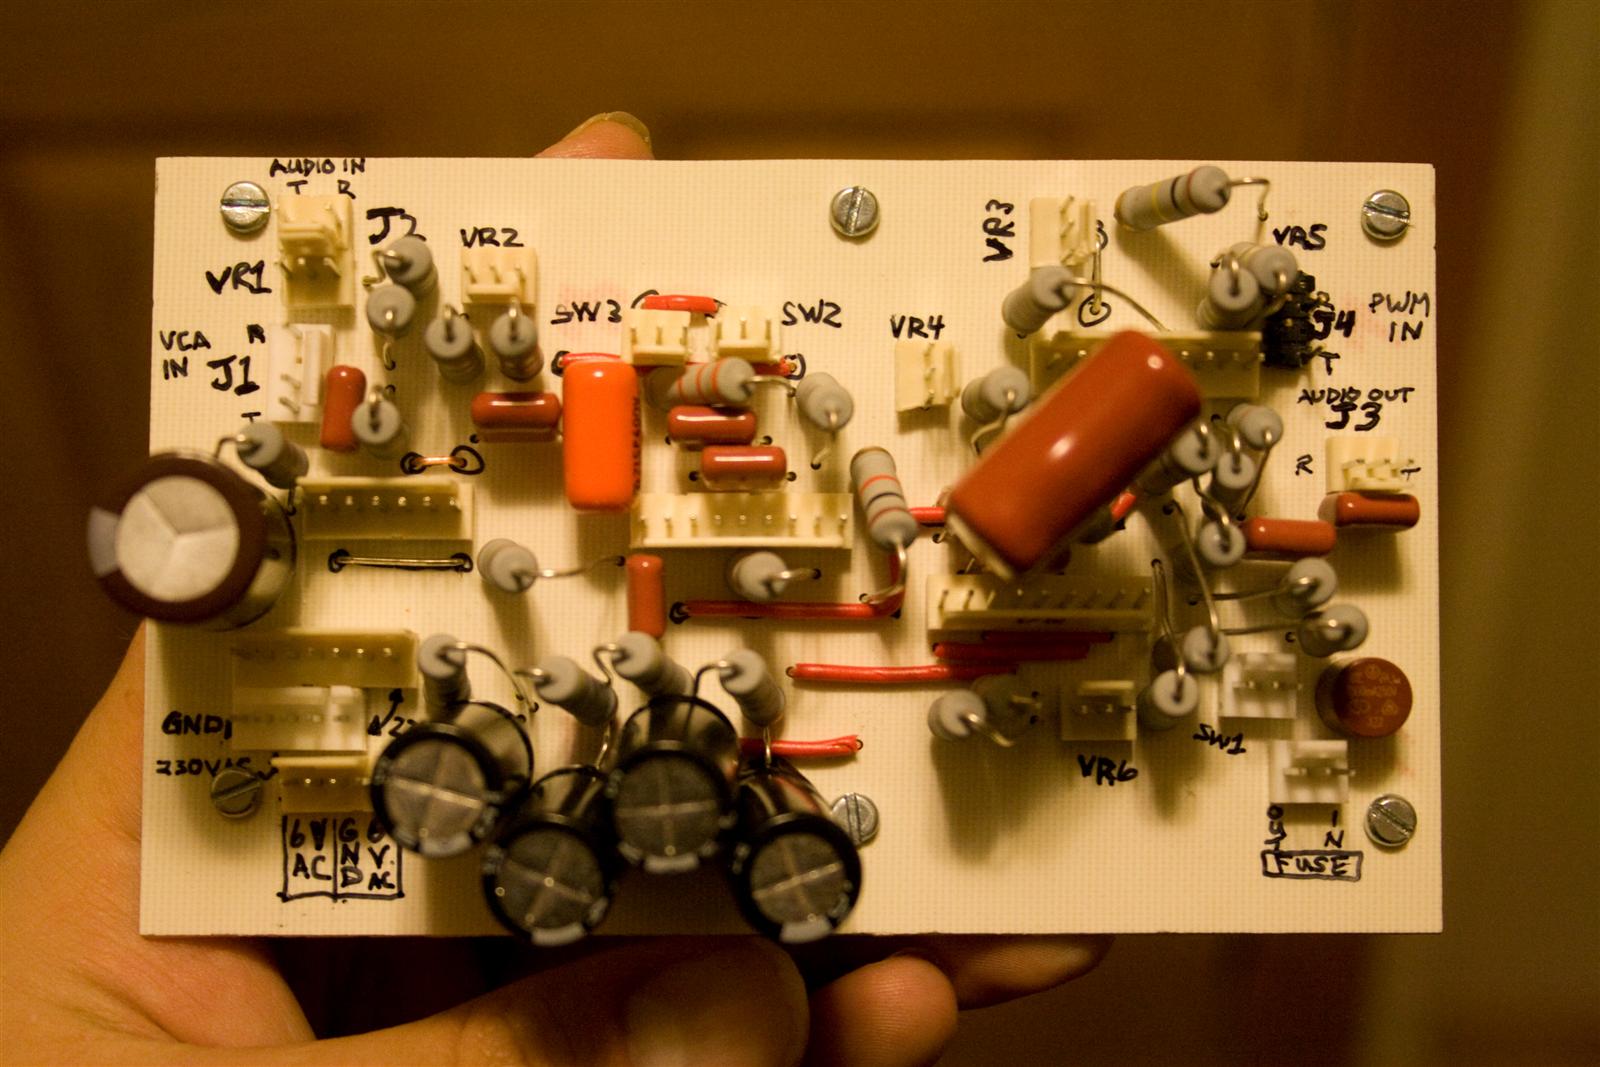
Connectors make it easy to work on the board


Power section is connected
Rectifier tube powered up...
10.22.2009
8:30-9:30pm
7:30-9:30pm
1:30-4:30pm
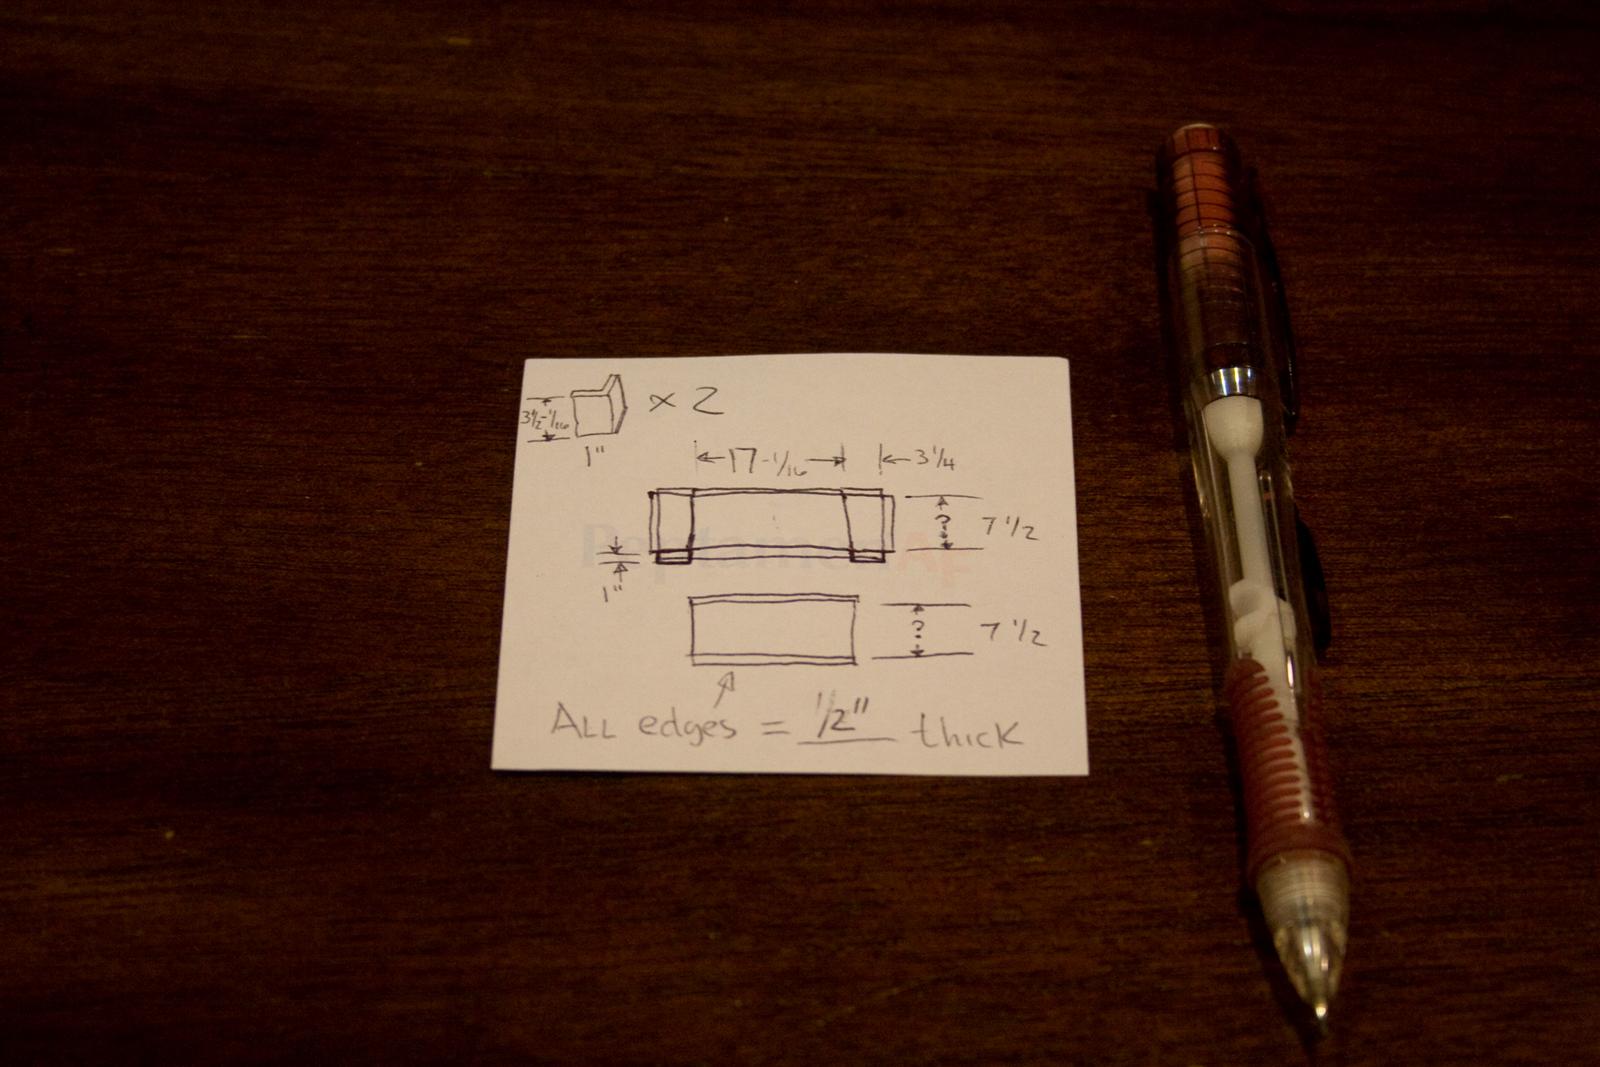
case design sketch
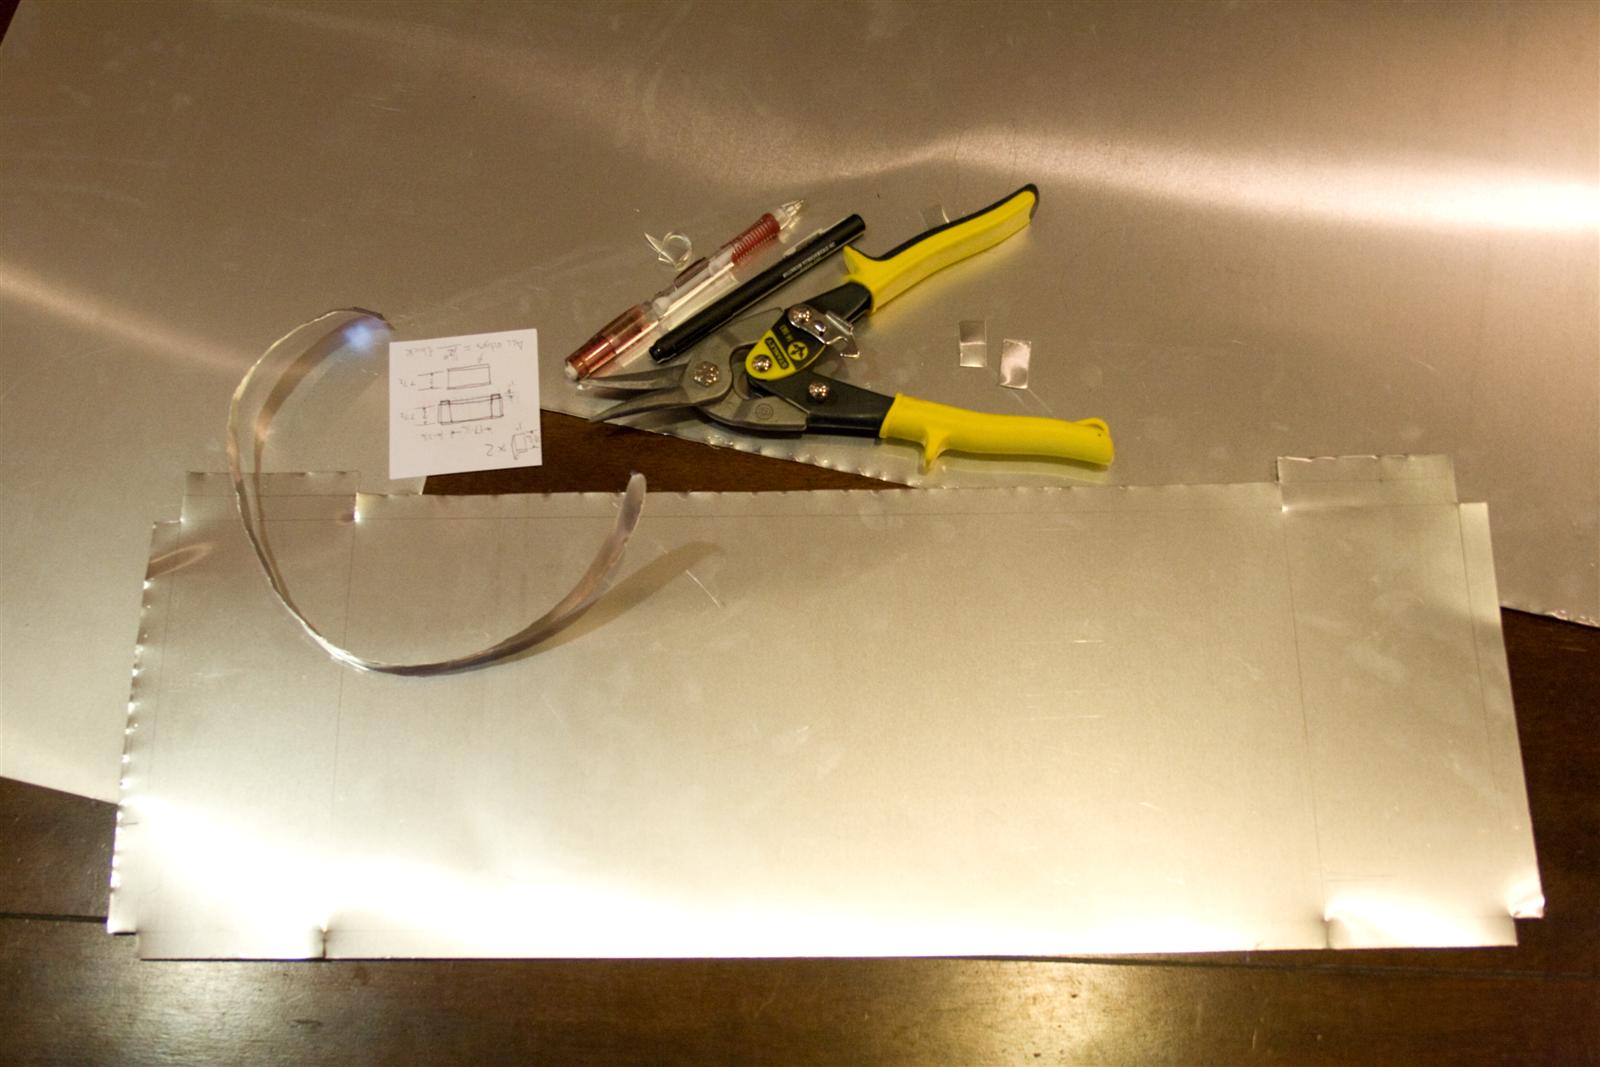
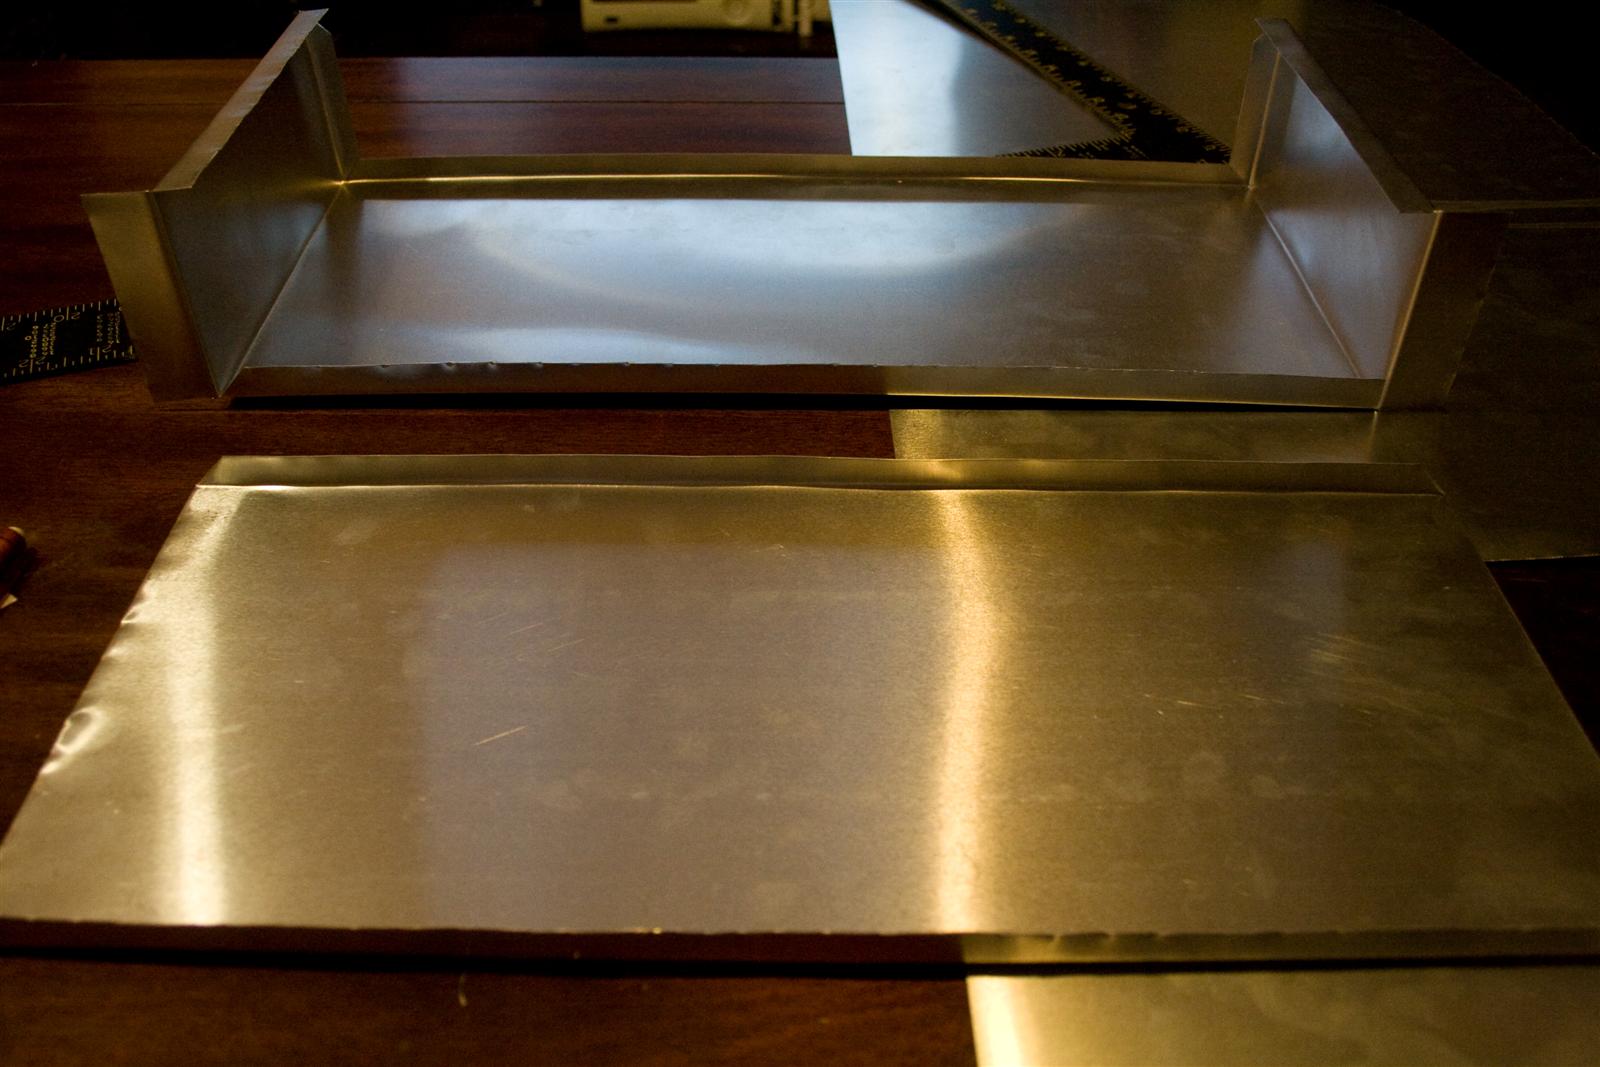
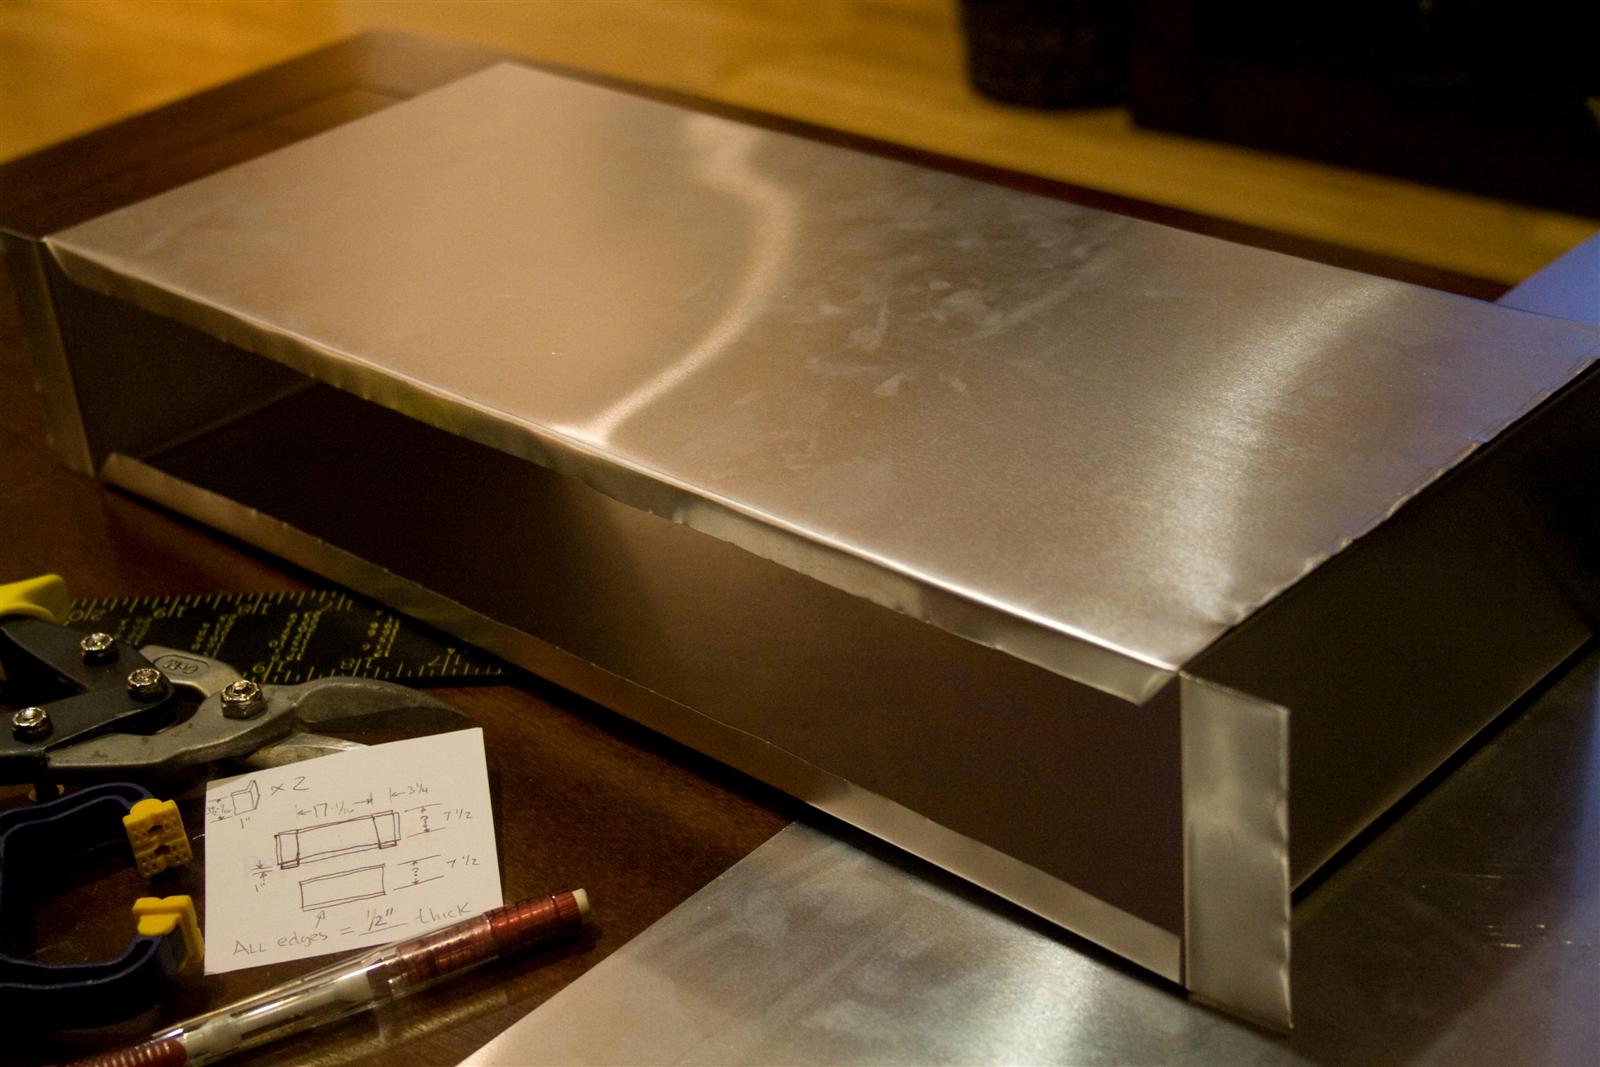
case is made... (still need to make front and rear panels)
09.01.2013
1:30-2:30pm
yep... it really has been a long time
I washed the panel in acetone, baked it at 400 to make sure nothing was going to vaporize once i put the powder on (no air bubbles). then gave it 3 coats of powder at 400deg for about 10-15 min each. surface was looking orange peely first couple coats, so i did the last coat with 10 min baking time, surface seemed to dimple the longer you baked it.
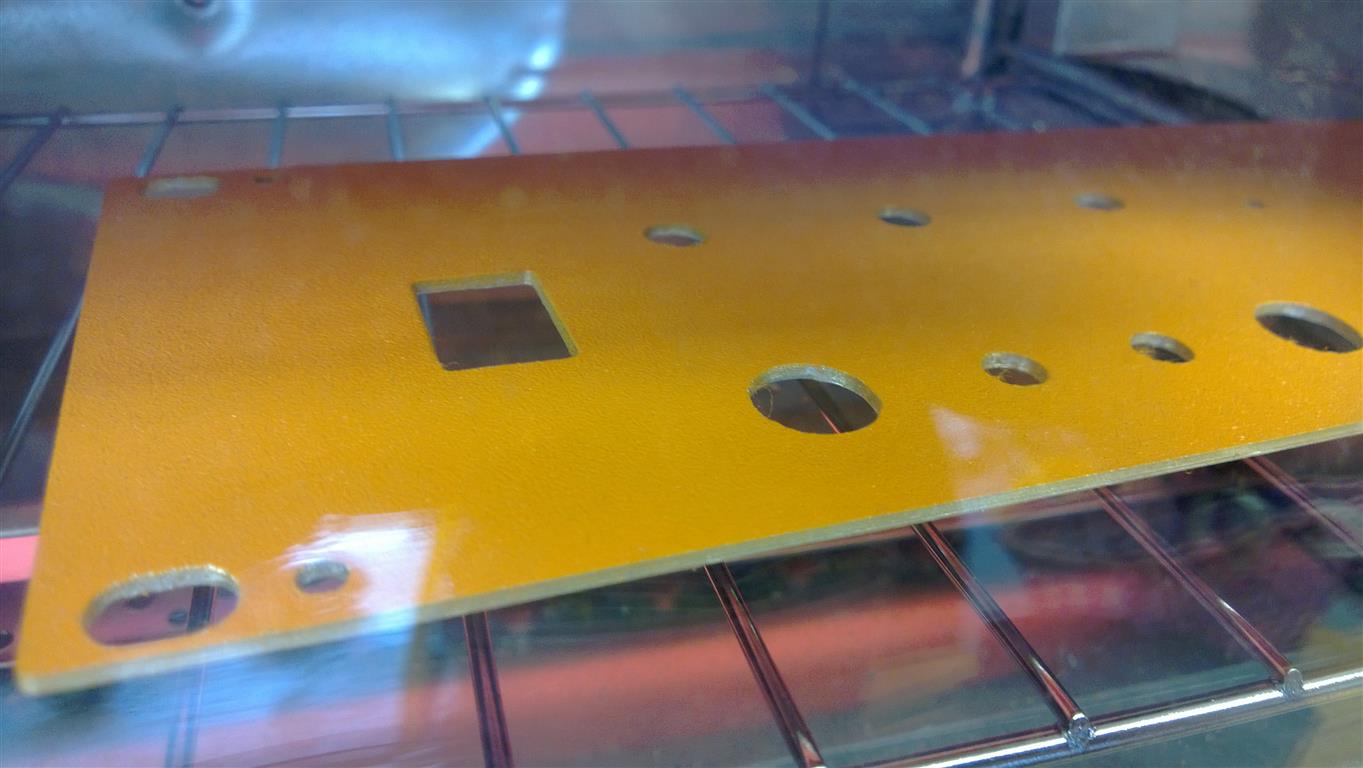
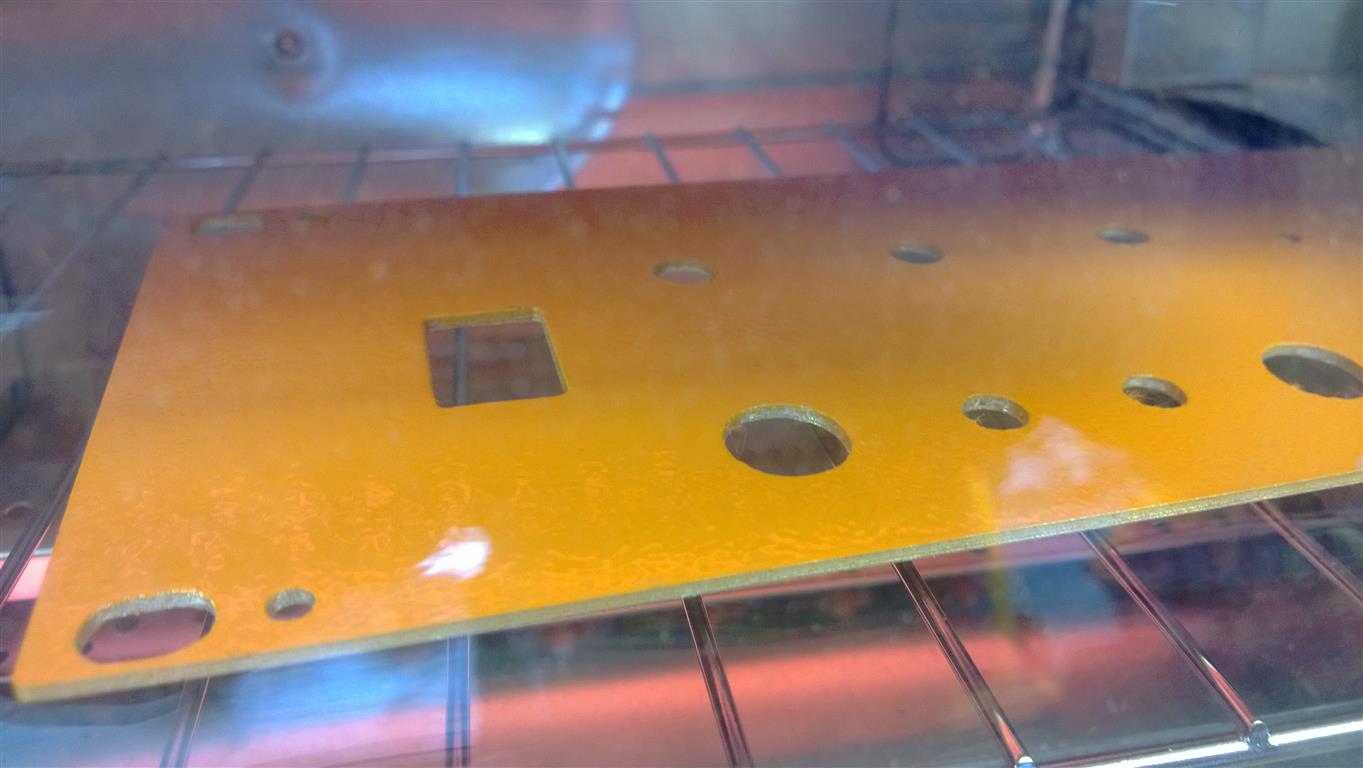
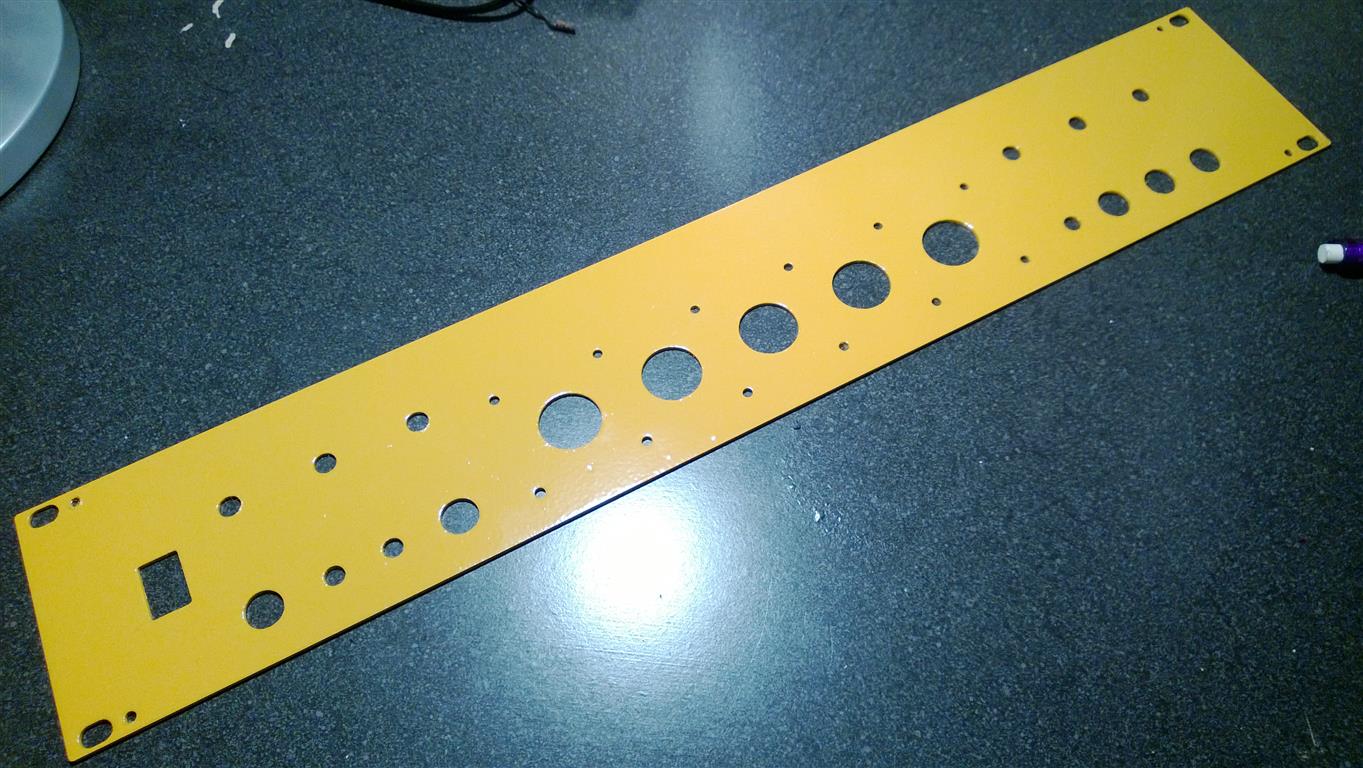
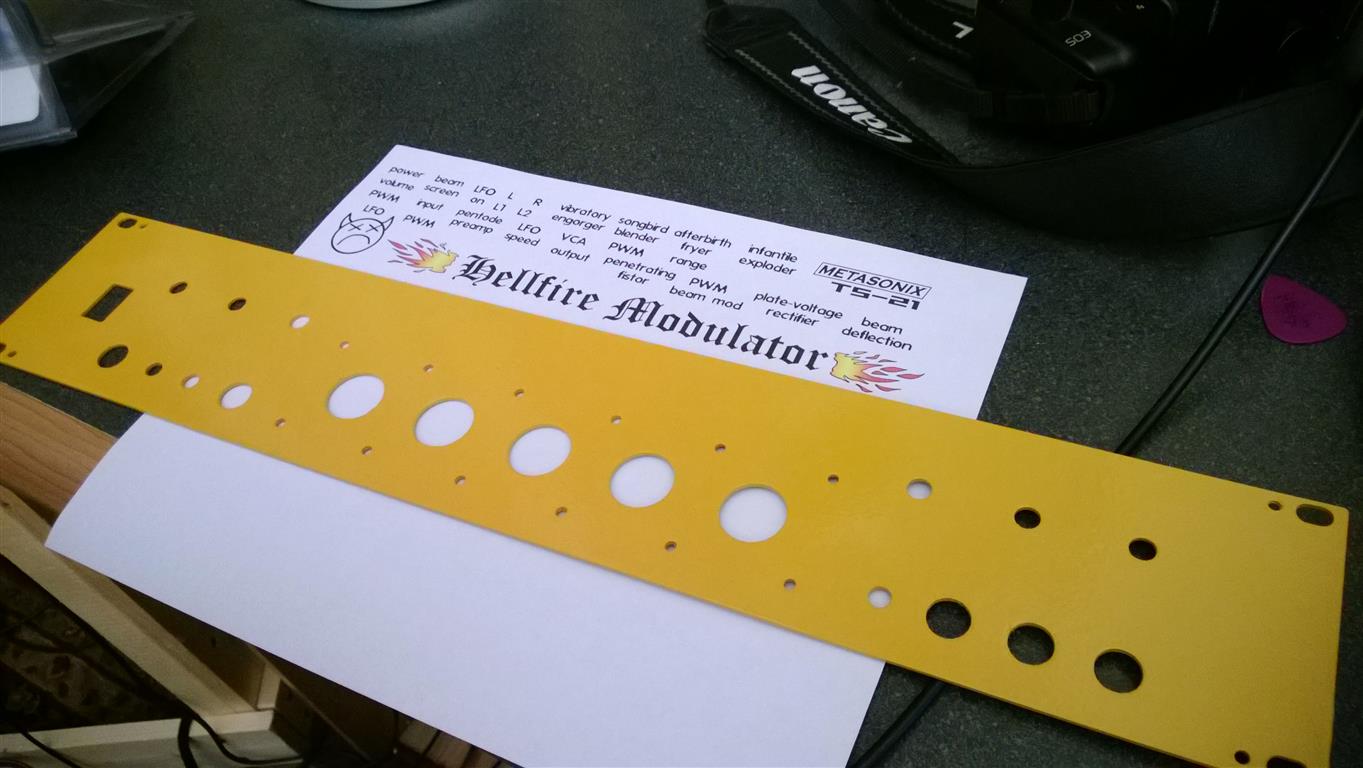
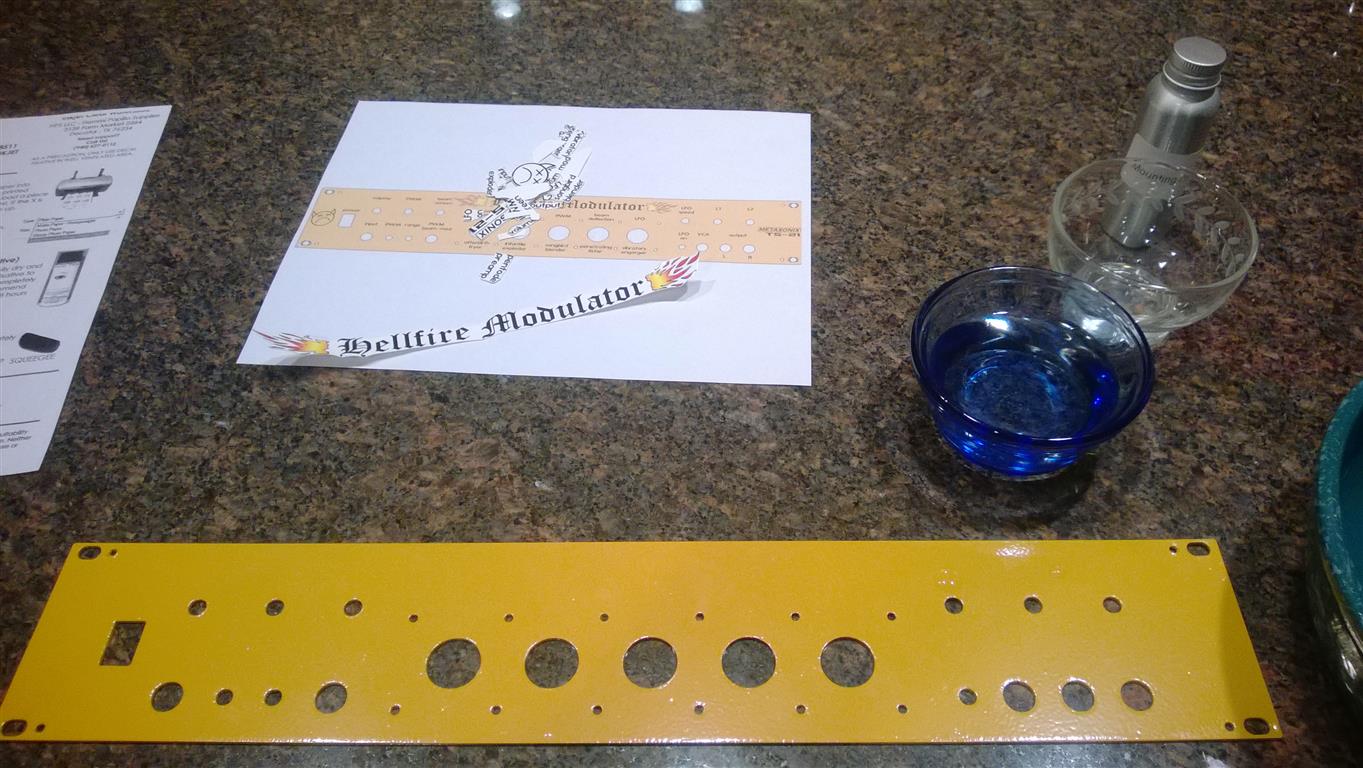
front panel is powder coated
01.06.2014
1pm
decided not to engrave the text into the front panel and rather print decals. couple reasons, wasn't sure what the engraving bit would do to the powdercoat or underlying metal, and with decals you have complete art control (with some sacrifice in appearance of the finish).
I think it'll be good, take a look:

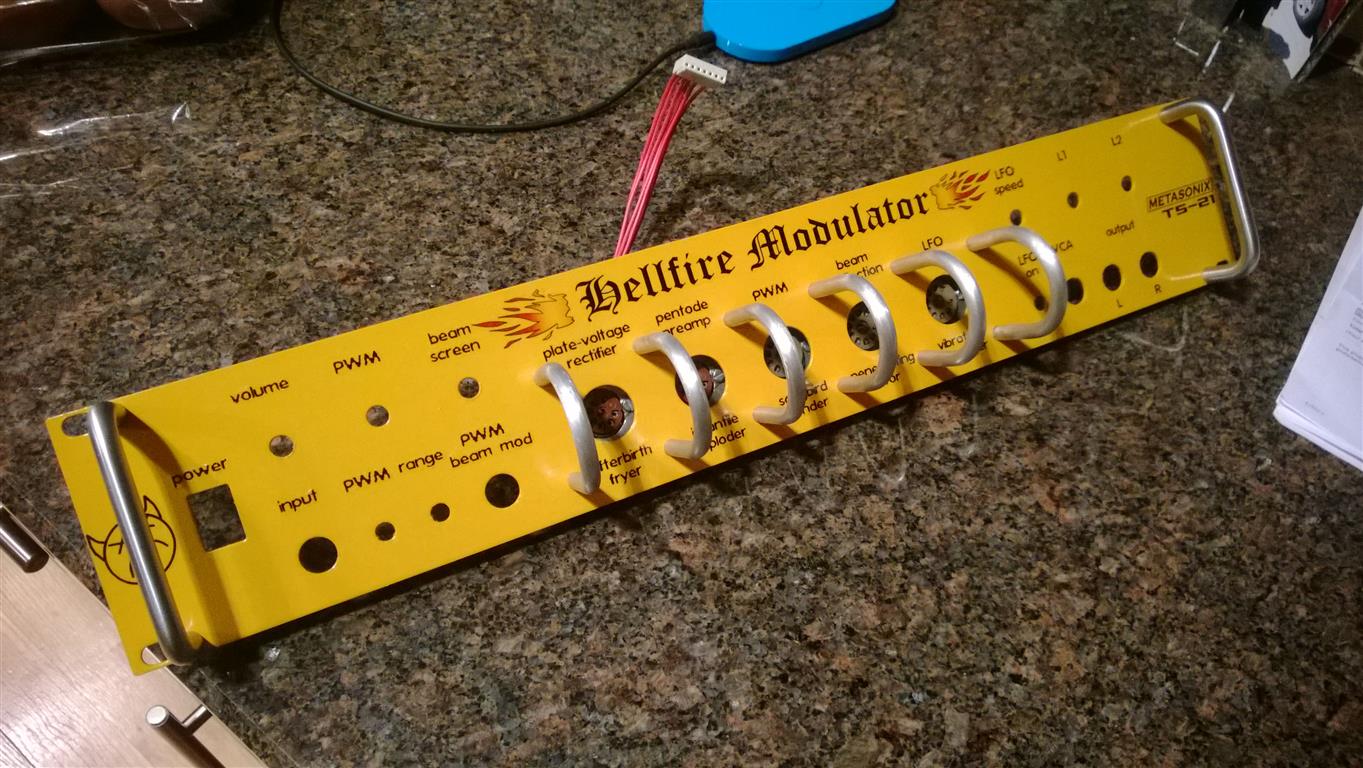
new front panel design
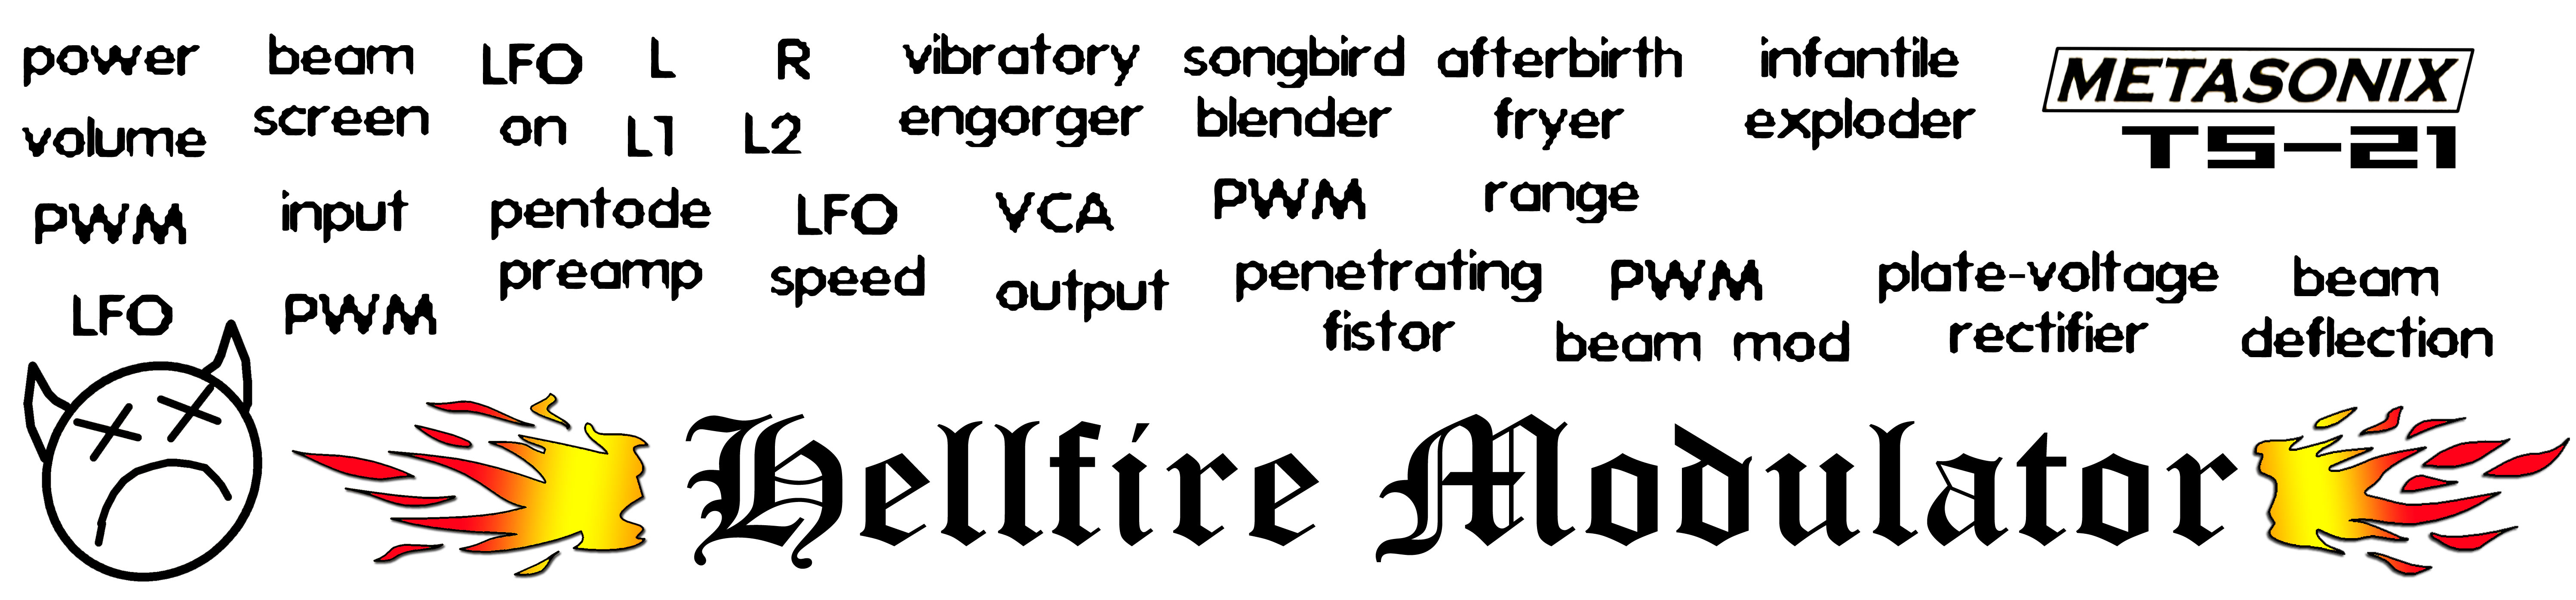
decal sheet
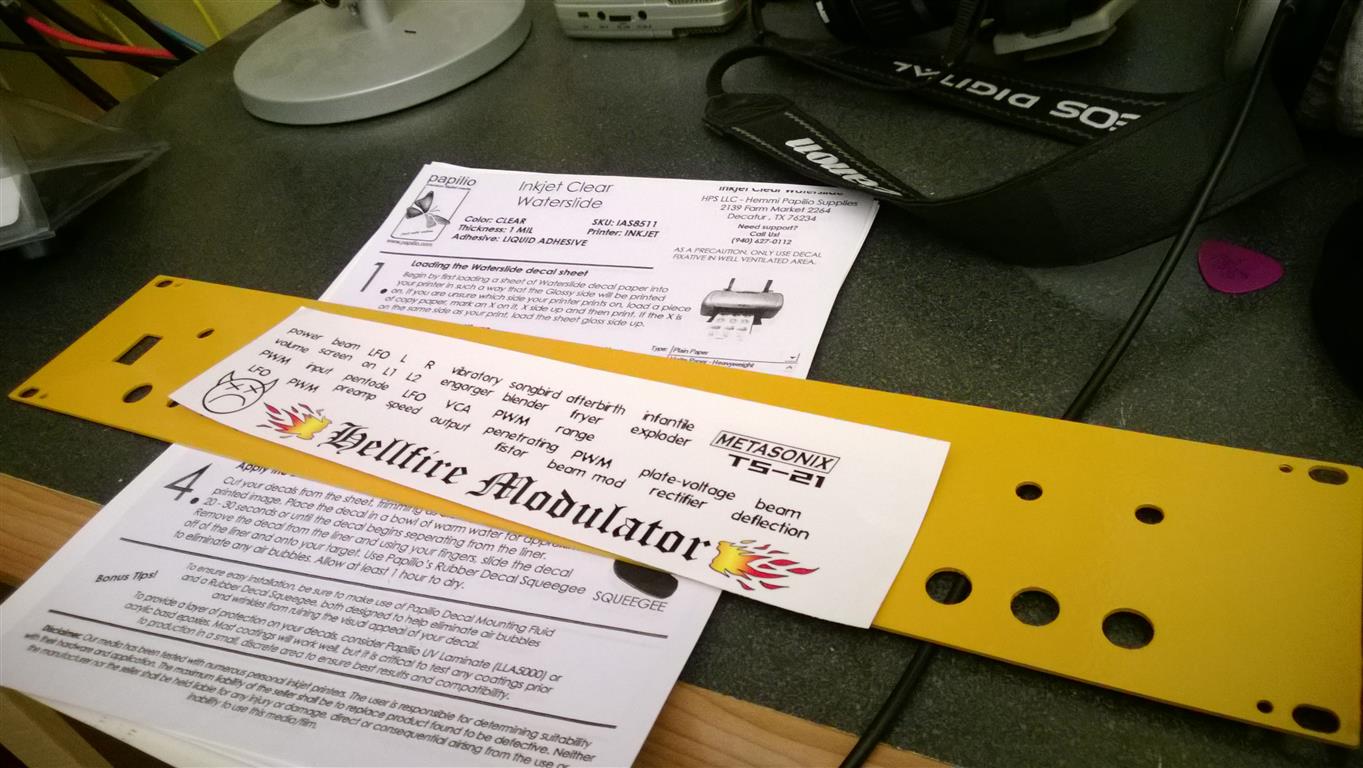
printed decals for front panel
01.25.2014
8am
cut out the decals and applied them
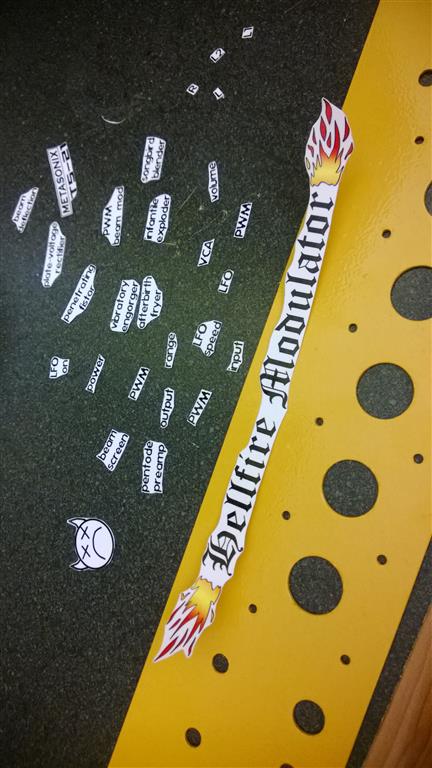
getting ready to apply the decals

applied the decals

8pm
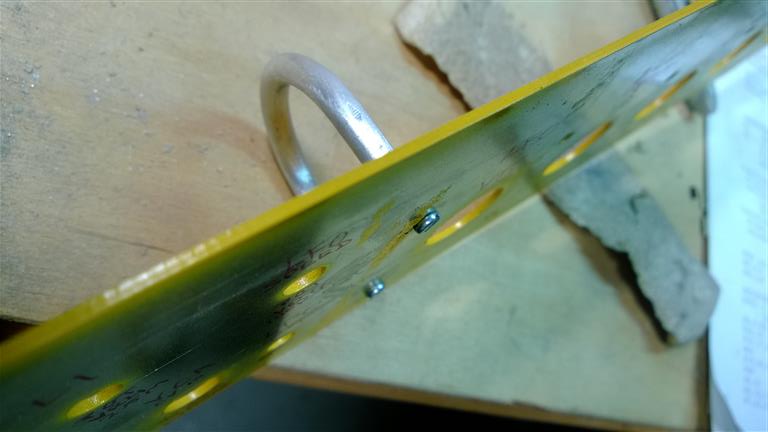
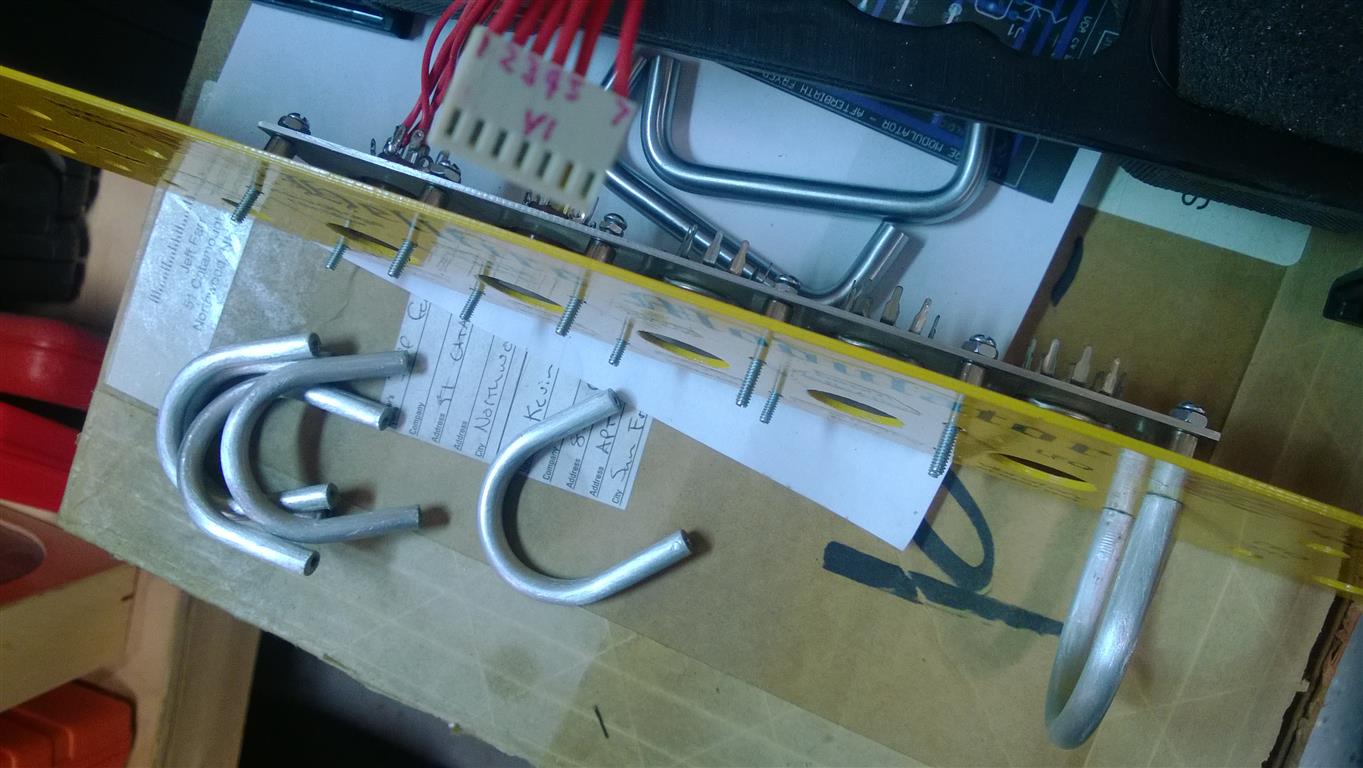
Finish the tube guards. I lost the pipe I used to make the others, but fortunately this flashlight was the right size.

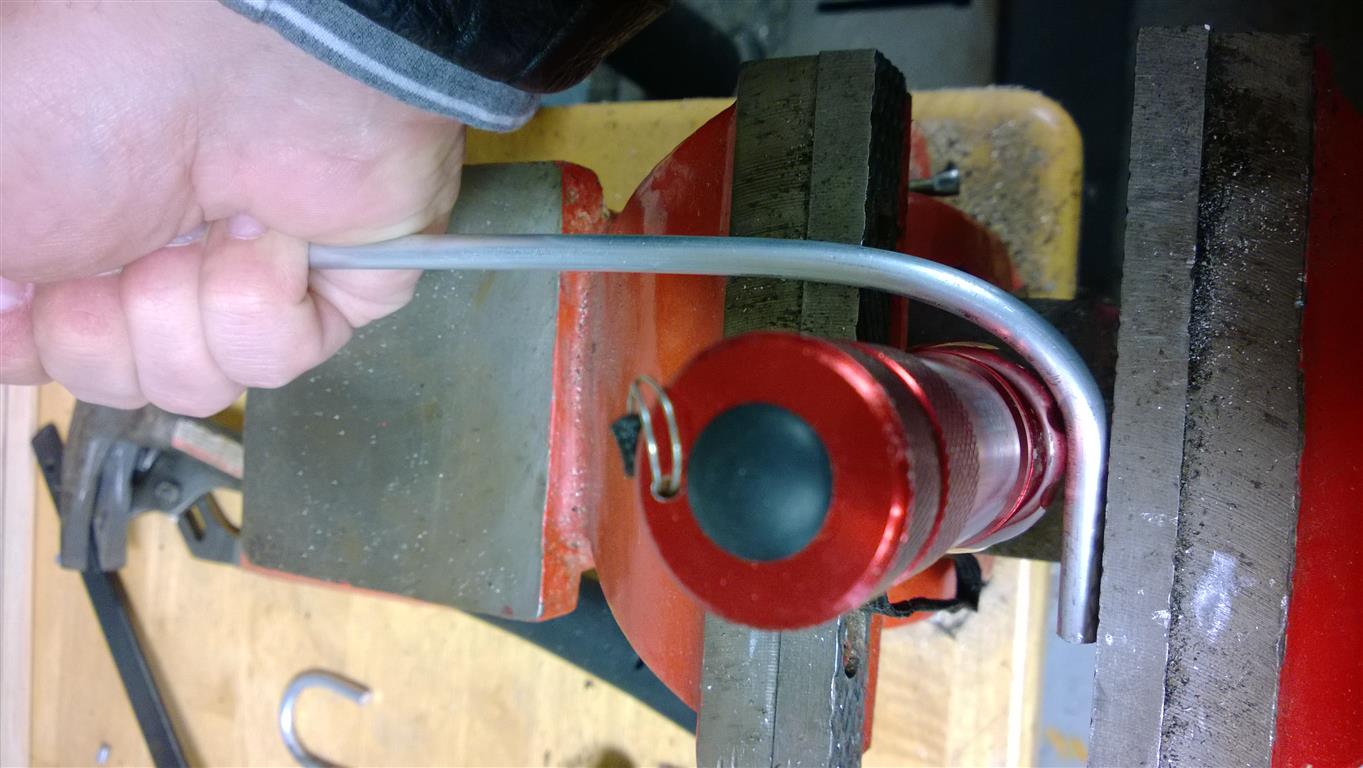

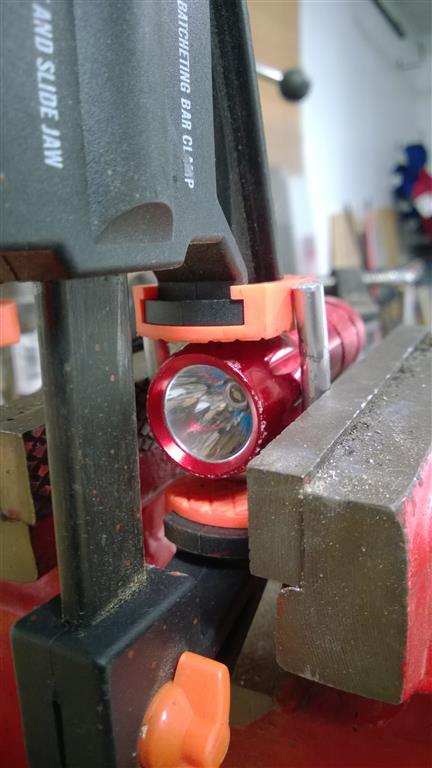
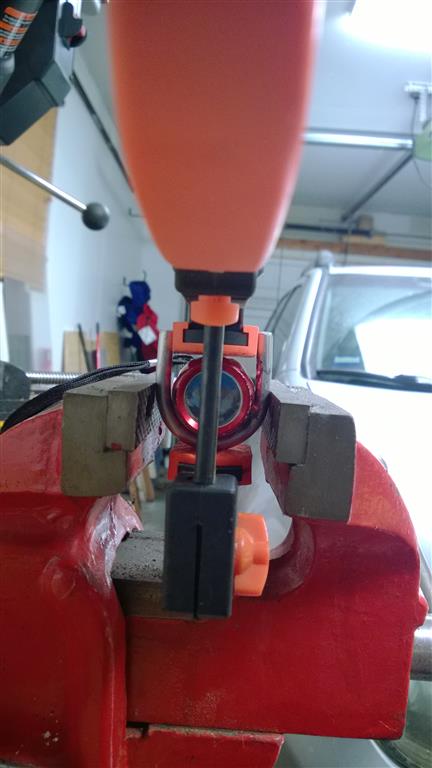
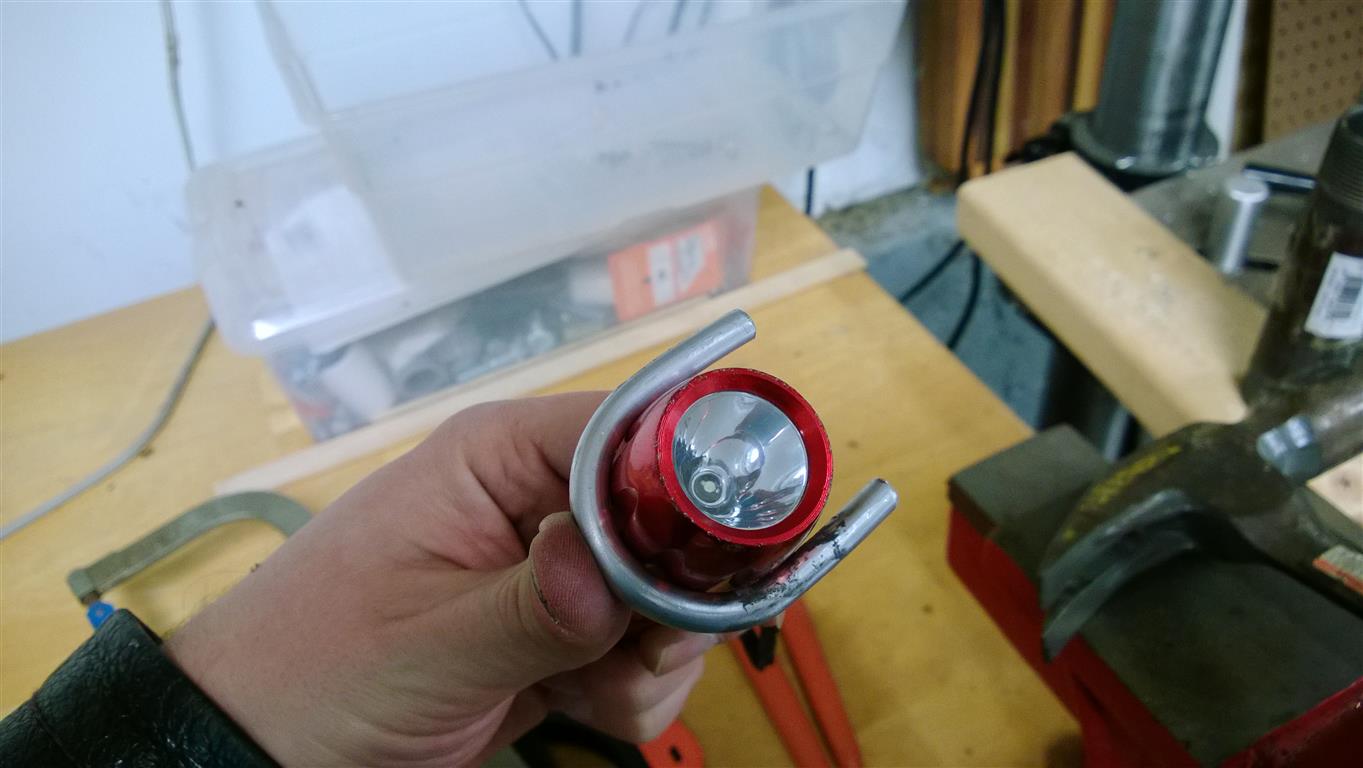
bending 2 more tube guards.
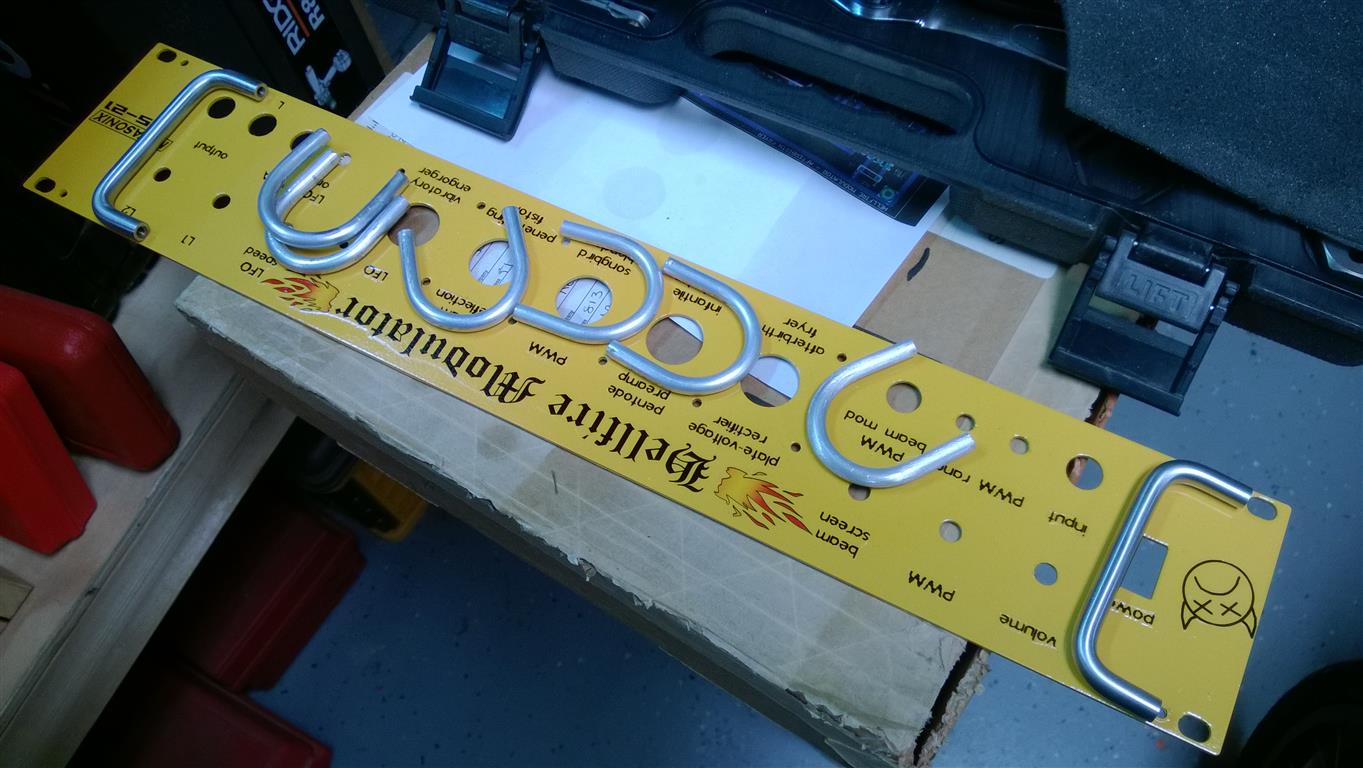
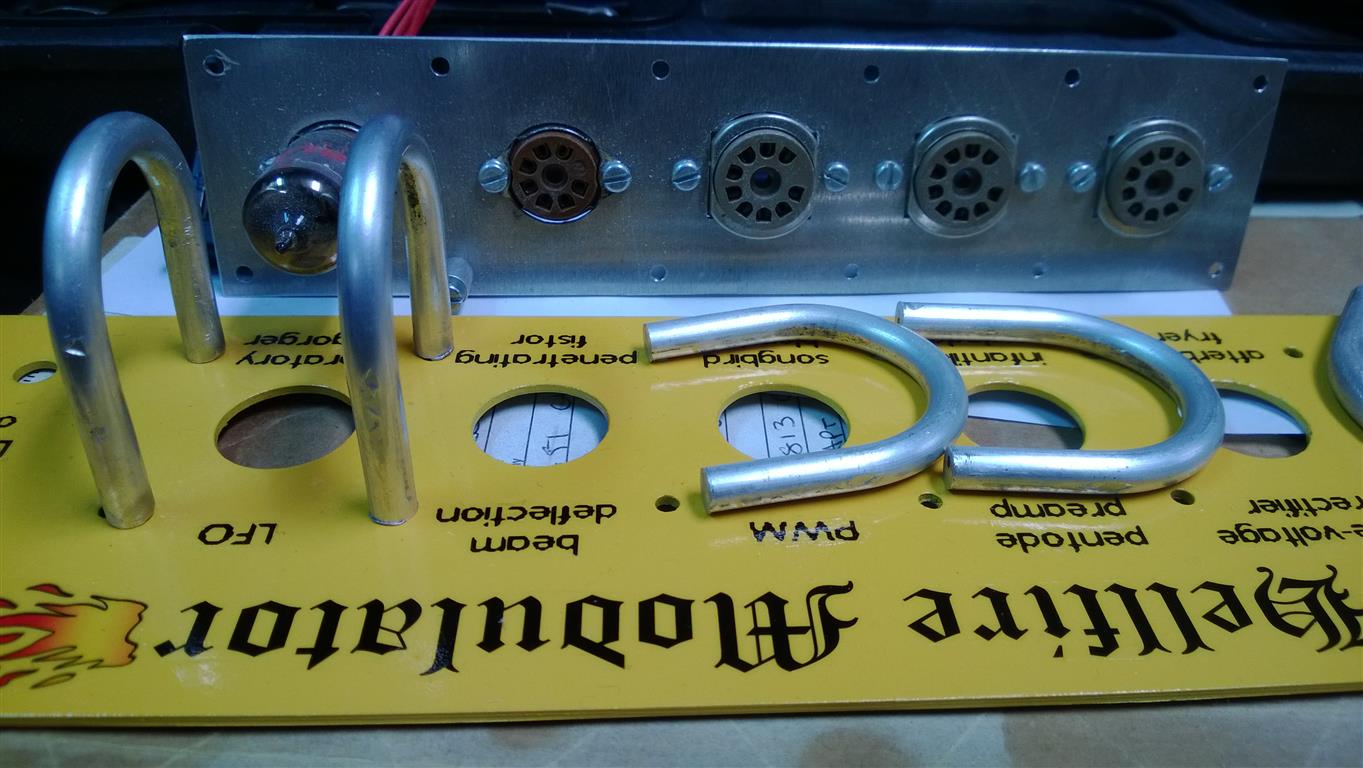
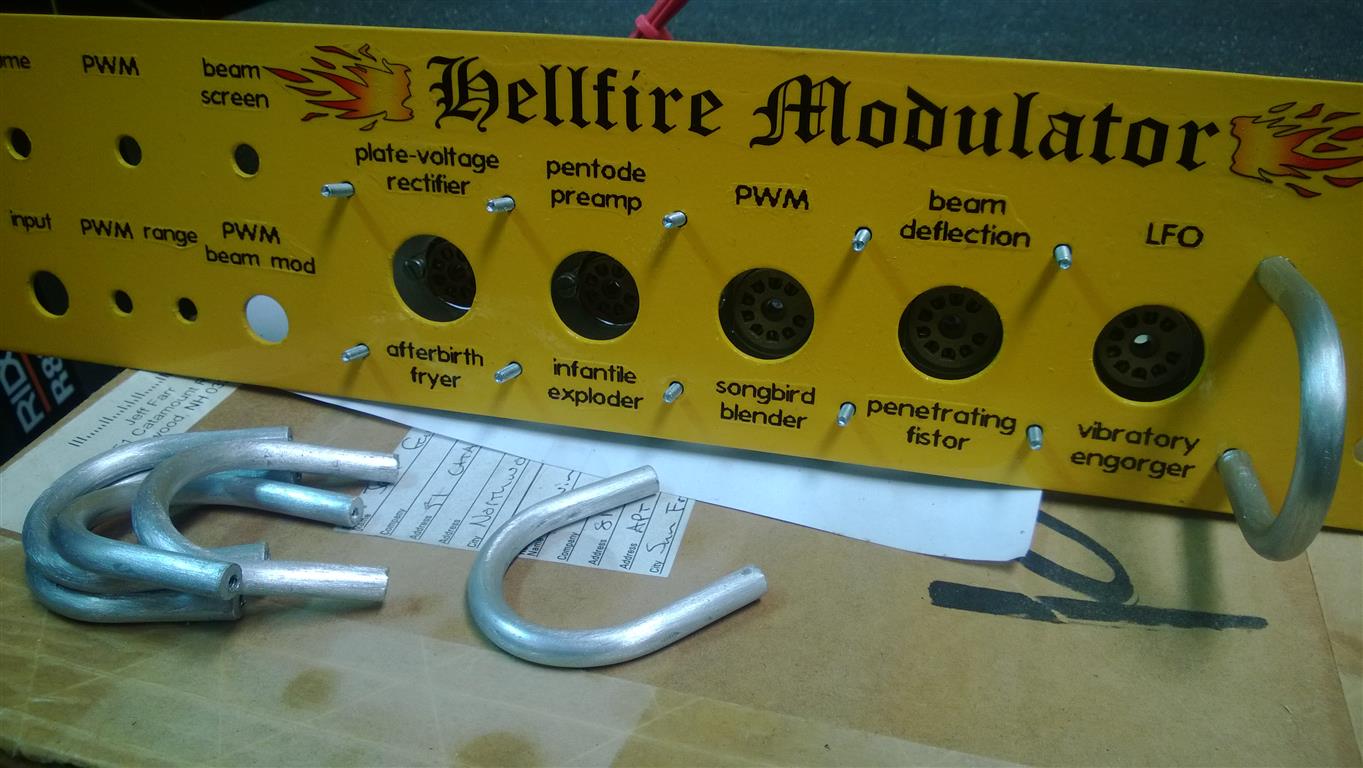
all the front panel guards...

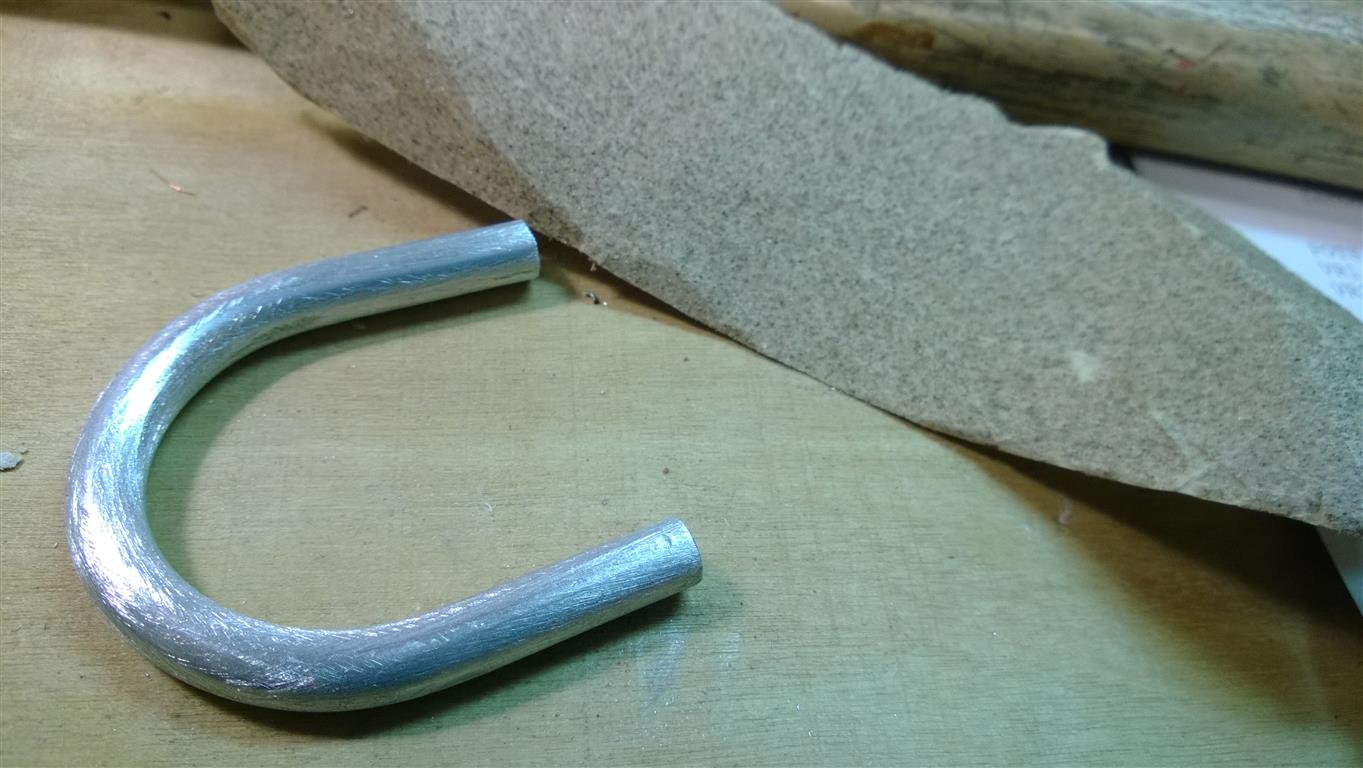

add a nice finish...brushed metal
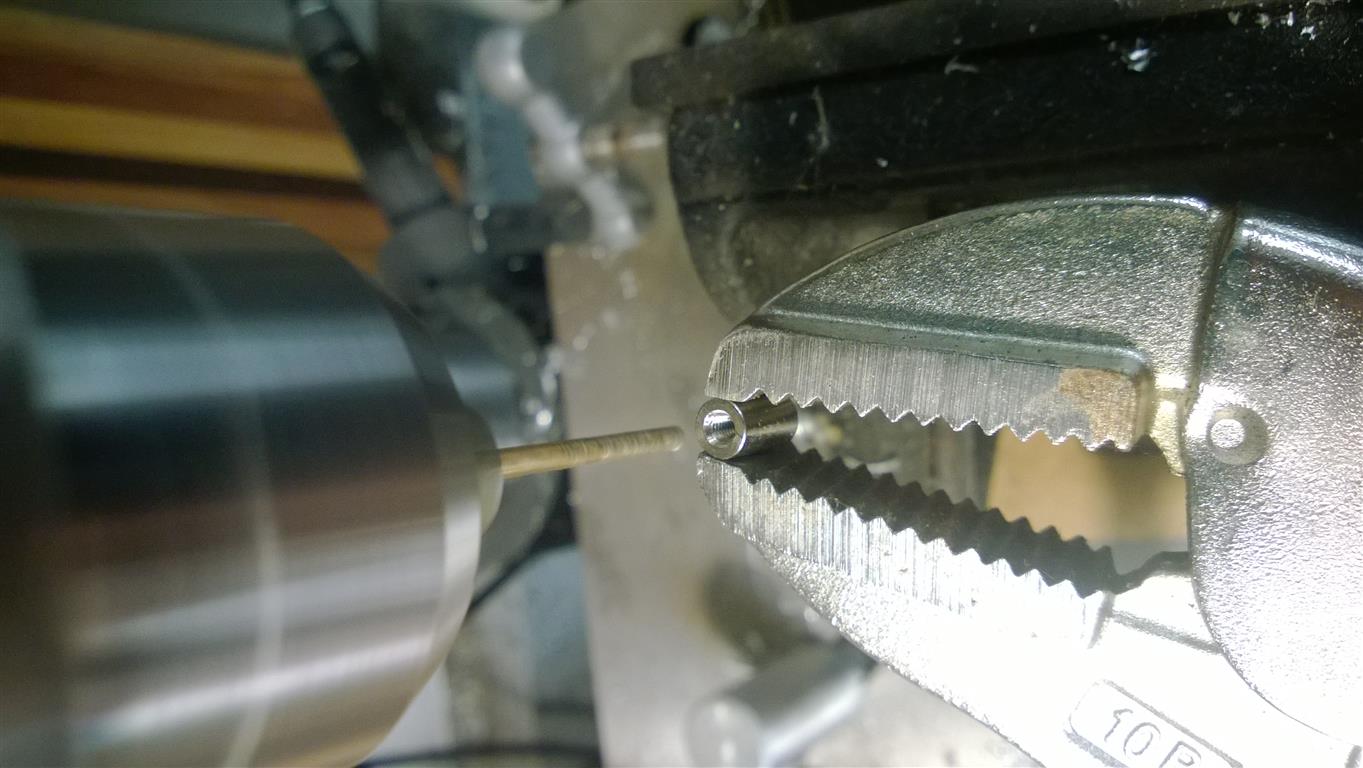
mark holes for drilling
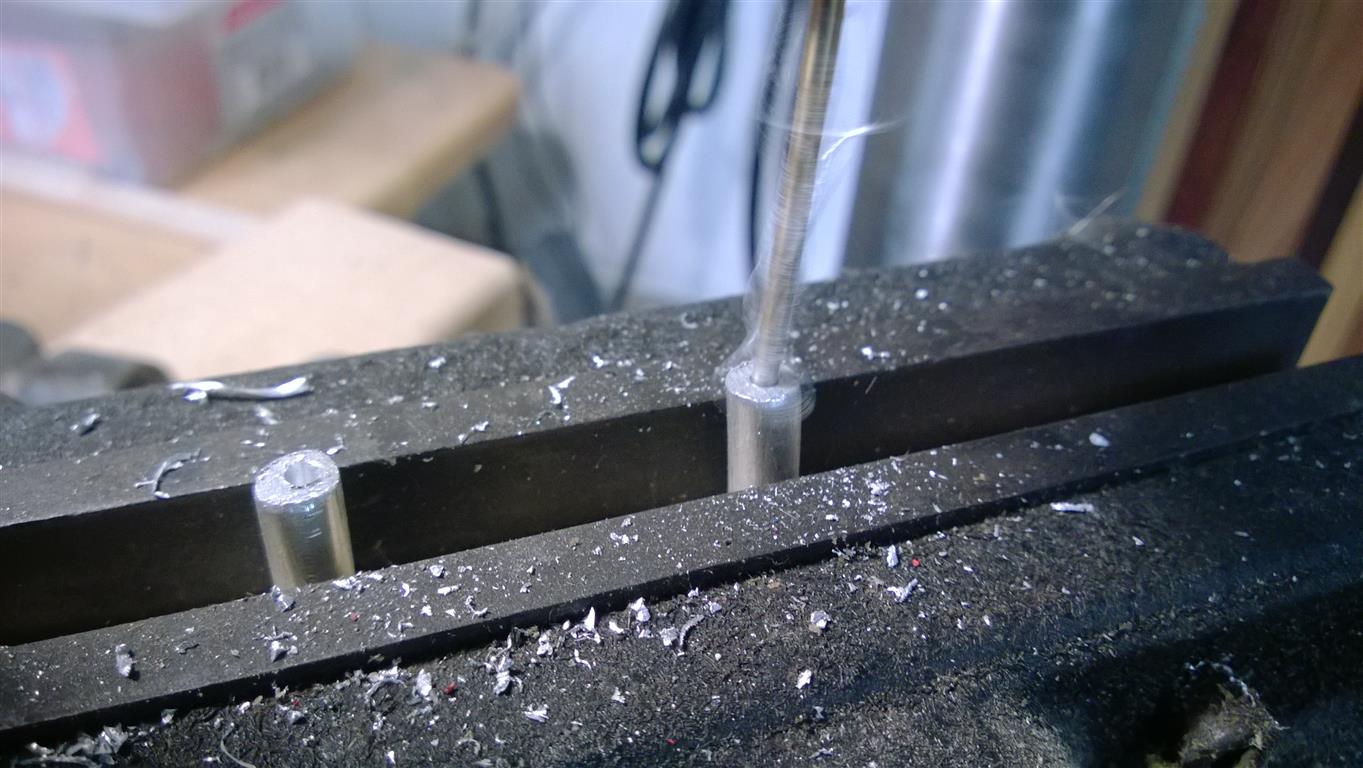
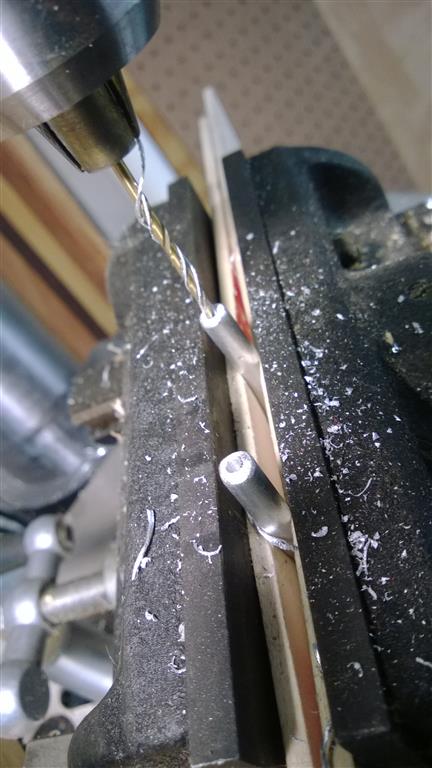
drill holes
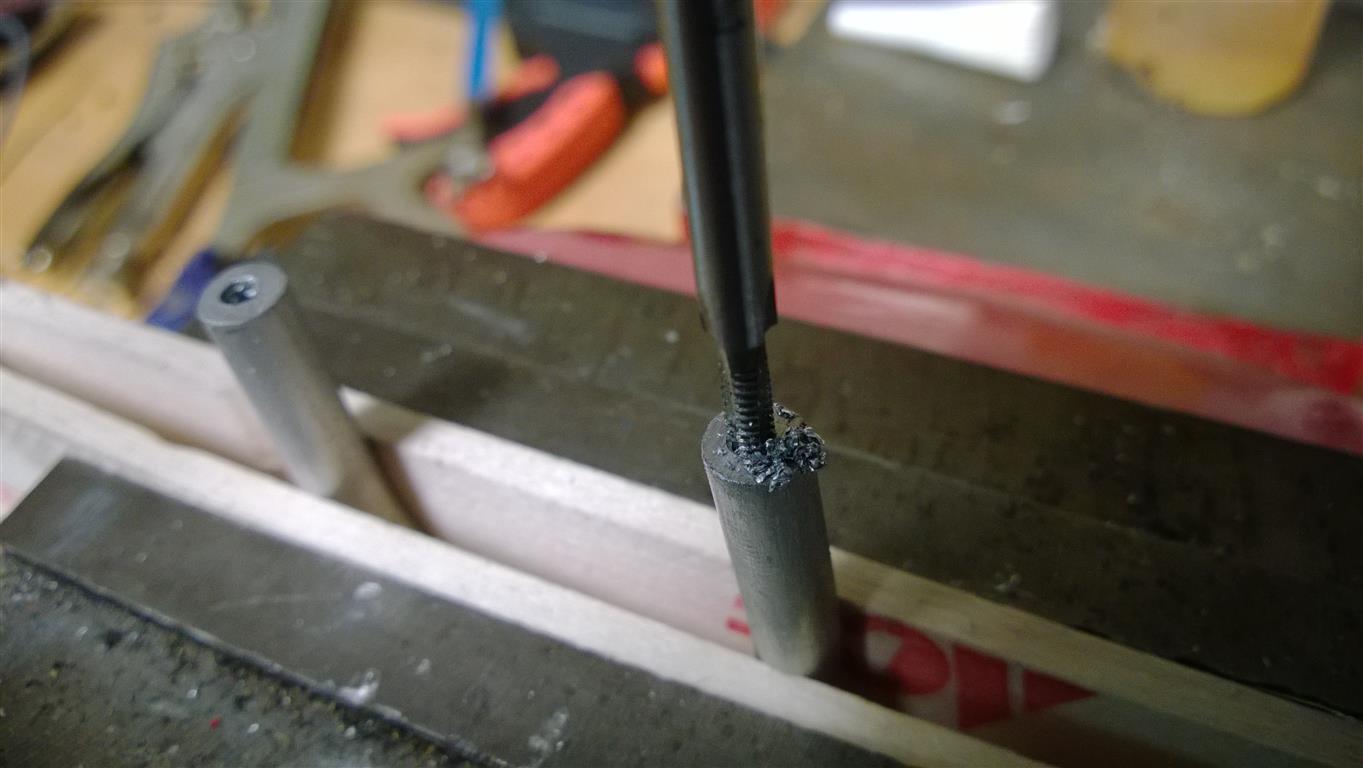
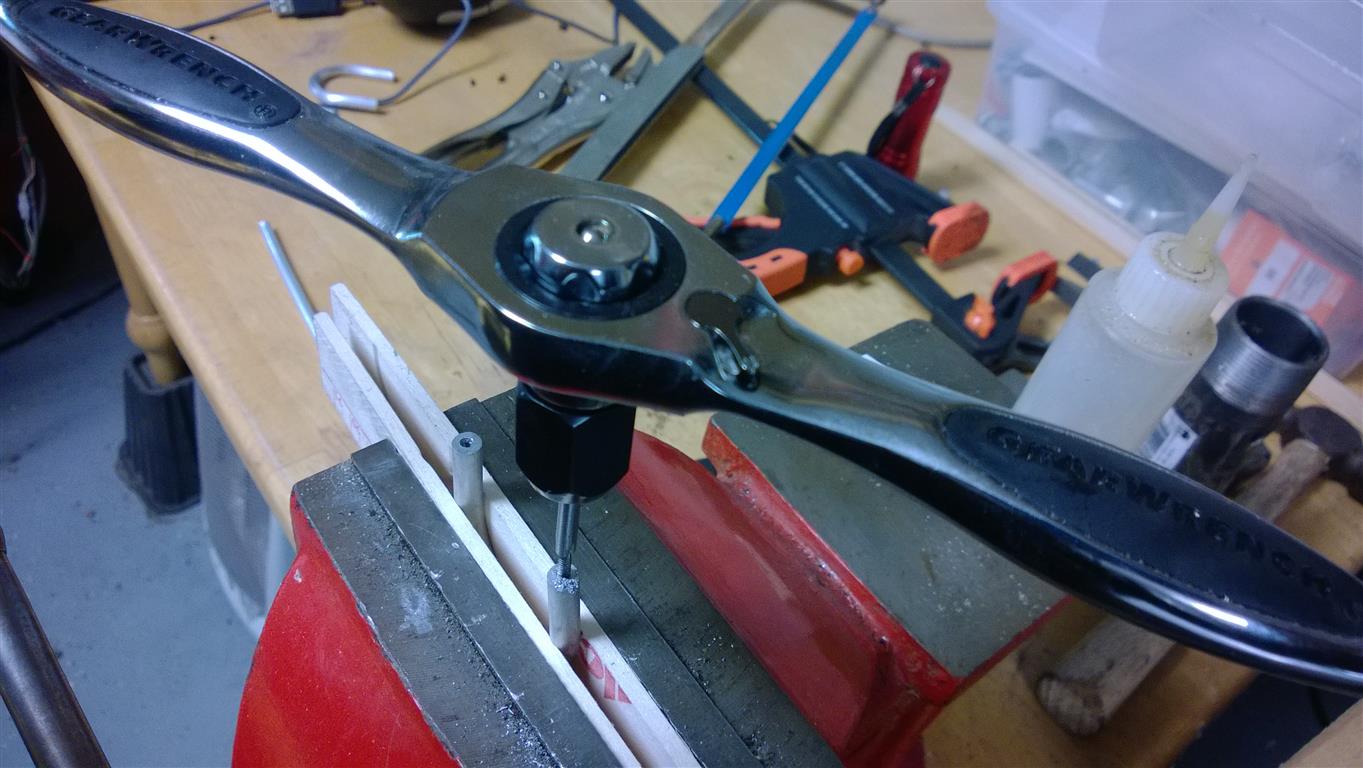
tap holes

guards done!
modify some threaded spacers into free float spacers
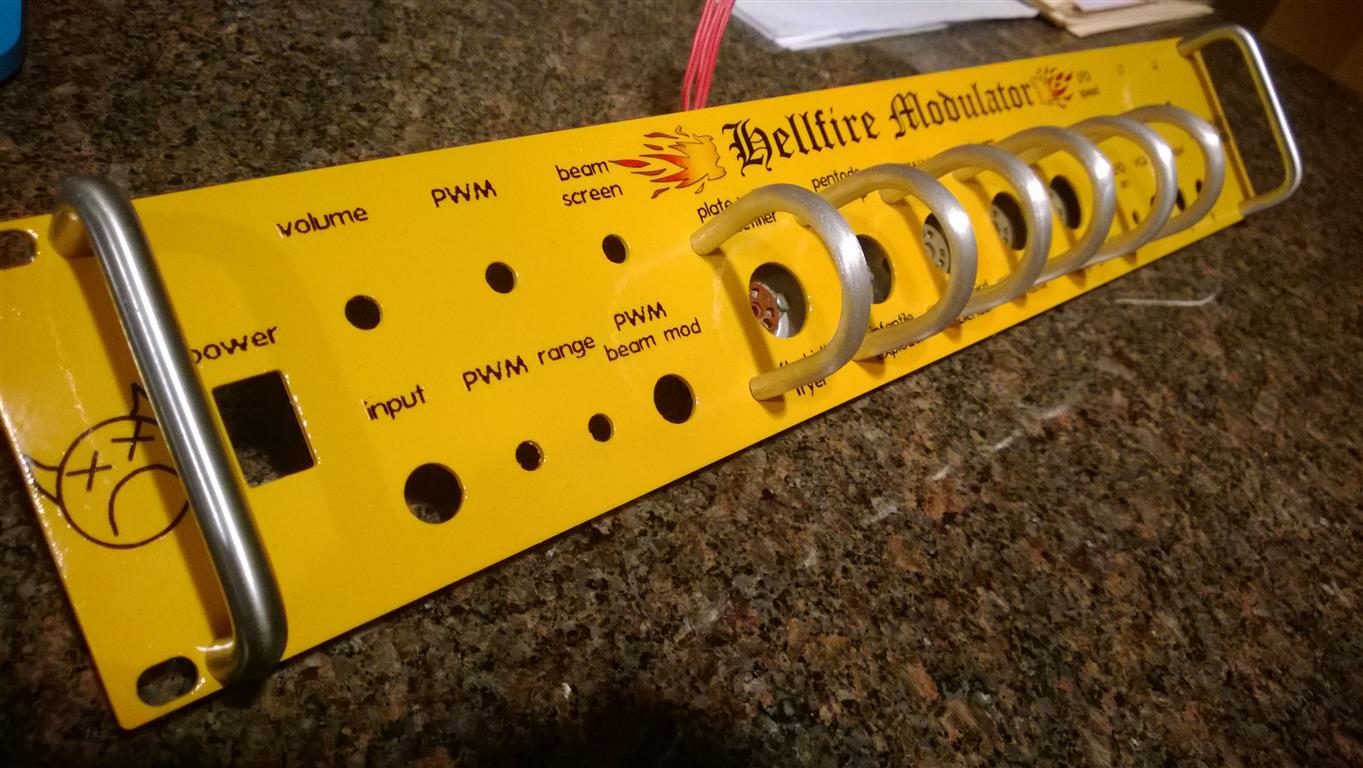
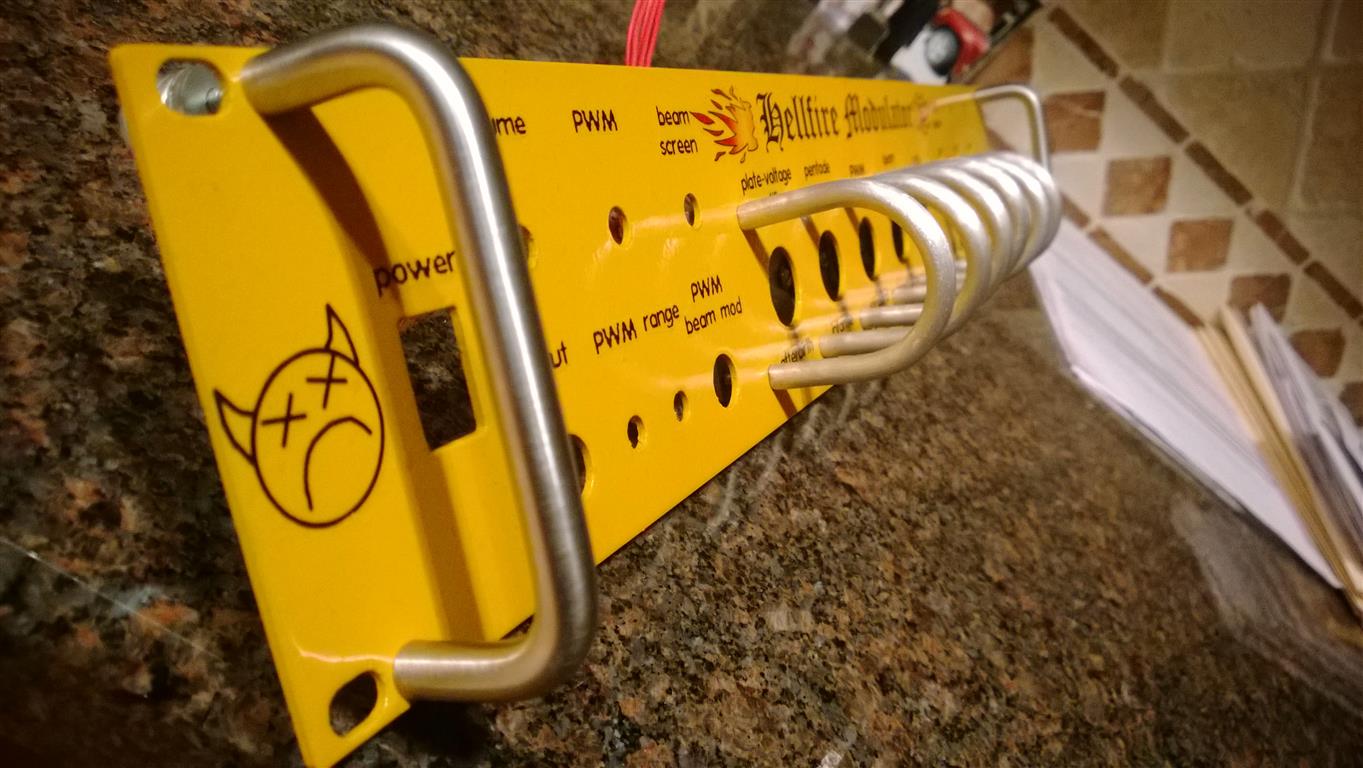
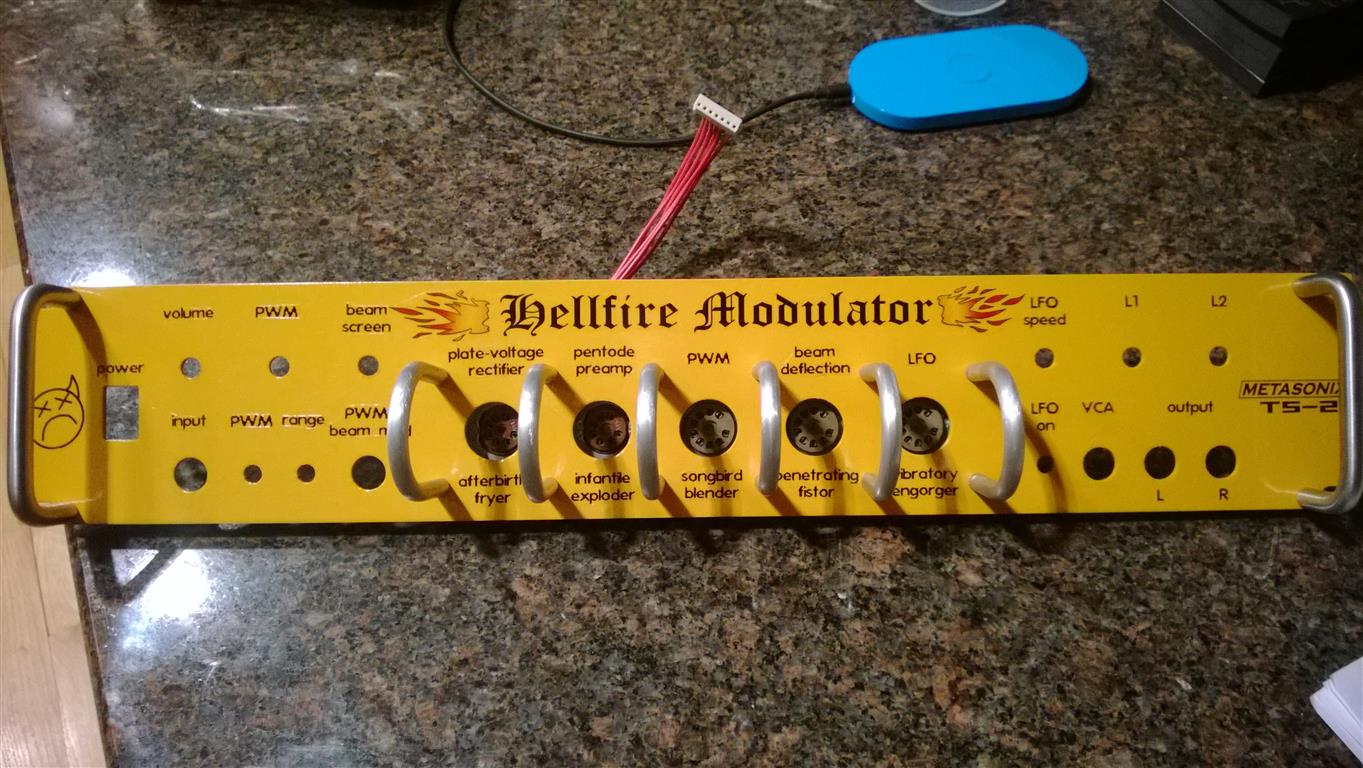
Assemble the front panel - guards
02.02.2014
noon
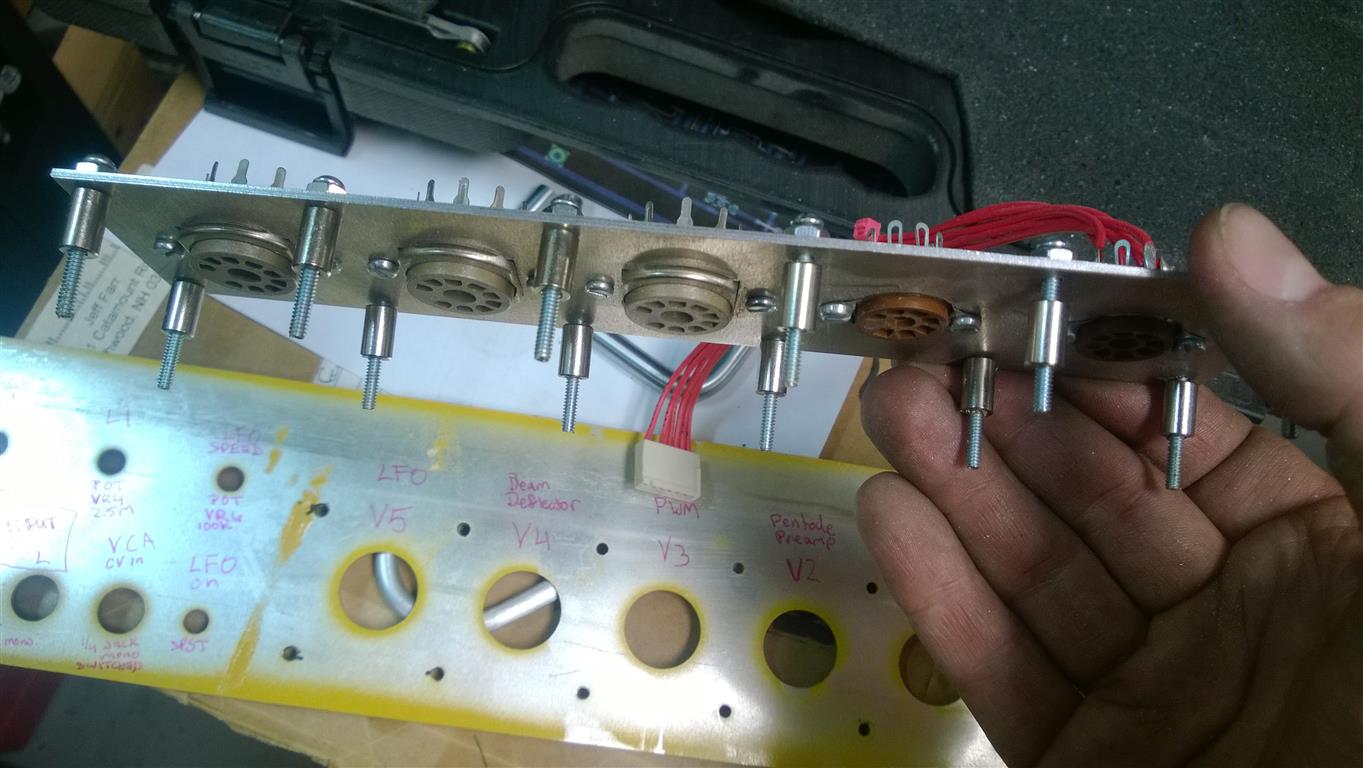
Decided to populate the front panel.
One of the tubes is pretty long but I may be able to set it back farther.
Need to order a knob.
Thinking about better quality jacks.
I only have 1M dual gang pots, hoping to wire them as 2M, and hoping that is good enough for the 2.5M pot in the BOM.
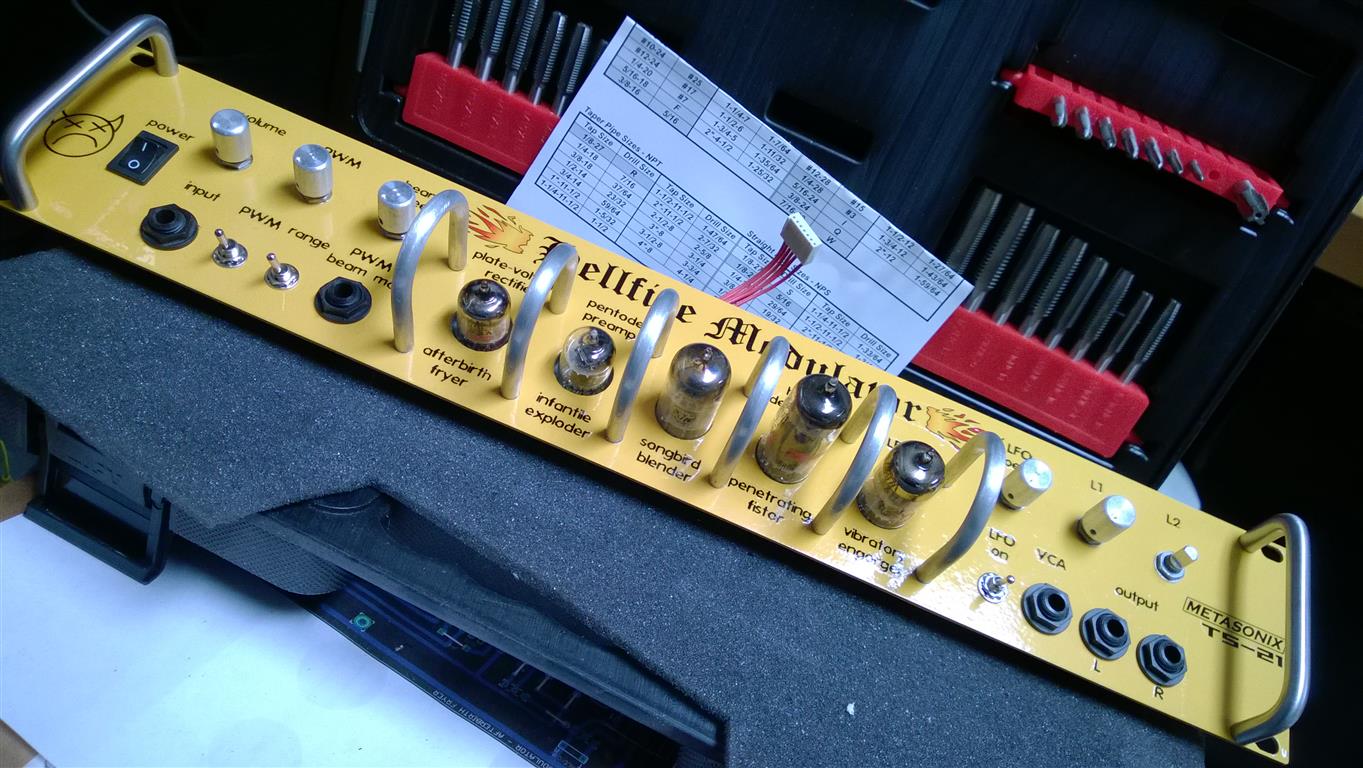
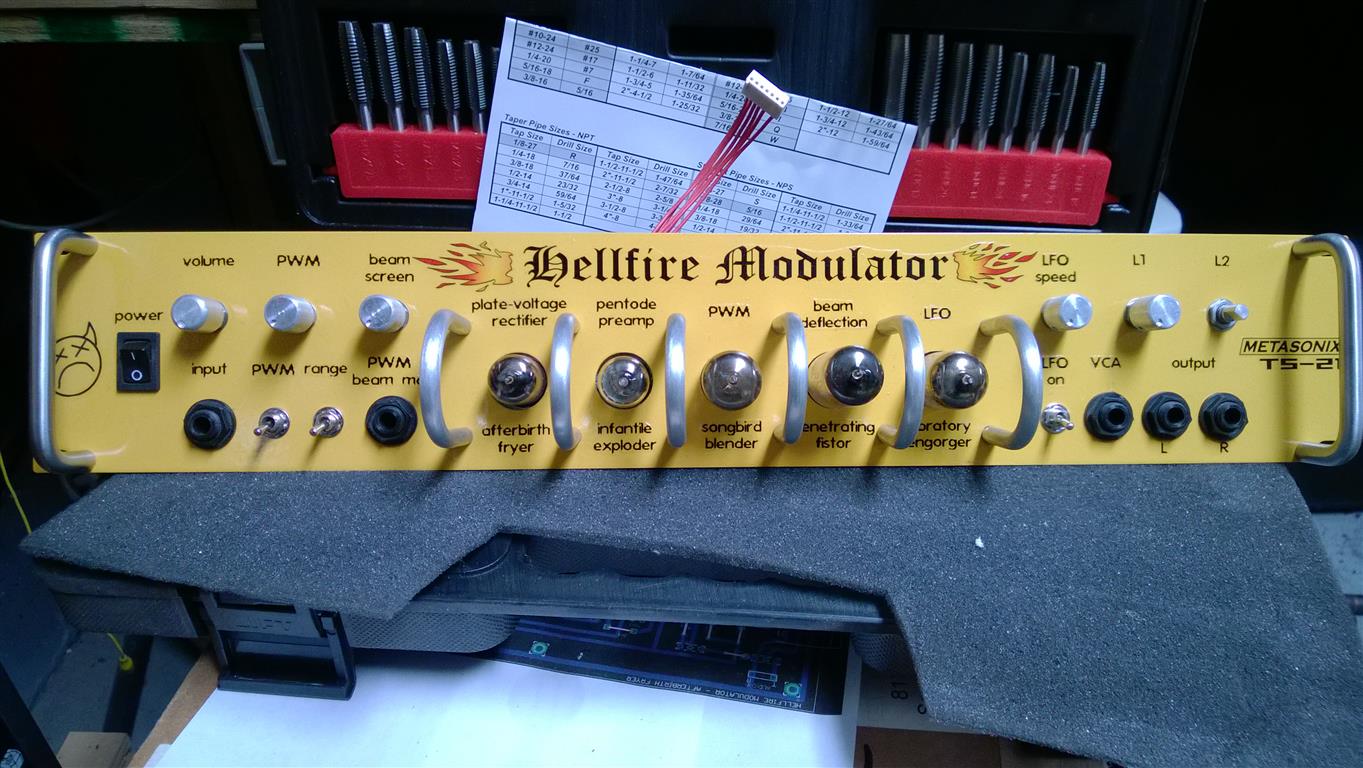
Assemble the front panel - components